To grow a cannabis plant, you need viable seeds or a clone, a growing medium (soil, coco coir, or a hydroponic setup), containers, water, nutrients, light, and a controlled environment with the right temperature, humidity, and airflow. That's the core list. Everything else is about dialing those fundamentals in for your specific setup, whether you're growing in a closet, a backyard, or a dedicated tent.
What Do You Need to Grow a Weed Plant at Home

Marcus Holbrook
5 Jun 2026
Before you buy anything: legal and space basics
This is the part most beginner guides skip, and it matters more than any light you can buy. Cannabis cultivation rules vary dramatically depending on where you live. In some places, that means answering the question “can i grow my own weed plant” starts with confirming you can legally do it where you live.
In Canada, adults can grow up to 4 plants per household under federal law, and you must purchase seeds or immature plants from a legally authorized retailer in your province or territory. In California, the limit is 6 living plants per private residence, and both plants and any harvested flower over 28. 5 grams must be kept in a locked space that isn't visible from a public place.
In Massachusetts, the limit is 6 plants per person for personal use, with up to 12 plants per household. Some cities layer on additional rules: Santa Rosa, for example, allows personal indoor and outdoor cultivation but caps it at 6 mature plants at a primary residence. Always check your specific city or county rules on top of state or provincial law, because local zoning codes can restrict what your state allows.
On the space side, think honestly about what you have before you spend money. A 4x4 ft (roughly 1.2x1.2 m) grow tent is a solid starting point for 2 to 4 plants indoors and fits in most spare rooms or large closets. Outdoor growing needs a private, secure area with direct sun. Hydroponic setups can scale small or large but require more upfront infrastructure. Match your setup to your actual space, not your ideal space. These same basics also explain how grow a weed plant once you settle on your indoor or outdoor space.
Seeds vs. clones, and picking your grow method
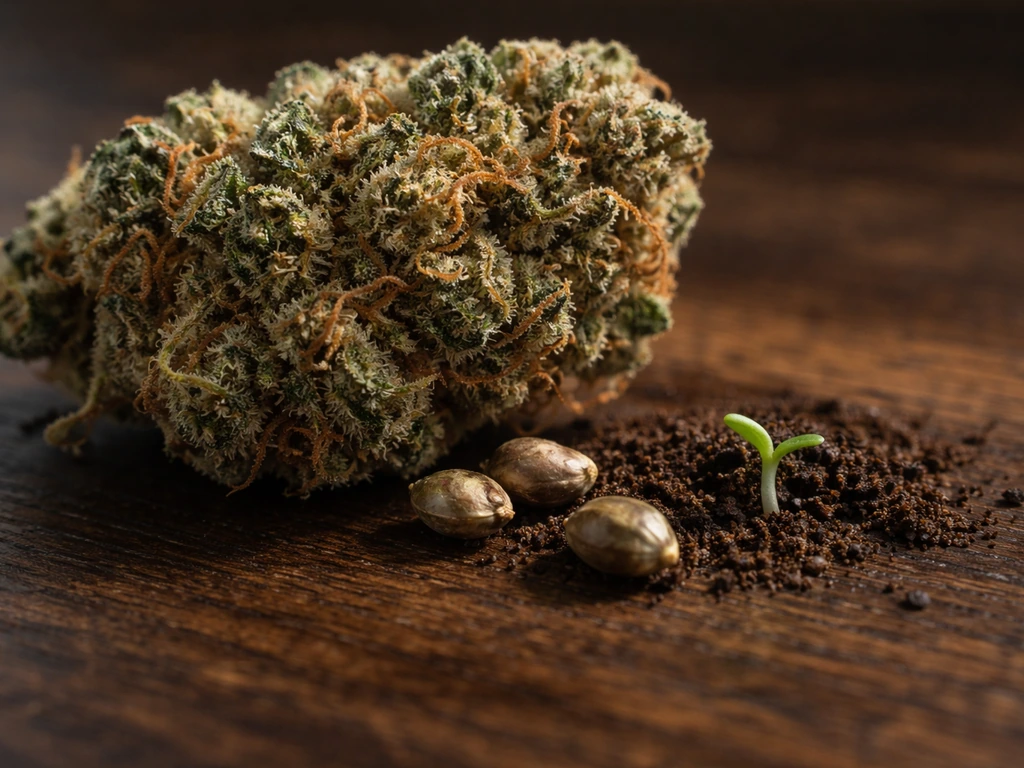
Seeds are the most accessible starting point for most beginners. Autoflowering seeds are particularly forgiving because they flower on a timer based on age rather than light schedule, which removes one variable for new growers. Photoperiod seeds require a specific light change (12 hours of darkness per day) to trigger flowering, but give you more control over plant size before you flip. Clones are cuttings taken from a known female plant, which saves the germination step and guarantees sex, but they can carry pests or diseases from their source plant, so source them carefully.
Your grow method shapes almost every other decision. Here's how the three main options compare:
| Method | Difficulty | Cost to Start | Control Level | Best For |
|---|---|---|---|---|
| Soil (indoor or outdoor) | Beginner-friendly | Low to moderate | Moderate | First-time growers, organic growing |
| Coco coir (indoor) | Intermediate | Moderate | High | Faster growth, more precision feeding |
| Hydroponic (DWC, NFT, etc.) | Advanced | Moderate to high | Very high | Maximum yields, experienced growers |
If this is your first plant, start with soil indoors in a tent, or outdoors in a container if your climate and local laws allow it. If you're specifically aiming to grow small weed plant, focus on a tight light schedule, a compact container, and early training so the plant stays within your tent size. Soil buffers pH and nutrient swings better than coco or hydro, which means fewer crisis moments while you're still learning the basics. You can always upgrade your method once you understand how the plant responds.
The environment your plant actually needs
Light
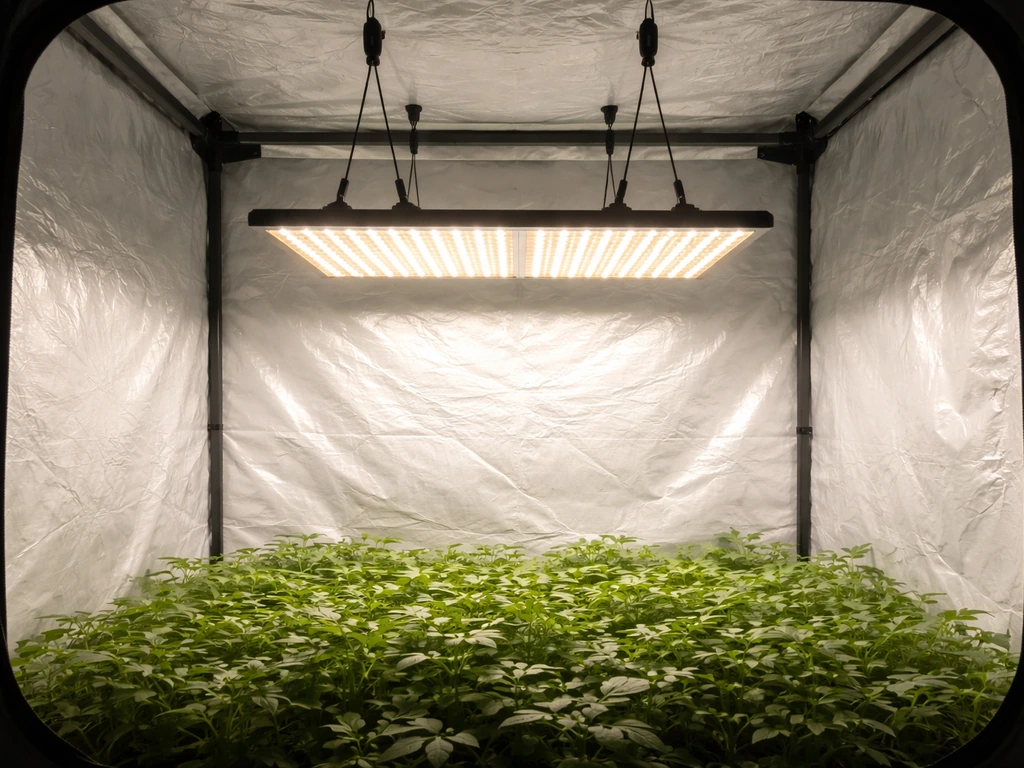
Light is the single biggest yield driver indoors. A 4x4 ft tent typically needs around 600 to 720 watts of LED equivalent to cover the canopy properly. Cannabis performs best at a PPFD (the measure of light intensity at the canopy) of roughly 500 to 1000 µmol/m²/s under normal CO2 levels, with seedlings needing the lower end and flowering plants benefiting from the higher end. Light distance matters too: a 600 to 700W LED generally hangs around 32 to 44 inches (80 to 110 cm) above seedlings, moving closer as plants mature. Most quality LED fixtures come with a manufacturer hanging guide, and that's a reasonable starting point.
For photoperiod plants, run 18 hours of light and 6 hours of darkness during vegetative growth. Switch to 12 hours on and 12 hours off to trigger flowering. Autoflowers can run 18 to 20 hours of light throughout their entire life.
Temperature and humidity
Cannabis grows best at 70 to 80°F (21 to 27°C) during the day, with night temps running about 5 to 10°F cooler. Temperatures outside this range slow growth and invite stress. Humidity targets shift by stage, and getting this wrong is one of the most common beginner mistakes I see. Here's what to aim for:
| Growth Stage | Temperature (Day) | Relative Humidity |
|---|---|---|
| Seedling / Clone | 70–80°F (21–27°C) | 80–95% |
| Vegetative | 72–80°F (22–27°C) | 55–70% |
| Early Flower | 70–80°F (21–27°C) | 40–60% |
| Late Flower (last 2–3 weeks) | 68–77°F (20–25°C) | 40–50% |
High humidity in late flower is one of the fastest ways to get bud rot. Dropping to 40 to 50% RH in those final weeks is not optional if you want to harvest clean flower. A small dehumidifier or increased exhaust airflow usually handles this in a tent.
Airflow and ventilation
Plants need fresh air, and your grow space needs it circulated. For most small tent setups, an inline exhaust fan rated at 300 to 350+ CFM is a good starting point. Pair it with a carbon filter installed near the top of the tent (where warm, odorous air collects) and connect it to exterior ducting. A small oscillating fan inside the tent keeps air moving across the canopy and strengthens stems. Aim for 20 to 40 air changes per hour for solid odor control. This setup also keeps temps down and CO2 levels from stagnating, both of which directly affect plant health.
Grow media, containers, and water
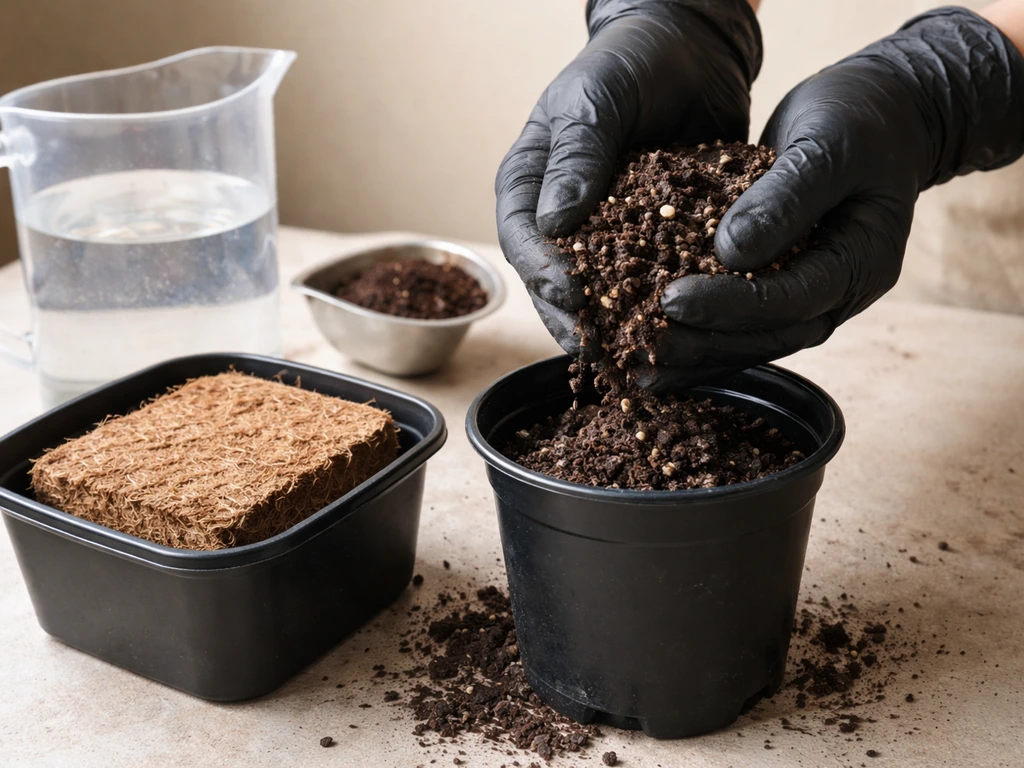
For soil growers, a quality cannabis-specific or peat-based potting mix works well. Avoid garden soil from the backyard, which compacts and can carry pests. Standard container progression for most indoor grows: start in a 1 to 2 gallon pot for early veg, then transplant to a 3 to 5 gallon final container for most strains. Fabric pots are worth the small extra cost because they air-prune roots and prevent overwatering, which is by far the most common seedling killer. If the soil surface is still wet, do not water again. Simple rule, but easy to ignore.
Coco coir is treated more like a hydroponic medium even though it looks like soil. It doesn't buffer pH the way soil does, so you need to monitor and adjust your feed solution pH to the 5.5 to 6.5 range (with an optimal sweet spot around 5.8 to 6.2). Coco growers typically feed with every watering and watch runoff EC: if runoff EC climbs more than about 20% above your input EC, it's time to flush with plain pH-adjusted water to clear salt buildup. Azarius notes that in coco coir you typically feed more frequently, and it also provides a coco pH target band (around 5.8 to 6.2) to guide your adjustments coco coir needs frequent feeding.
In hydroponic systems, your plants grow in net pots with roots suspended in or flowing through nutrient solution. pH must stay tighter here, generally 5.5 to 6.5 for most hydro setups, and you'll need to check it daily. This is why hydro is rated as more advanced: the margin for error is smaller and problems escalate faster.
Nutrients and how feeding works
Cannabis needs three primary macronutrients: nitrogen (N), phosphorus (P), and potassium (K). During vegetative growth, plants want higher nitrogen for leaf and stem development. During flowering, they shift toward higher phosphorus and potassium to support bud development. Most bottle nutrients have a veg formula and a bloom formula, and following the manufacturer's recommended schedule at half the suggested dose is a safe starting strategy for beginners. Nutrient burn from overfeeding is far more common than deficiency in home grows.
How you feed depends on your medium. Here's the practical breakdown:
- Soil: A quality amended soil often contains enough nutrients for the first 4 to 6 weeks. After that, feed every second or third watering, starting at low doses. Soil's natural buffering means small pH swings (6.0 to 7.0 is acceptable) won't immediately lock out nutrients.
- Coco coir: Feed with every watering using a pH-adjusted solution (5.8 to 6.2 is the target range). Coco doesn't hold reserves the way soil does, so nutrients must come with every irrigation event. Calcium and magnesium supplements are almost always needed.
- Hydroponic: Nutrients go directly into your reservoir solution. Check and adjust pH daily (5.5 to 6.5), top off with fresh solution, and do a full reservoir change roughly every one to two weeks to prevent salt and bacterial buildup.
Tools, monitoring, and safety gear
The tools below are what separate a successful grow from a frustrating one. I skipped the pH meter on my first grow and spent weeks puzzling over yellowing leaves that turned out to be a simple pH lockout issue. Don't repeat that mistake.
| Tool | What It Does | Priority Level |
|---|---|---|
| Digital thermometer/hygrometer combo | Monitors temperature and humidity in real time | Essential |
| pH meter or pH test kit | Ensures water/feed solution is in the correct range | Essential |
| EC/TDS meter | Measures nutrient concentration in your feed (critical for coco and hydro) | Essential for coco/hydro, useful for soil |
| Light timer (digital) | Automates your light schedule without manual switching | Essential |
| Inline exhaust fan + carbon filter | Removes hot air and controls odor | Essential for indoor |
| Oscillating clip or floor fan | Keeps air circulating across canopy | Essential for indoor |
| pH Up and pH Down solutions | Adjusts water/feed solution pH to target range | Essential |
| Spray bottle | Misting seedlings/clones, applying foliar treatments | Useful |
| Magnifier or jeweler's loupe (30-60x) | Checking trichome color at harvest time | Useful |
On safety: keep your grow area out of reach of children and pets, which is both a legal requirement in most jurisdictions and just common sense. Store nutrients securely, as they're not safe to ingest. If you're renting, check your lease and local tenancy rules before setting up any kind of grow tent or electrical infrastructure. For odor: a carbon filter and sealed tent is the standard indoor solution, and it works well when sized correctly to your space.
Your beginner checklist and first-week plan
Use this checklist to make sure you have everything before you start. Missing any one of these items mid-grow creates problems that are harder to fix than they are to prevent.
- Confirmed local/state/provincial plant limits and legal compliance
- Seeds or clone sourced legally from a licensed retailer or known clean source
- Grow tent or secured outdoor space with adequate dimensions
- LED grow light sized for your canopy footprint
- Digital timer for the light
- Inline exhaust fan, carbon filter, and ducting (indoor)
- Oscillating fan for internal air circulation (indoor)
- Growing medium: quality potting soil, coco coir, or hydro system components
- Containers: starter pots plus final containers (fabric pots recommended for soil/coco)
- pH meter and pH Up/pH Down solutions
- EC/TDS meter (if growing in coco or hydro)
- Veg and bloom nutrient set
- Thermometer/hygrometer combo
- Spray bottle
- Plain, clean water source (filtered or dechlorinated tap water works fine)
First-week steps once you have everything
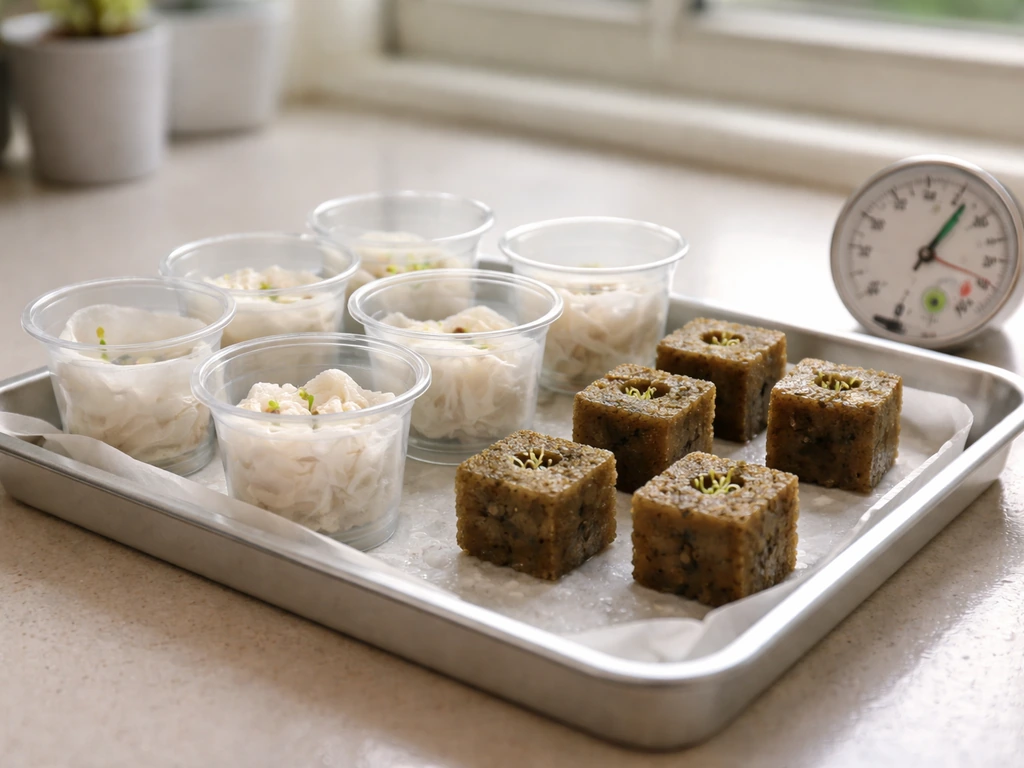
- Germinate your seeds using the paper towel method or by placing them directly in a small starter cube or moist soil. Keep temps at 70 to 80°F and humidity high (above 70%) until the seedling emerges above the soil surface.
- Set up your tent, hang your light at the appropriate starting height for your wattage (check manufacturer specs, but roughly 30 to 44 inches for most LEDs at seedling stage), and run your exhaust and circulation fans.
- Program your light timer: 18 hours on / 6 hours off for photoperiod or autoflowering seedlings.
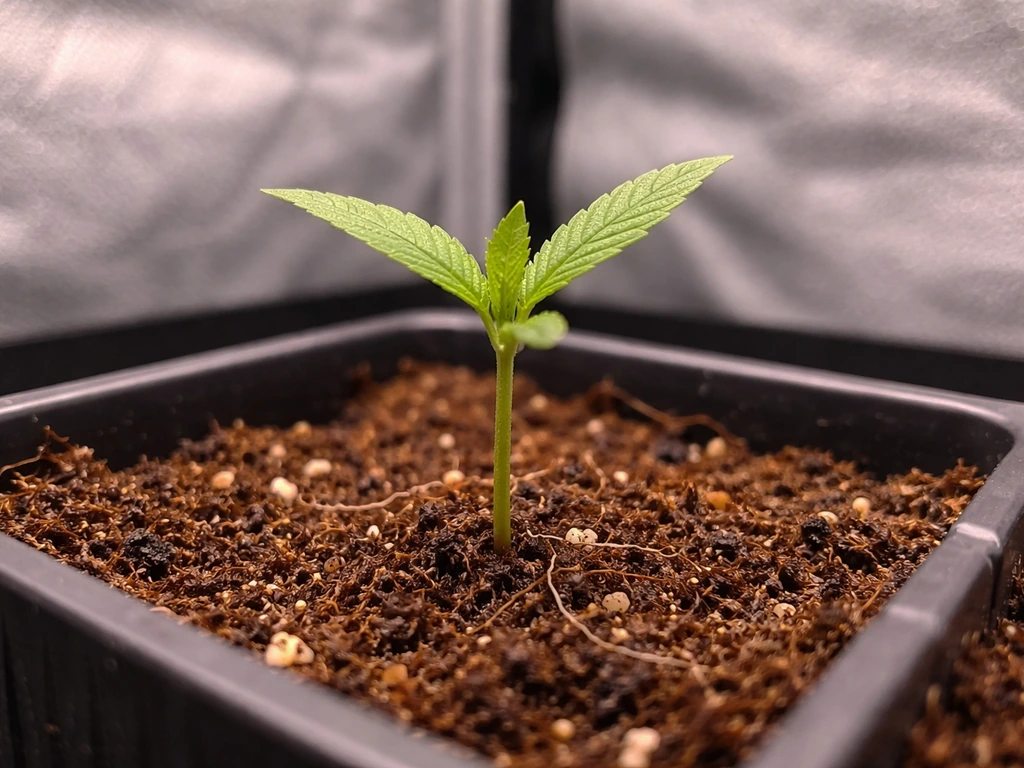
- Once your seedling breaks the soil and shows its first set of true leaves, this is the start of the seedling stage, which runs until the plant develops 3 to 4 sets of true leaves.
- Water lightly around (not directly on) the seedling with plain pH-adjusted water (6.0 to 6.5 for soil). Do not feed nutrients yet and do not overwater. If the soil surface is still moist, wait.
- Monitor temperature and humidity at least twice daily using your thermometer/hygrometer. Adjust ventilation or add a small humidifier/dehumidifier as needed to hit the seedling targets.
- Keep a simple grow journal (a notes app is fine) recording date, watering amount, pH, temp, and any observations. This becomes invaluable for troubleshooting later.
Once you're through week one with a healthy seedling, the hard part is actually behind you. The most common failures happen right at germination and in those first two weeks, usually from overwatering or incorrect light distance. Get the environment dialed in early, be patient with watering, and the plant will do most of the work from there.
If you’re wondering can you grow weed from dried bud, it starts with checking whether the bud still contains viable seeds or can be used to source healthy starting material. If you want to keep things as simple and natural as possible, starting with an organic soil approach is a great way to reduce how much active monitoring you need to do, especially in those early weeks.
FAQ
What basic supplies do I absolutely need on day one to start a cannabis grow?
At minimum, you need a legal source of seeds or a clone, a medium (soil, coco, or hydro), containers, a light system, a reliable water plan, nutrients designed for cannabis, and a way to control the environment (temperature plus airflow). If you do not have a carbon filter or another odor-control plan for your location, you should treat that as a day-one requirement, not an afterthought.
Is a pH meter mandatory, or can I grow without one?
For soil you can sometimes get away without frequent testing because the medium buffers changes, but for coco and hydro you generally need measurement to avoid lockouts. If you skip testing, you must be extra cautious with water chemistry, because symptoms can look like nutrient issues even when the real cause is pH drift.
How do I choose between soil, coco, and hydro if I want the easiest learning curve?
Soil in a tent is usually the most forgiving because it buffers pH and nutrient swings. Coco behaves more like hydro, meaning you will feed on a tighter schedule and manage runoff. Hydro can produce fast growth but requires daily pH and closer monitoring, so it has the smallest margin for error.
What size LED do I actually need, and how do I avoid buying the wrong thing?
Use canopy coverage as your guide, not just the watt number on the box. A “too small” fixture forces you to move lights too far up or accepts uneven coverage, both of which reduce yield. If your tent is 4x4 ft, plan around about 600 to 720 watts of LED equivalent as a starting point, then verify your fixture spread matches your canopy dimensions.
How can I tell if my plant is getting too much or too little light without guessing?
Track leaf position and daily changes. If leaves consistently pray tightly or show persistent stress early, you may be too intense or too close, while stretched growth and weak internodes suggest insufficient light. Also watch heat at the canopy, because an under-ventilated setup can make “light too strong” look like an environmental problem.
Do I need to worry about carbon dioxide (CO2) in a small home grow?
Most beginners do not need supplemental CO2. Focus first on stable temps and airflow, since CO2 buildup and stagnant air happen when ventilation is weak. If you later add CO2, you must tightly control temperature and humidity, otherwise the plant will still be limited by those factors or you can increase disease risk.
What is the most common watering mistake in the first two weeks?
Overwatering is the big one, especially when seedlings sit in wet media. Let the pot lighten between waterings, and only water again when the surface and the pot mass indicate it is drying. If the top looks dry but the container is still heavy, you still likely have too much moisture.
Should I water with nutrients every time, or only sometimes?
It depends on the medium, but many beginners do better starting with plain pH-adjusted water for early seedlings and then introducing nutrients gradually. Coco and hydro often use nutrient solution at most waterings because they do not buffer well, while soil can support a gentler ramp. If you see nutrient burn, reduce strength first rather than increasing frequency.
How do I manage humidity at the end of flowering to prevent bud rot?
In the final weeks, keep relative humidity low enough to avoid condensation inside dense flower. A common practical target is dropping to roughly the 40 to 50% RH range late in flower, and using a dehumidifier or stronger exhaust if readings stay high. Make sure airflow reaches the canopy, not just the tent air.
What airflow setup is enough for smell control in a tent?
A typical approach is an inline exhaust fan connected to exterior ducting, paired with a carbon filter mounted near the top of the tent. The goal is strong enough negative pressure and adequate air exchange so odor is pulled through the filter consistently, not intermittently.
How often should I check pH, especially if I’m using coco or hydro?
For coco and hydro, check regularly and do not assume it stays correct between waterings. Coco typically requires you to manage input and runoff conditions, and hydro generally means checking daily. If pH is off even by small amounts, nutrient uptake can stall and the plant will show the symptoms soon.
Can I use normal garden soil from my backyard, or should I buy a cannabis potting mix?
Avoid backyard garden soil for most indoor grows. It can compact easily in containers, and it may carry pests or pathogens you do not want in a controlled environment. Use a quality potting mix intended for container growing instead.
What pot size should I start with, and how do I prevent overwatering during early veg?
A common pattern is starting around 1 to 2 gallons for early growth, then moving to a 3 to 5 gallon final container for most strains. Smaller early pots dry faster, which reduces the chance of staying wet too long, but you still must water based on dryness, not the calendar.
Why do people flush coco, and when does runoff EC matter?
Runoff EC helps you detect salt buildup from feeding. If runoff EC climbs meaningfully above your input EC, salts can accumulate and cause issues that resemble deficiencies or lockouts. In that case, a flush with plain pH-adjusted water can help reset the root environment.
What signs suggest a pH lockout versus a nutrient deficiency?
Lockout often shows as yellowing or strange leaf patterns after feeding has started, and it can persist even if you increase nutrients. If you are in coco or hydro, suspect pH first, because the plant may be unable to absorb nutrients even when they are present in the solution.
If I want to start with clones, what extra risks should I consider?
Clones skip germination and let you control sex, but they can bring pests or diseases from the source plant. Only source from reputable, healthy stock, and quarantine if possible so you do not introduce problems into your tent immediately.
Is it possible to grow from dried bud, and what should I check first?
Dried bud may or may not contain viable seeds. Before trying, inspect whether there are true seeds present, and understand that seed viability drops with drying and storage. If there are no viable seeds, you will not get a new plant from the bud itself.
Do I need to follow the nutrient schedule exactly, or can I use less?
A safer beginner approach is to start at a lower dose than the label recommends, often around half strength, especially early. Nutrient burn from overfeeding is more common than deficiency in home grows, so the first adjustment if you see clawing, darkening, or burnt tips is usually to reduce feed strength.
Next Article
Can You Grow Weed From Dried Bud? What to Expect
Can you grow weed from dried bud? Learn when seeds are viable, how to check and germinate, and realistic next steps.