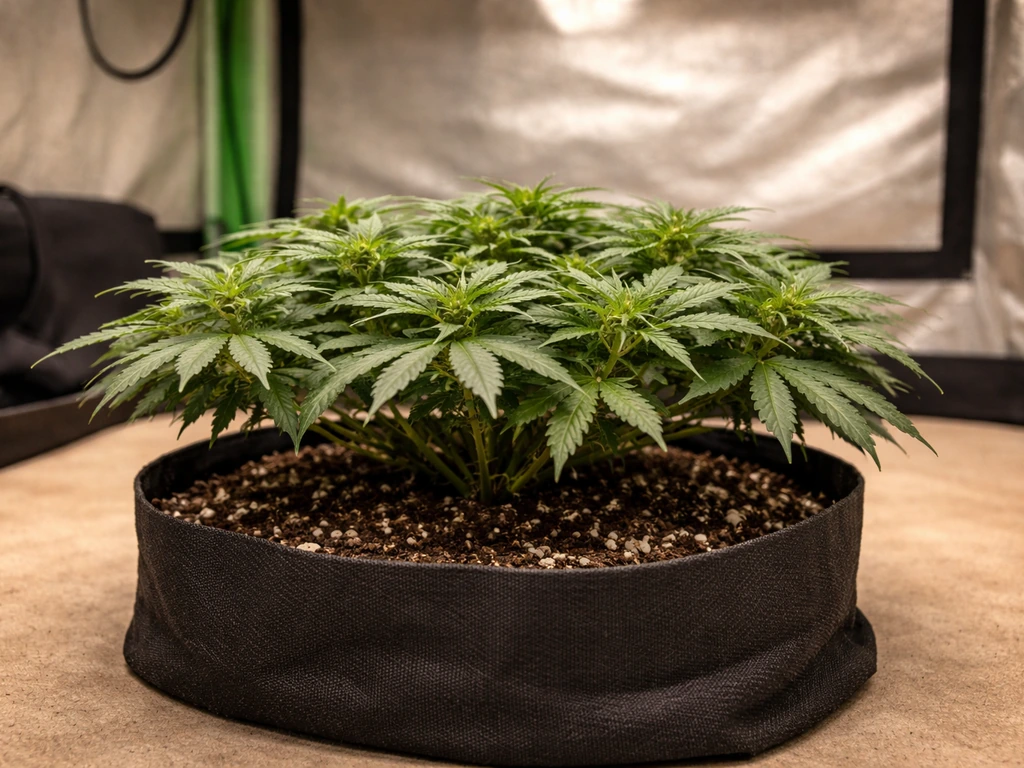
Yes, you can grow your own cannabis plant at home in many places, but whether it's legal where you live is the first thing you need to confirm before you buy a single seed. Once you've cleared that hurdle, growing your own is genuinely doable as a beginner. A single plant in a 3-gallon pot indoors under a basic LED light can yield 1 to 3 ounces of dried flower in roughly 3 to 5 months. It takes consistent attention, not expert knowledge, and this guide walks you through every stage from seed to cured bud.
Can I Grow My Own Weed Plant Legal Steps to Harvest

Marcus Holbrook
27 May 2026
First things first: is it legal where you are?
Home cultivation laws vary enormously depending on your country, state, or province. Getting this wrong can carry serious consequences, so spend 20 minutes researching your specific jurisdiction before anything else.
In Canada, adults are allowed to grow up to 4 cannabis plants per household under the Cannabis Act. That limit is per dwelling, not per person, meaning two adults sharing a home still cap out at 4 plants total. You cannot sell anything you grow at home without a Health Canada licence, and the rules around sharing with others are more nuanced than most people assume, so check current Health Canada guidance if that's relevant to you.
In the United States, rules differ state by state. Colorado allows up to 6 plants per resident aged 21 or older, with a maximum of 3 flowering at any time, though local city ordinances can be stricter than state law. Virginia permits up to 4 plants per household for adults 21 and over, but requires each plant to carry a legible tag showing the grower's name, their driver's licence or ID number, and a note that it's grown for personal use only. Exceeding Virginia's plant count can result in civil or criminal penalties. Always check whether your city or county has additional restrictions layered on top of state law.
In the UK, there is no personal-use exception at all. Growing even a single cannabis plant is a criminal offence under UK law and requires a Home Office licence (which is only issued for low-THC industrial hemp purposes). If you're in the UK, this article is for informational awareness only.
The pattern across legal jurisdictions is consistent: know your plant limit, stay under it, keep plants out of public view, and never sell. Once you've confirmed you're in the clear, everything else becomes much more enjoyable.
What growing your own actually involves
I'll be honest about this because a lot of beginner guides skip over the reality check. Growing cannabis from seed to dried bud takes roughly 12 to 20 weeks depending on the strain and method. You'll be checking on your plant daily, adjusting lights, watering every 2 to 4 days, monitoring for pests and deficiencies, and making small corrections throughout. It is not difficult, but it does require consistency.
Here's a realistic overview of what you'll need to budget for time and space: To figure out what you need to grow a weed plant, you should also budget for the basics like lighting, nutrients, and growing space.
| Factor | Indoor Grow | Outdoor Grow |
|---|---|---|
| Space needed | A 2x2 ft tent (minimum) for 1 plant | A patio, balcony, or garden bed in full sun |
| Time to harvest | 12–18 weeks seed to dried bud | Typically late Sep–Nov harvest (Northern Hemisphere) |
| Daily time commitment | 10–20 minutes per day | 15–30 minutes per day (more in summer heat) |
| Core equipment cost (starter) | $150–$300 for light, tent, fan, and pots | $20–$60 for pots, soil, and basic nutrients |
| Environmental control | Full control year-round | Dependent on local climate and season |
| Smell/odor management | Carbon filter needed | Odor drifts outdoors; consider neighbors |
Neither method is harder than the other in absolute terms. Indoor growing costs more upfront but gives you control over every variable. Outdoor growing is cheaper and often produces larger plants, but you're at the mercy of your local climate, pests, and seasonal light cycles. Hydroponic growing is a third path that can speed up vegetative growth significantly and is worth exploring once you have one or two soil grows under your belt.
Picking your seeds and planning your setup
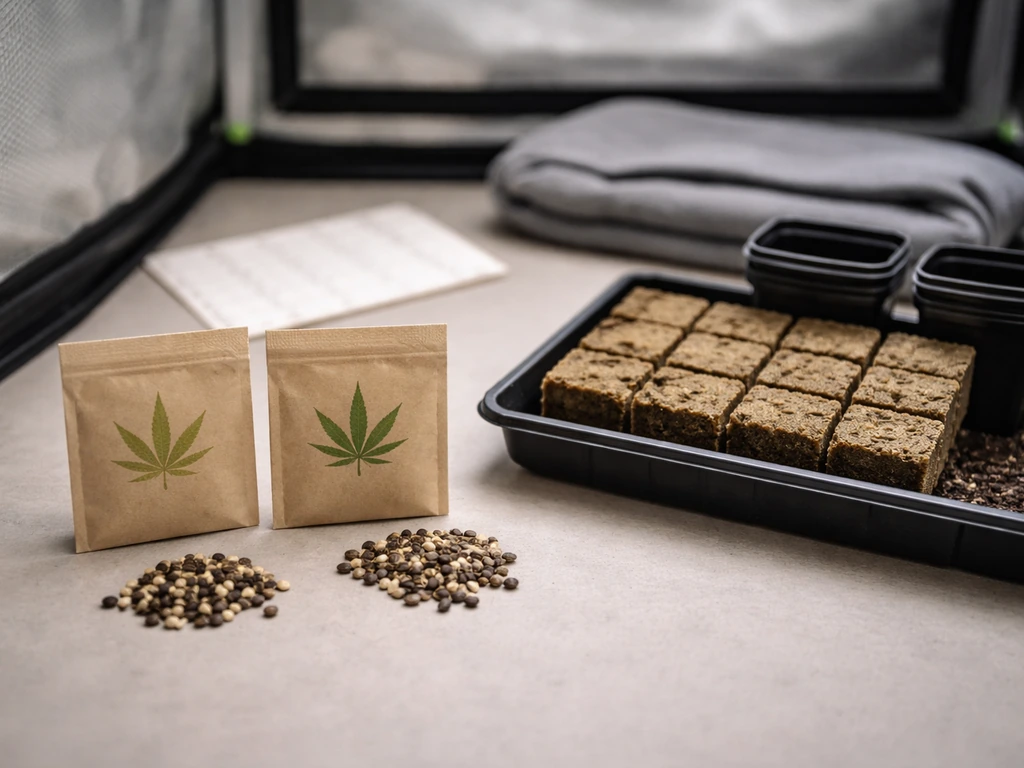
Strain choice matters more than most beginners realize. As a first-time grower, your best friend is an autoflowering strain. Autos flower based on age rather than light cycle, which means you don't need to manually change your light schedule to trigger flowering. They also stay compact (typically 50–100 cm tall), finish in 70 to 90 days from seed, and are much more forgiving of environmental swings. Strains like Northern Lights Auto, Gorilla Glue Auto, or Blue Dream Auto are solid starting points.
If you want to go photoperiod (regular or feminized seeds that flower based on a 12/12 light cycle), choose something labeled as beginner-friendly or medium difficulty. Avoid high-maintenance strains known for finicky nutrient requirements until you have a grow or two behind you. Always buy feminized seeds unless you have a specific reason to work with regular seeds. Feminized seeds produce female plants (the ones that produce buds), which removes the risk of accidentally growing a male that pollinates your whole crop.
Indoor setup basics
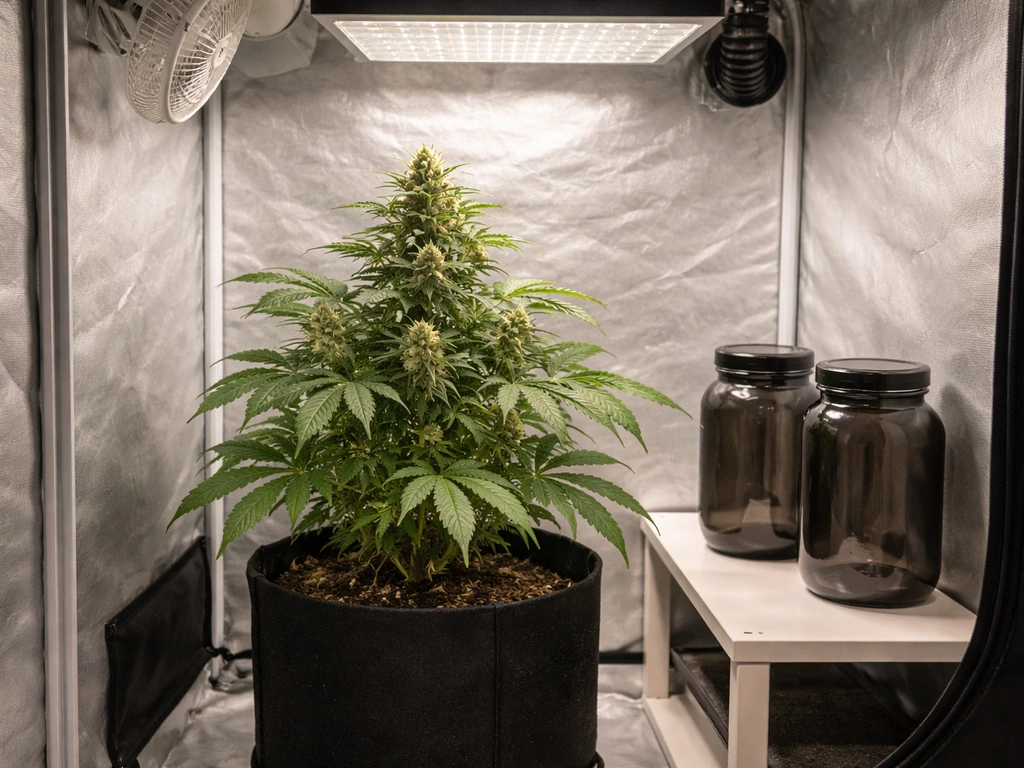
For one to two plants indoors, a 2x2 ft or 2x4 ft grow tent is enough. You'll need a full-spectrum LED light rated for your tent size (look for lights marketed to cover a 2x2 or 2x4 canopy), an inline fan with a carbon filter to manage odor and humidity, a clip fan for airflow inside the tent, and fabric pots (3 or 5 gallon). A basic pH meter and pH up/down solution are non-negotiable. Cannabis roots absorb nutrients best at a soil pH of 6.0 to 7.0. Growing in the wrong pH range is one of the most common silent killers for beginner grows.
Outdoor setup basics
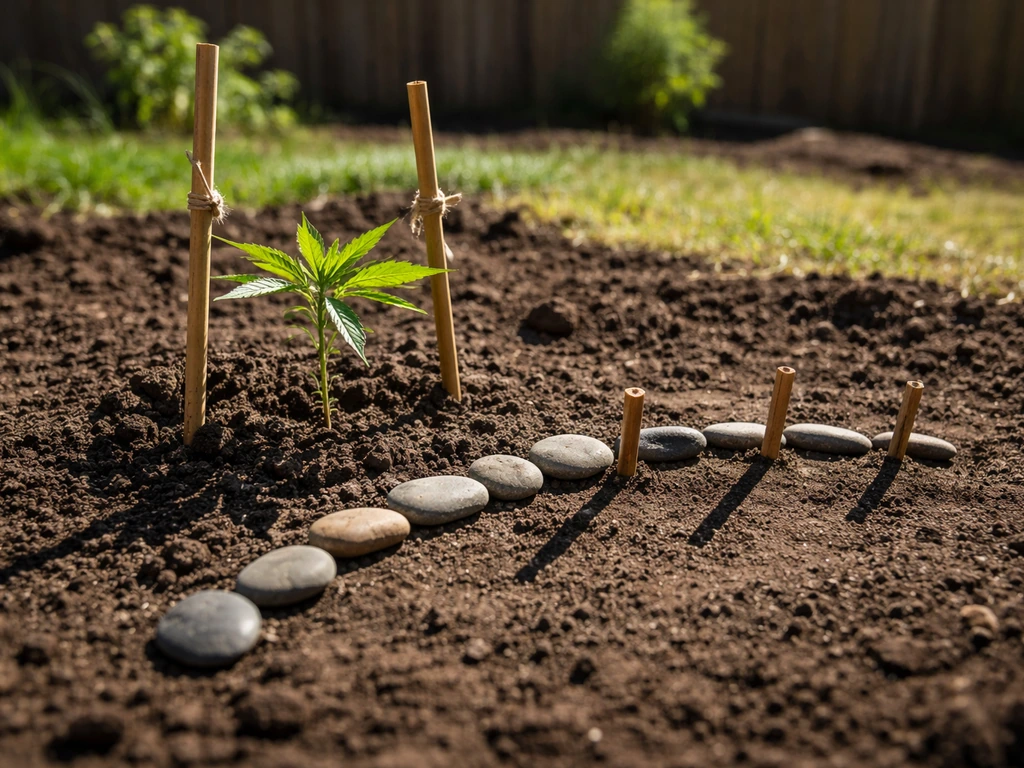
Outdoors, choose a spot with at least 6 to 8 hours of direct sunlight per day. Cannabis is a sun-hungry plant and will stretch and underperform in partial shade. Use a quality cannabis-specific potting mix or a well-draining outdoor soil amended with perlite (about 20 to 30% perlite by volume). A 5 to 10 gallon fabric pot works well even outdoors because it gives you control over soil quality and drainage. Water when the top inch of soil feels dry and the pot feels noticeably lighter.
Germination and caring for seedlings
The paper towel method is the simplest way to germinate. Place your seed between two damp (not soaking) paper towels, fold them over, put the whole thing in a ziplock bag or on a plate covered with another plate, and keep it somewhere warm (around 70 to 80°F or 21 to 27°C). Check every 12 to 24 hours. Most seeds crack and show a small taproot within 24 to 72 hours. Once the taproot is about 0.5 cm long, plant it taproot-down about 1 cm deep in your medium.
The seedling stage runs from sprout to about 2 to 3 weeks old. During this period, keep your light at around 18 hours on and 6 hours off for indoor grows. Place the light higher than you will later (check manufacturer spacing recommendations) because seedlings are sensitive to intense light and can develop light stress or bleaching. Keep the humidity between 65 and 70% and temperatures at 70 to 77°F (21 to 25°C) during this stage. Do not feed nutrients yet. A good seedling mix has enough nutrients built in for the first 2 to 3 weeks. Overfeeding a seedling is one of the easiest ways to stunt its growth.
Water sparingly during the seedling stage. The roots are tiny and sitting in wet soil for extended periods invites damping off (a fungal condition that collapses the stem at the base). Water in a small circle around the seedling, not the whole pot, to encourage roots to spread outward searching for moisture.
Vegetative growth and basic training
Vegetative growth is where your plant builds the structure that will hold all its future buds. For autoflowers, veg typically lasts 3 to 5 weeks before the plant automatically starts flowering. For photoperiod plants indoors, veg lasts as long as you keep the light schedule at 18/6 (or longer), and you trigger flowering by switching to 12 hours of light and 12 hours of darkness.
During veg, keep temperatures at 70 to 85°F (21 to 29°C) with lights on and humidity around 50 to 70%. Start feeding with a nitrogen-rich vegetative nutrient formula at half the recommended dose for the first few weeks, then work up to full dose as the plant grows. Always water until you get 10 to 20% runoff from the bottom of the pot. This prevents salt buildup in the soil and helps you catch early signs of pH problems.
Training your plant during veg is optional but rewarding. Low-stress training (LST) is the best technique for beginners. It involves gently bending the main stem outward and tying it down with soft plant wire or clips to create a more horizontal canopy. This exposes lower bud sites to light and can increase your overall yield by 20 to 40% with zero additional cost. Start LST when the plant has 4 to 5 nodes (sets of leaves). Avoid topping or high-stress techniques on autoflowers since autos have a fixed timeline and may not recover well before they start flowering.
Flowering, knowing when to harvest, and drying your buds
Managing the flowering stage
Flowering typically lasts 7 to 11 weeks depending on the strain. Switch your indoor photoperiod plants to 12/12 light when they've reached about half the final height you want (plants typically double in size during early flowering in a phase called the stretch). Drop humidity to 40 to 50% during flowering to reduce mold risk. This is important: high humidity in a dense canopy of developing buds is the number one cause of bud rot and other mold problems. If you're growing indoors, your exhaust fan and carbon filter setup does double duty here, pulling out humid air and managing odor as buds become fragrant.
Switch your nutrient formula to a bloom/flowering feed (lower nitrogen, higher phosphorus and potassium) about 1 to 2 weeks into flowering. In the final 2 weeks before harvest, flush your medium with plain pH-adjusted water to clear out residual nutrient salts. Many growers skip this step but it can noticeably improve the smoothness of the final smoke.
Harvest timing: reading trichomes
Harvest timing is the skill that separates mediocre home grows from great ones. Don't rely on the seed bank's day count as gospel. Instead, use a jeweler's loupe (30x to 60x) or a cheap digital microscope to examine the trichomes on your buds. Trichomes are the tiny crystal-like structures that produce cannabinoids. When most are clear and glassy, the plant is too early. When most have turned cloudy/milky white, you're in the peak THC window. When you start seeing amber-colored trichomes (around 20 to 30% amber), the THC is beginning to degrade into CBN, which produces a more sedating effect. Harvest based on your personal preference within that window.
Drying and curing
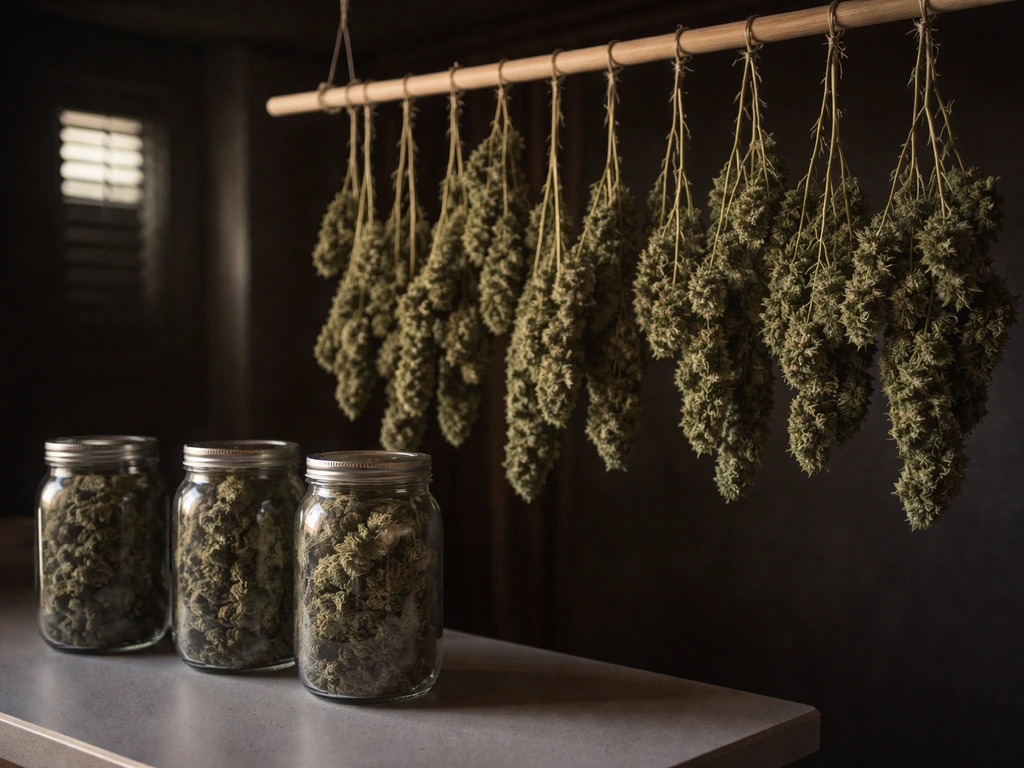
After harvest, hang your branches upside down in a dark, well-ventilated room at around 60 to 65°F (15 to 18°C) with 45 to 55% relative humidity. Drying too fast (under 5 days) produces a harsh, grassy-tasting product. Aim for a slow dry over 7 to 14 days. The buds are ready to trim and jar when the small stems snap cleanly rather than bend.
Curing is where the magic really happens. Place trimmed buds loosely in glass mason jars, filling them about 75% full. For the first week, open the jars twice daily for 10 to 15 minutes to let moisture equalize and fresh air in (this process is called burping). After the first week, once the humidity inside the jars stabilizes at 58 to 62% (use a small hygrometer inside each jar), you can reduce burping to once every few days. A minimum 4-week cure dramatically improves flavor and smoothness. 8 weeks is noticeably better.
Common beginner problems and how to fix them
I made most of these mistakes myself at some point. Here's what tends to trip up first-time growers and what to actually do about it:
- Overwatering: This is the single most common beginner mistake. Cannabis roots need oxygen. If your soil stays saturated, roots suffocate and the plant droops, yellows, and stalls. The fix: water only when the top inch of soil is dry and the pot feels light when you lift it. Fabric pots help a lot because they air-prune roots and prevent waterlogging.
- Nutrient burn: Yellow or brown, crispy leaf tips usually mean you've overfed. Always start at half the recommended nutrient dose and increase gradually. If you see burn, flush the medium with plain pH-adjusted water and hold off on feeding for a week.
- pH imbalance: A plant that shows multiple deficiencies at once (yellow patches, purple stems, strange spotting) when you're feeding properly is almost always a pH problem. The roots can't access nutrients outside the 6.0 to 7.0 range in soil. Check and correct your pH every time you water.
- Light stress or light burn: Bleached or upward-curling leaves near the top of the canopy usually mean your light is too close. Keep an LED light at least 18 to 24 inches from the canopy during veg and follow manufacturer specs.
- Weak, stretchy seedlings: Caused by insufficient light during the seedling stage. Move your light closer (while staying in manufacturer range) or upgrade to a stronger light source.
- Pests (spider mites, fungus gnats, aphids): Fungus gnats are common in overwatered soil. Let your medium dry out more between waterings and use yellow sticky traps. Spider mites appear in hot, dry conditions and leave tiny white specks on leaves. Treat early with neem oil or insecticidal soap spray. Check the undersides of leaves regularly.
- Bud rot and mold: Dense buds in high humidity are a recipe for Botrytis (gray mold). Keep flowering-stage humidity under 50%, ensure strong airflow through your canopy, and remove any fan leaves blocking airflow to dense bud sites. If you find rot, remove affected material immediately with clean scissors and dispose of it outside your grow space.
Responsible next steps: storage, pests, and cleanup
Once your grow is done and your buds are cured, proper storage matters both for quality and for legal compliance. Store cured cannabis in sealed glass jars in a cool, dark place away from heat and UV light. This preserves potency and flavor for months. Critically, all stored cannabis (plants, buds, and any plant material) must be kept inaccessible to children and pets. Virginia's official home cultivation guidance specifically calls this out, and it's common sense regardless of where you live. Childproof containers and locked storage are the right approach.
After harvest, clean your grow space thoroughly. Residual plant matter, root media, and moisture in a tent or grow room attract pests and mold for your next cycle. Wipe down tent walls with a diluted hydrogen peroxide solution (3% H2O2 in water), replace your growing medium for the next grow rather than reusing old soil, and check all equipment for any signs of mold or pest activity before starting again.
For plant disposal, composting stalks and non-smokable plant material is fine in most jurisdictions where home growing is legal. Shred or mulch material before composting to make it unrecognizable, which is both responsible and legally cautious. Do not leave harvested plant material in accessible outdoor waste where it could be found by children or create neighborhood issues.
Ongoing pest management between grows is worth building into your routine. Clean tools and scissors with isopropyl alcohol between uses. Inspect any new clones carefully before introducing them to a clean grow space. If you're growing naturally outdoors without synthetic pesticides, companion planting with basil, marigolds, or lavender can help deter common pests without chemicals.
As you build confidence, there's a lot more to explore. Growing naturally with organic soil mixes and living soil techniques is a deeply satisfying direction for those who want to minimize inputs and maximize flavor. Keeping plants compact in limited spaces is its own skill set worth developing if you're working with tight square footage. And if you're curious about starting from something other than seeds, understanding what you can and can't germinate from is worth knowing before you experiment. You can also look into whether you can grow weed from dried bud, though the results are usually less reliable than starting from quality seeds starting from something other than seeds. The fundamentals covered here apply to all of those paths, so once you've completed your first grow, the next one will be noticeably smoother.
FAQ
Can I grow my own weed plant from seeds without growing the illegal parts (like for hemp-only rules)?
If your jurisdiction treats anything above hemp THC limits as controlled cannabis, you cannot “partially comply” by aiming for buds only. You must match the legal definition for hemp or cannabis, which typically means using approved genetics and testing. If you are not sure whether your seeds are hemp-type, assume you are growing regulated cannabis and confirm legality before planting.
How do I figure out the plant limit if I live with roommates or a partner?
In many places the limit is per dwelling, not per person, so shared housing can cap you sooner than you expect. The safest approach is to total the allowed plants across everyone in the residence and plan your grow so you never exceed it, even if multiple people contribute to the plants.
Do I have to keep plants out of sight even on my own property?
Often yes. Even when home growing is legal, public visibility and odor control are commonly restricted. Use opaque barriers and keep the tent or grow setup inside a secured area so plants and grow equipment are not noticeable from windows, balconies, or pathways.
What should I do if a seedling looks unhealthy in week 1 to 3?
First check the basics that cause most early failures: wrong pH, overwatering (damping off risk), or too-intense light. Do not start nutrients early, because seedlings generally need only what is already in the seedling mix. If the stem base starts to darken or collapse, remove the affected plant and improve airflow and watering habits.
Can I start flowering sooner by changing the light schedule early?
For photoperiod plants, you can induce flowering by switching to 12/12, but doing it too early can reduce yield because the plant has not built enough structure. For autoflowers, changing the light schedule will not reliably force a faster harvest, since flowering is tied to age. If you want a faster timeline, choose an appropriate strain rather than rushing the light change.
Is topping or training safe for autoflowers?
Training like LST is generally the safer option for beginners with autoflowers, because it is less stressful and the plant keeps its fixed timeline. High-stress methods like topping can cause setbacks that reduce the total usable flowering time, especially if the plant starts flowering soon after the cut.
Do I need to flush in the last weeks before harvest?
Flushing is optional, but it can help some growers reduce harshness by clearing residual nutrient salts. If you flush, use pH-adjusted plain water and only do it during the final window you are targeting, not earlier in flower when you still need nutrients for bud development.
How can I tell whether my buds are ready to harvest if trichomes are hard to see?
If trichomes are difficult to examine, use a combination of signals: overall flowering timeline, pistil color changes, and bud swelling. Trichomes can vary across the plant, so check several buds from top and lower canopy areas and aim for the window that matches your preferred effect.
What relative humidity and temperature should I target during drying if my home is very humid?
If your ambient humidity is high, drying too slowly or letting condensation form increases mold risk. Keep the drying space in the recommended temperature band and monitor with a hygrometer, adjusting ventilation so the buds dry gradually without staying wet on the outside. If you cannot control humidity, consider dehumidification to stay in a safer drying range.
Can I reuse grow soil for another cycle?
Reusing media can be risky because leftover salts, pests, and pathogen spores may carry into the next grow. A safer plan for most beginners is to refresh or replace the medium each cycle, and always inspect the space and equipment before starting again.
Is composting cannabis plant material always safe and legal?
Composting rules vary by location, and composting typically applies to stalks and non-smokable plant matter where it is legal to grow. The key practical caveat is accessibility, shred or mulch so it is unrecognizable, and do not leave it where children or pets could access it. When in doubt, follow local waste rules rather than assuming it is universally allowed.
What’s the biggest mistake that leads to bud mold during flowering?
High humidity inside a dense canopy. Even if your overall room humidity seems reasonable, the microclimate inside buds can stay too wet, especially late flower. Make sure airflow, exhaust, and carbon filtering are functioning well, and keep flowering humidity in the safer lower range.
Can I store cannabis in plastic containers instead of glass jars?
Glass is preferred because it helps prevent odors from permeating and does not react with moisture or smell as easily as many plastics. If you use anything other than glass, ensure it is airtight, stable, and non-porous, and still monitor jar humidity so the buds do not rehydrate and mold.
Next Article
How to Grow a Small Weed Plant: Compact Step-by-Step Guide
Step-by-step guide to keep a cannabis plant compact: light, container, training, feeding, and troubleshooting to harvest