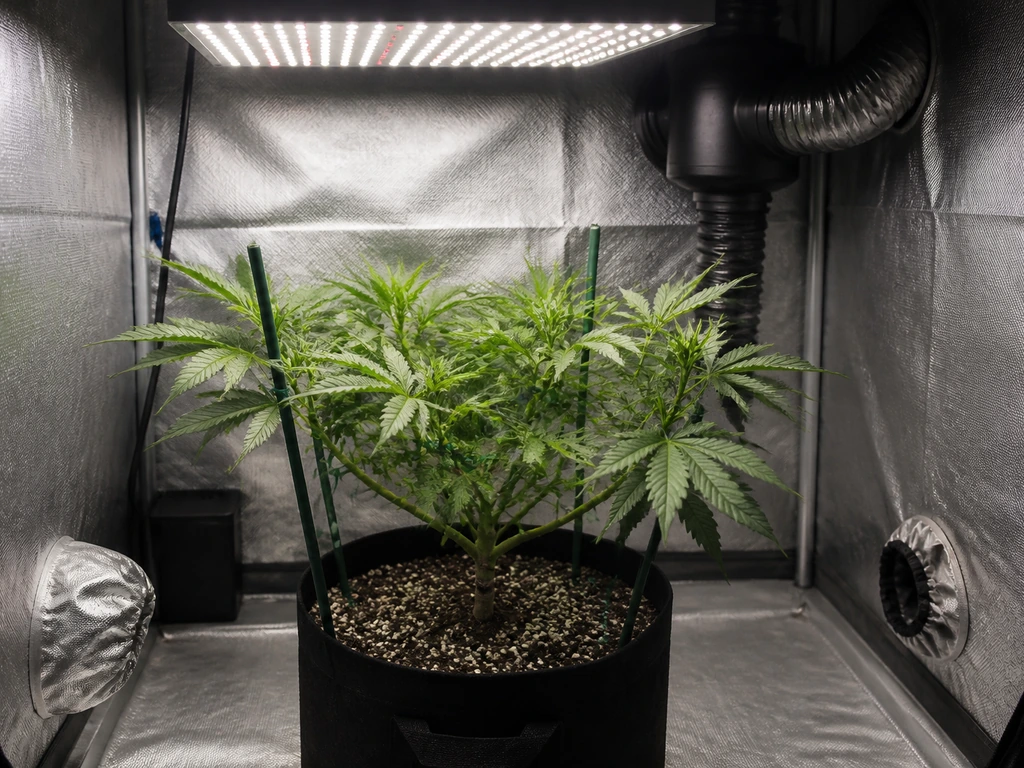
You don't need a physical book to grow cannabis successfully as a beginner. What you need is a clear, honest roadmap that covers the full journey from choosing a seed to smoking a cured bud, plus the legal basics and the specific mistakes that trip up almost every new grower. That's exactly what this guide delivers: a 'for dummies' style breakdown you can actually follow today, whether you're growing in a closet, a backyard, or a hydroponic setup.
How to Grow Weed for Dummies: Beginner Step by Step Guide

Marcus Holbrook
11 Jul 2026
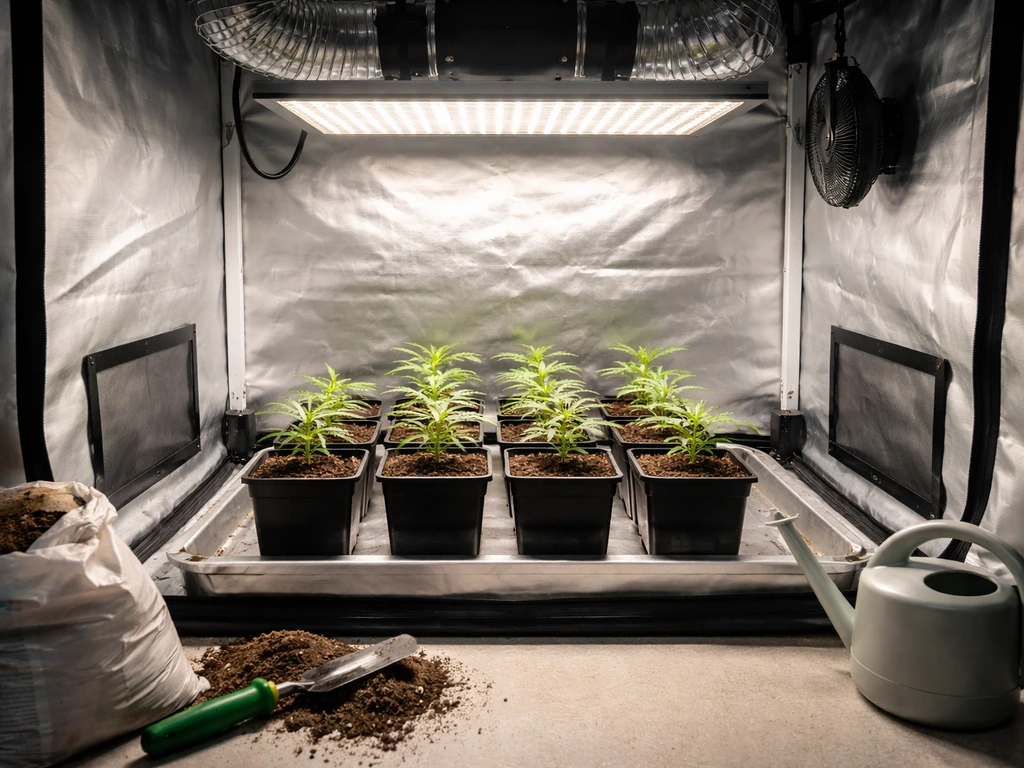
What a 'grow weed for dummies' guide actually covers
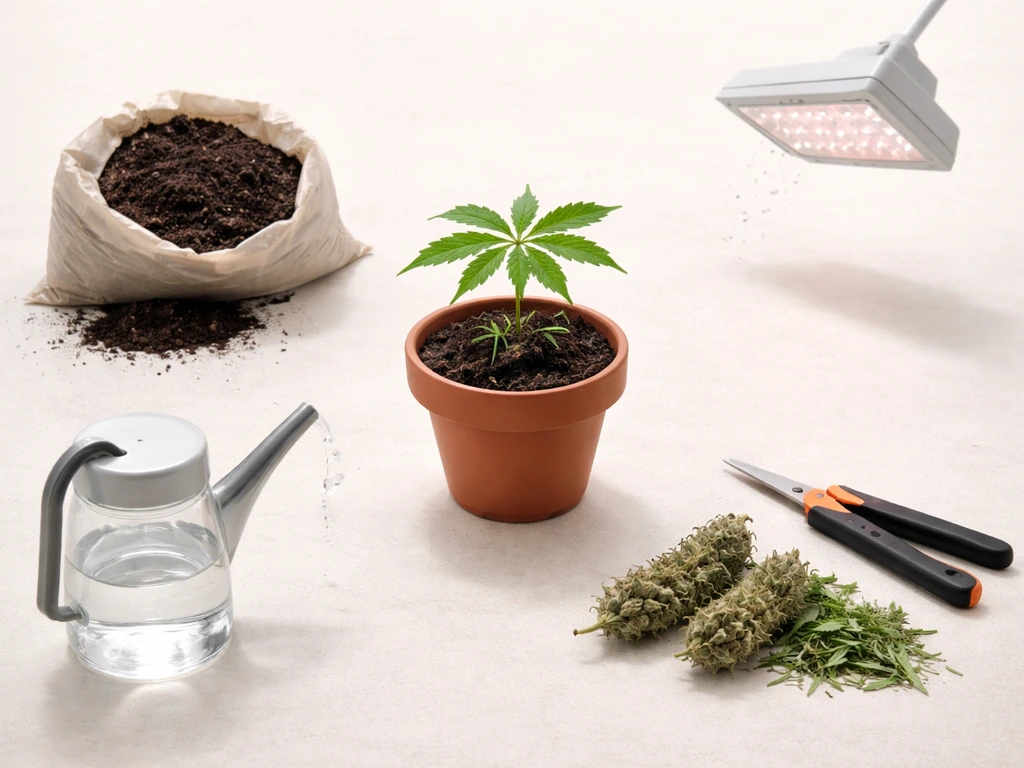
When someone searches for a beginner cannabis book, they're usually not looking for a bibliography. They want the same thing a 'For Dummies' book delivers: structured, jargon-free fundamentals that assume zero prior knowledge. The official Cannabis For Dummies title (published by Wiley-VCH) does exist and covers cultivation, post-harvest handling, and production as a major section. But what people really want from that framing is a practical structure: tell me what to buy, what to do each week, and how to avoid ruining everything.
That's the promise of this guide. Think of it as the cultivation section of that book, condensed and made actionable. It covers legal compliance first (because skipping that step can cost you far more than a bad harvest), then setup choices, strain selection, a full lifecycle walkthrough, the environmental controls that make or break a grow, and finally the troubleshooting section that every beginner eventually needs. If you're looking to go deeper on indoor-specific methods, there's a lot more detail available in dedicated guides on growing weed indoors and growing cannabis indoors as companion reading.
Check the law before you buy a single seed
This isn't a formality. Home cultivation is still illegal in many places, and the rules vary wildly even within legal jurisdictions. Getting this wrong before you start is the easiest mistake to avoid. Here's a quick snapshot of how home grow limits work in a few major legal markets:
| Jurisdiction | Plant Limit | Key Notes |
|---|---|---|
| Canada (federal) | 4 plants per household | Must be grown from licensed seeds or seedlings; illegal-source seeds create compliance risk |
| California | 6 plants per adult (21+) | Per California Department of Cannabis Control; local city/county rules may be stricter |
| Massachusetts | 6 plants per person, 12 per household max | Adult-use; household cap applies when multiple adults share a space |
| Oregon | 4 plants per household (recreational) | Medical patients may qualify for higher limits under the OMMP |
| Washington DC | 6 plants total, max 3 mature flowering | Must be grown inside a principal residence (interior of house or rental unit) |
| Many U.S. states / countries | Illegal | Always verify your local law before starting; penalties vary significantly |
A few things to highlight from the table above: in Canada, Health Canada is explicit that plants must come from licensed suppliers. In particular, the Cannabis Act prohibits cultivating, propagating, or harvesting more than four cannabis plants at any one time in a dwelling-house if two or more adults ordinarily reside there, unless authorized [the dwelling-house limit of four cannabis plants](https://laws-lois. justice. gc.
ca/eng/acts/C-24. 5/FullText. html? txthl=enforcement&wbdisable=true).
Growing from illegally sourced seeds puts you outside compliance even if you're within the plant count. In the U. S. , state law and local municipal rules can conflict, so check both.
Oregon distinguishes between mature and immature plants for medical growers, which changes limits considerably. And DC's rules are tied specifically to the interior of your primary residence, not a detached structure.
The responsible approach: confirm your local plant limit, source seeds or clones legally, keep your grow within your allowed space, and store harvested cannabis within personal possession limits. Once you've cleared that hurdle, you can focus entirely on growing great plants.
Picking your grow setup: indoor, outdoor, or hydroponic
Your setup choice shapes almost every decision that follows, so it's worth thinking through before you spend a dollar. If your goal is how to grow weed fast indoors, your next step is to dial in lighting, temperature, and airflow for rapid, steady vegetative growth. None of these methods is objectively better for a first-time grower. They just come with different tradeoffs.
Indoor soil grows
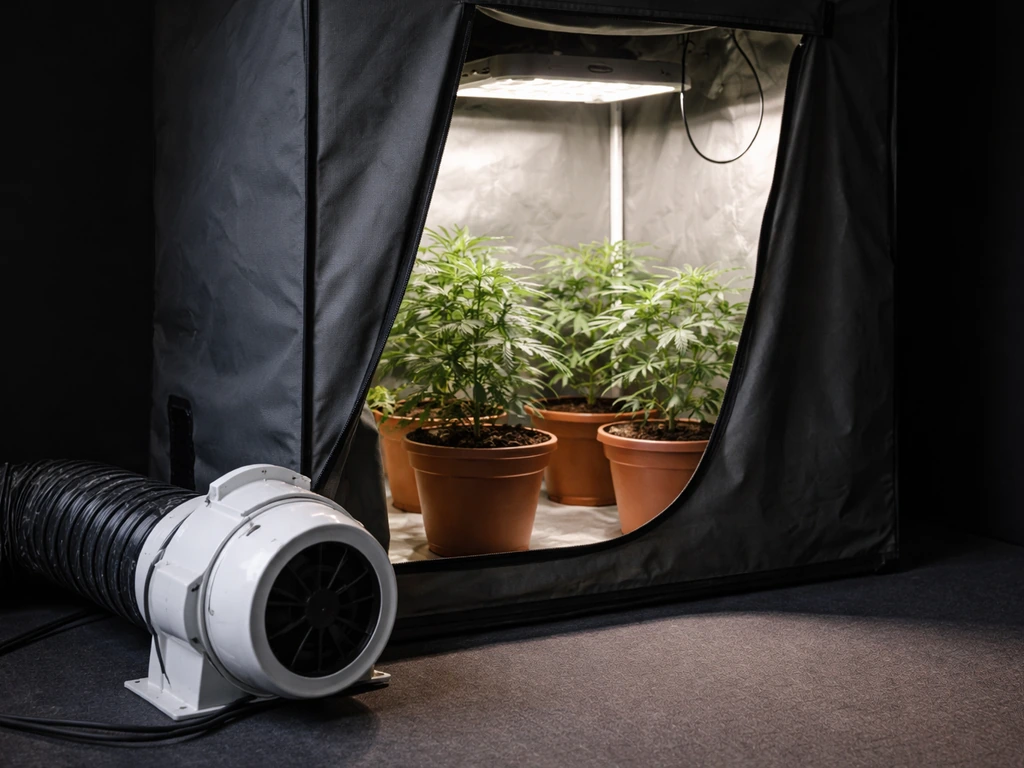
Indoor growing gives you full environmental control: you set the temperature, humidity, light schedule, and airflow. Leafly puts the ideal indoor flowering range at 65–80°F with relative humidity around 40–50%, and you can hit those numbers consistently indoors. The tradeoff is cost: grow tents, LED or HID lights, fans, and environmental monitoring equipment add up. But for a first-time grower who wants predictable results year-round and doesn't want to depend on weather, this is the most reliable starting point. A basic 2x4 grow tent setup can run $300–600 and produce meaningful yields.
Outdoor growing
Outdoor growing cuts your equipment costs dramatically and lets the sun do the heavy lifting. The downside is that you're tied to your local seasons and climate. A grower in Southern California has a very different experience than one in the Pacific Northwest. You're also more exposed to pests, mold pressure from rain, and the inability to control when flowering kicks in (for photoperiod strains). That said, outdoor-grown cannabis can yield impressive amounts per plant with almost no electricity cost. If your climate cooperates and your legal situation allows outdoor cultivation, it's a genuinely excellent option.
Hydroponics
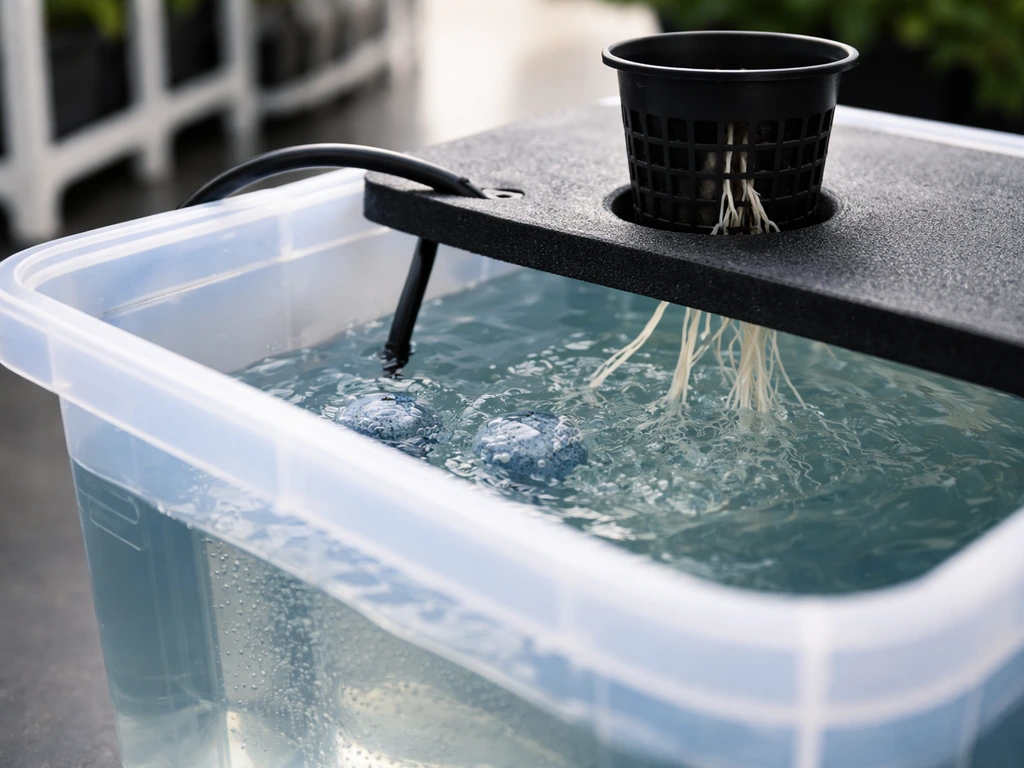
Hydroponic systems deliver nutrients directly to roots in a water solution, skipping soil entirely. Done right, this accelerates growth and can produce larger yields per square foot. The catch for beginners is that there's less buffer for error: a pH or nutrient problem in a hydro system hits plants faster than in soil. University controlled-environment research consistently notes that hydro setups have higher capital costs and a steeper management curve. If you're a true beginner, I'd recommend starting with soil to build your intuition, then transitioning to hydro once you understand how plants respond to nutrients and environmental shifts.
| Method | Cost to Start | Difficulty | Control Level | Best For |
|---|---|---|---|---|
| Indoor soil | Medium ($300–600+) | Beginner-friendly | High | Year-round grows, predictable results |
| Outdoor soil | Low ($50–150) | Beginner-friendly | Low (weather-dependent) | Warm-climate growers, low-budget starts |
| Hydroponics | Medium-High ($400–800+) | Intermediate | Very High | Growers ready to optimize after learning basics |
Choosing beginner strains and deciding between seeds vs clones
Seeds vs clones
Clones are cuttings taken from a known female plant. They skip the germination stage, guarantee the sex of your plant (no male plant risk), and give you a genetic copy of the parent. The downside is availability: you need a trusted source, and in many places clones are harder to find legally than seeds. Seeds from reputable seed banks offer solid predictability on growth patterns, expected yield, and cannabinoid profiles.
The extra step is germination, and with regular (non-feminized) seeds, you'll need to identify and remove male plants before they pollinate your females. For most beginners, feminized seeds from a licensed seed bank hit the sweet spot: you avoid the sexing problem, and you can order legally online in most legal jurisdictions.
Autoflower vs photoperiod
Photoperiod strains flower based on light schedule: they need a shift from roughly 18 hours of light down to 12 hours to trigger flowering. Autoflowering strains flower based on age, regardless of light schedule. For beginners, autoflowers are often easier because you don't have to manage a precise light-schedule transition, they finish faster (typically 8–10 weeks seed to harvest), and they stay compact.
The tradeoff is that autoflowers are less forgiving of early mistakes (they don't give you time to recover) and generally yield less per plant than a well-grown photoperiod strain. For a first indoor grow, a beginner-friendly autoflower like Northern Lights or Blue Dream Auto is a great starting point. If you want the best way to grow 1 weed plant indoors, start by dialing in your lighting schedule, temps, and humidity for your chosen strain a great starting point.
Strain traits to prioritize as a beginner
- Mold resistance: strains bred for humid climates (many Indica-dominant hybrids) handle humidity swings better
- Compact size: shorter plants are easier to manage in a small indoor space
- Forgiving genetics: avoid pure sativas for your first grow; they grow tall, take longer, and are fussier
- Documented grow data: choose strains with published flowering times and yield estimates from the seed bank so you can plan ahead
- Feminized seeds: eliminates the need to identify and cull male plants mid-grow
Your full grow roadmap: seedling to cured bud
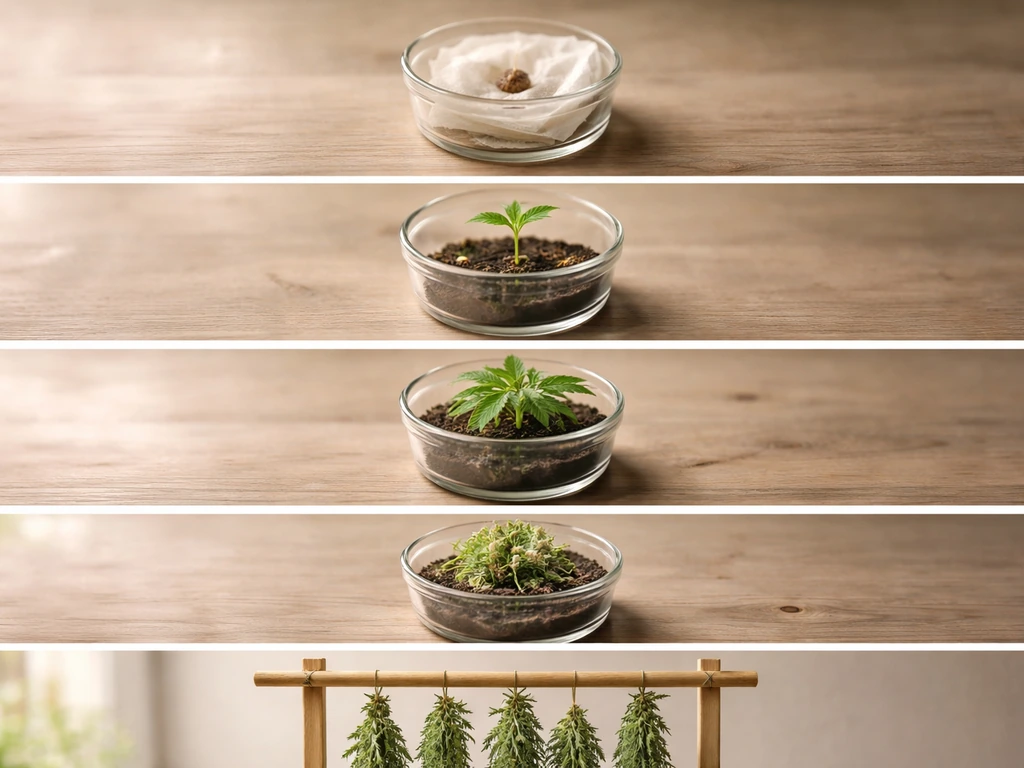
Here's the lifecycle broken into five stages. Every stage has a job. Rush one or skip the transition, and the next stage suffers. I've learned this the hard way more than once.
Stage 1: Germination (Days 1–7)
Place your seed in a damp paper towel inside a zip-lock bag, kept at around 70–85°F. Within 24–120 hours, you'll see a taproot emerge. Once the taproot is about a centimeter long, transfer it carefully (taproot pointing down) into a small seedling pot with a light, airy starter mix. Keep humidity high (70–80%) and light gentle at this stage: a 24-watt CFL or LED at low intensity on an 18/6 schedule works perfectly. Do not overwater. The number one germination killer is a soggy medium that rots the taproot before it ever gets started.
Stage 2: Seedling (Days 7–21)
Your seedling has sprouted and is growing its first sets of true leaves. At this point the plant is fragile and needs gentle treatment. Keep temperatures around 70–77°F, humidity at 60–70%, and maintain an 18/6 light schedule. Avoid feeding nutrients until the plant has 3–4 nodes; starter soil has enough nutrients for the first few weeks. The most common mistake here is overwatering. Water only when the top inch of soil is dry, and let the pot feel light before watering again.
Stage 3: Vegetative growth (Weeks 3–8+)
This is when your plant builds the structure it will use to support buds later. Keep photoperiod plants on 18+ hours of light to hold them in veg as long as you want. Autoflowers will begin transitioning on their own schedule regardless. During veg, you can top or train your plants to maximize canopy coverage and eventual yield. Introduce a light nutrient feed (higher in nitrogen) once the plant is well-established, and start monitoring pH carefully. Target 6.0–7.0 for soil, 5.5–6.5 for hydro. Nutrient problems in flowering almost always trace back to pH drift that started in veg.
Stage 4: Flowering (Weeks 8–20 depending on strain)
For photoperiod plants, trigger flowering by switching your timer to a 12 hours on / 12 hours of uninterrupted darkness schedule. This is non-negotiable: any light leaks during the dark period can stress plants and cause hermaphroditism. During flowering, drop humidity to 40–50% and keep temperatures at 65–80°F. Shift your nutrient feed toward higher phosphorus and potassium, lower nitrogen. Trichomes (the tiny crystal-like structures on buds) are your harvest signal: clear trichomes mean too early, milky white is peak THC, and amber trichomes indicate a more sedative, degraded effect. Most growers aim for a mix of cloudy and about 10–20% amber. A jeweler's loupe or cheap digital microscope makes this assessment easy.
Stage 5: Harvest and curing
Cut branches and hang them upside down in a dark, well-ventilated space at 60–70°F and 45–55% humidity for 7–14 days until the smaller stems snap rather than bend. Then trim your buds and move them into airtight glass jars. Open the jars ('burp' them) for 10–15 minutes daily for the first two weeks to release moisture and allow the curing process to happen. This step is where most of the flavor and smoothness develops. Rushing the cure by skipping the jar stage is one of the most common ways to ruin an otherwise great harvest. Minimum cure time is two weeks; 4–8 weeks produces noticeably better results.
The growing basics that beginners constantly get wrong
Lighting
Light is the engine of your grow. Beginners often either underprovide light (dim LEDs too far from the canopy) or burn plants by positioning lights too close. A general rule for LED panels: follow the manufacturer's distance recommendations and verify your plants aren't showing light stress (bleaching at the tops, curling leaves). For indoor photoperiod grows, your timer is critical: 18/6 for veg, 12/12 for flower, and no light leaks during the dark period. If you want to see these lighting and timing steps in action, look for how to grow weed indoors videos that walk through common setup mistakes. Running 24 hours of light during veg is possible but adds electricity cost without proportional benefit for most strains.
Temperature and humidity
Buy a thermo-hygrometer before you buy anything else. It's a $10–20 tool that tells you both temperature and relative humidity at a glance, and it will save you from most environmental disasters. Target temperatures: 70–85°F in veg, 65–80°F in flower. Relative humidity: 60–70% in seedling stage, 40–70% in veg, 40–50% in early flower, and ideally under 45% in late flower to prevent mold. If you can't hit these targets, a small humidifier, dehumidifier, or portable AC unit (depending on your climate) is a worthwhile investment.
Watering
Overwatering is the most consistent beginner mistake in cannabis cultivation, period. Roots need oxygen as well as water, and a constantly wet medium suffocates them. The right approach: water thoroughly until you get 10–20% runoff from the bottom of the pot, then wait until the top inch of soil is dry and the pot feels light before watering again. The 'lift test' (feeling how heavy the pot is when dry vs wet) becomes second nature quickly. Also, always use pH-adjusted water: 6.0–7.0 for soil, 5.5–6.5 for hydro or coco. pH drift outside these ranges locks out nutrients at the root level and causes deficiency symptoms even when your nutrient solution is perfectly mixed.
Nutrients
Cannabis needs nitrogen (N), phosphorus (P), and potassium (K) in varying ratios depending on growth stage, plus a range of micronutrients. In veg, lean toward higher N. In flower, reduce N and increase P and K. The most important concept for beginners: start at half the recommended dose on any nutrient label. It's far easier to correct a mild deficiency (add more nutrients) than to flush out a toxicity (which takes days and stresses the plant). Test your runoff water with a basic pH and EC meter regularly. As UNH Extension research notes, EC tells you the fertilizer salt concentration in your media, and pH tells you whether those nutrients are actually accessible to roots. Both matter.
Airflow
Good airflow does three things: it strengthens stems (gentle oscillating fan movement stimulates growth), it prevents hot and humid pockets from forming in your canopy (which breed mold), and it keeps CO2 levels replenished near your plants. In a grow tent, you need at minimum an oscillating fan inside and an inline exhaust fan with carbon filter pulling air out. A good rule of thumb: exchange the air in your grow space at least once per minute. Stagnant air is where problems start.
Troubleshooting: the problems that hit almost every new grower
Pests: fungus gnats, spider mites, and thrips
Fungus gnats are tiny flies whose larvae live in your soil and damage roots. They thrive in wet, overwatered growing media (another reason not to overwater). Control them with yellow sticky traps for monitoring, letting the soil surface dry between waterings, and biological controls like Bacillus thuringiensis israelensis (Bti) soil drenches or beneficial nematodes if populations get established. Spider mites and thrips are harder to spot early.
Check the undersides of leaves weekly during veg and early flower. [Correct identification matters before you treat: a pesticide that works on spider mites does nothing for thrips. ](https://academic. oup.
com/jipm/article/10/1/26/5555744) For an organic first response, insecticidal soap or neem oil sprays work on mites and thrips in early infestations, but stop spraying anything on buds once flowering is underway.
Mold and mildew: Botrytis and powdery mildew
Botrytis (bud rot/gray mold) is the single most devastating disease a cannabis grower can face, especially in late flowering. It's favored by high humidity, poor airflow, and dense bud structure. Once infected buds start showing that grayish-brown rot, it spreads fast via airborne spores. Prevention is everything here: keep late-flower humidity under 45%, maintain strong airflow through the canopy, and inspect buds carefully in the final two weeks before harvest. Powdery mildew looks like white powder on leaves and is also driven by high humidity and poor circulation. If you catch it early, remove affected leaves and improve your environment immediately. Both diseases are far easier to prevent than to cure mid-grow.
Nutrient deficiencies and toxicities
Yellow leaves, purple stems, brown leaf edges, and curling tips are all symptoms of nutrient problems, but they can mean different things depending on where on the plant they appear and what stage you're in. Before you add more of anything, check your pH first. Most 'deficiency' symptoms in otherwise well-fed plants are pH lockout problems, not actual nutrient shortages. If pH is correct and the problem persists, look at your EC reading to confirm whether you're under- or over-feeding. Nitrogen deficiency (yellowing from the bottom up, older leaves first) is common in late veg. Phosphorus deficiency (purple/red coloration, slow bud development) often appears in flower. Overfeeding looks like brown tips and edges starting at the leaf margins (nutrient burn).
Slow growth and general stress
If your plant looks stunted or is growing far slower than expected, work through this checklist in order: Is the pH of your water and soil runoff in range? Is the medium too wet (are roots getting oxygen)? Is the light intensity sufficient and at the right distance? Is the temperature consistently in the right range? Is there adequate airflow? Is the plant rootbound in too small a pot? Most slow-growth problems trace back to one of these six causes. Fix the environment before you change your nutrient program, because stress symptoms from a bad environment look almost identical to nutrient problems.
Your beginner grow checklist
Before you start your first grow, make sure you have these basics covered:
- Confirm your local home cultivation laws and plant limits (check both state/provincial and municipal rules)
- Source seeds or clones legally from a licensed supplier
- Set up a light-proof grow space (grow tent, closet, or room with no light leaks)
- Install a light with appropriate wattage for your space, on a timer
- Set up an oscillating fan plus an inline exhaust fan with carbon filter
- Buy a thermo-hygrometer and place it at canopy height
- Get a pH meter and calibration solution (or quality pH drops at minimum)
- Choose a quality starter soil and a basic 3-part nutrient line
- Pick a beginner-friendly feminized autoflower or photoperiod strain
- Have glass mason jars ready for curing before harvest day arrives
That list covers the essentials that most beginner guides, including the structured 'for dummies' approach, build everything else around. If you want to go deeper on specific methods, a dedicated guide on growing weed indoors for dummies or step-by-step indoor grow tutorials will give you even more granular stage-by-stage detail. But if you follow the roadmap above, stay legal, and don't let perfect be the enemy of good on your first grow, you'll produce real cannabis at home with skills that compound quickly into your second and third run.
FAQ
How long should I wait for my cannabis seed to germinate before I give up?
If your seed does not sprout after about 120 hours in a warm, damp paper towel, the most common cause is inconsistent moisture or temperature rather than “bad luck.” Keep the towel damp but not dripping, confirm the bag stays roughly within the 70 to 85°F range, and avoid repeatedly opening it to check. If nothing happens after that window, start over with a fresh seed rather than forcing it further.
Should I test pH of my nutrient mix, or only the runoff in soil or hydro?
For most beginners, the biggest pH mistake is testing runoff too late or using pH strips that are inaccurate. Measure pH of your input water, then pH and runoff during the same watering event. If runoff pH keeps drifting out of range, the root zone is effectively “locking out” nutrients even if your nutrient mix looked correct.
What’s the best way to prevent light leaks or timer failures during 12/12 flowering?
Plan for at least two separate timers or a timer with battery backup for dark-period reliability. If power flickers during the flowering “dark” window, photoperiod plants can be stressed. Use a timer that won’t reset silently after outages, and consider a small UPS so the 12 hours of uninterrupted darkness stays truly uninterrupted.
When should I start nutrients, and how do I avoid burning my seedlings?
Before you start feeding, confirm your plant has 3 to 4 nodes (and that it is not actively drooping from dryness or temperature). Then start nutrients at half strength, and increase only if new growth stays healthy. Sudden full-dose feeding on seedlings is a frequent cause of nutrient burn that later gets misdiagnosed as “overwatering.”
Can I run 24 hours of light during vegetative growth to grow faster?
Yes, but only if your lighting schedule remains stable and your canopy can handle the heat. Running extra light during veg can increase electricity costs without reliably increasing final yield, especially for first grows. If you do extend light, keep temperatures and humidity within the same targets and watch for signs of light stress or slowed growth.
How should I use EC and pH meters to troubleshoot deficiencies correctly?
Calibrate your EC and pH tools before the grow, then re-check periodically because drift is real over time. When troubleshooting, use EC as the salt concentration check, then pH to verify nutrient accessibility. If EC is in range but plants show deficiency symptoms, assume pH lockout first rather than immediately adding more nutrients.
My leaves are yellow. How do I tell if it is nitrogen deficiency versus pH lockout?
If you see yellowing, inspect location and pattern first. Yellowing on older, lower leaves that starts in late veg often aligns with nitrogen being reduced for the stage transition, not necessarily a “nutrient shortage.” If you can, verify runoff pH before making any changes, because many “deficiency” symptoms are actually nutrient lockout.
Can I reuse my soil or grow medium for the next run?
You can reuse soil in some cases, but you must treat it as contaminated or nutrient-depleted until proven otherwise. For beginners, the safer approach is fresh or properly amended media, because residual salts, pests, and wrong nutrient balances are common with reused soil. If you do reuse, consider a full reset plan (media sterilization or disposal, plus a nutrient and pH strategy) rather than just “add more nutrients.”
How often should I burp jars during curing, and what signs mean I’m doing it wrong?
During the first two weeks of curing, “burping” is mainly about controlling moisture release and preventing anaerobic conditions. Open jars briefly daily, then taper off as the buds stabilize. If buds feel overly wet and jars smell strongly “green,” extend burping duration slightly, but stop if humidity drops too quickly and the jar loses its typical cure moisture balance.
What’s the safest way to handle spider mites or thrips during flowering without ruining buds?
It depends on how early you notice. For small early infestations, spot treating with insecticidal soap or neem can work on mites or thrips, but correct identification matters because treatments differ. Once flowering is underway, avoid spraying directly on buds, and focus on removing the problem via improved airflow, inspection, and targeted treatment only on foliage.
Can I really produce well with only one plant indoors, and what setup changes should I make?
Typically, yes. For most beginners, the “1 weed plant” goal conflicts with space and equipment sizing if you do not plan canopy and air movement. A small plant can still benefit from a tent setup that supports proper airflow, gentle airflow across the canopy, and enough light intensity at the correct distance.
How do I choose the right plant count so I stay compliant and avoid mold risks?
Start by verifying your legal limits for number of plants and how they are counted in your jurisdiction, then make a realistic plan for space and airflow. Even if the law allows it, too many plants in a small area can overwhelm humidity control, raising mold and bud rot risk. A simple decision aid is to size for your humidity targets first, then choose plant count based on how many can fit while staying under the 40 to 50% humidity goal in early flower.
Next Article
How to Grow 1 Weed Plant Indoors: Step-by-Step Guide
Step-by-step indoor plan to grow 1 cannabis plant, with gear, light, nutrients, training, troubleshooting, harvest and c