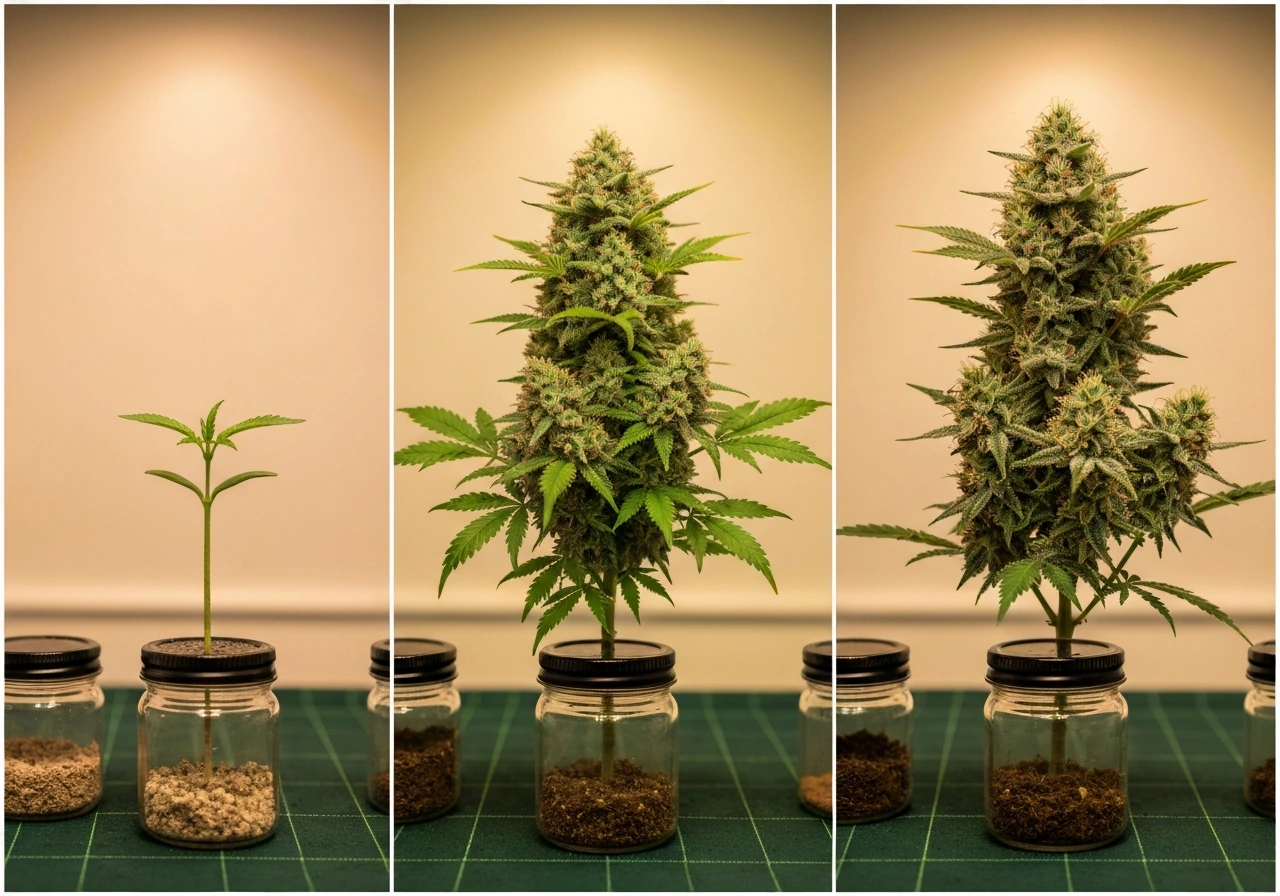
Growing the best weed plants comes down to five things done consistently well: good genetics matched to your grow style, a dialed-in environment (light, temperature, humidity, and airflow), the right nutrients at the right time, trained plants that use your space efficiently, and a harvest and cure that preserve everything you worked for. Get those five things right and you will grow weed that rivals anything at a dispensary. Miss one of them consistently and your results will always feel just short of great.
How to Grow the Best Weed Plants Step by Step

Marcus Holbrook
25 Jun 2026
Before anything else, a quick but important note: cannabis cultivation laws vary widely by country, state, and province. Everything in this guide assumes you are growing legally under the rules of your jurisdiction. Check your local plant count limits, canopy size restrictions, and any rules around public visibility or shared housing before you start. Responsible growing means staying inside those boundaries, full stop.
Choosing genetics and grow method for 'best weed'
"Best" is not one thing. If you want maximum THC, that is a different strain than if you want heavy yields, a short grow cycle, or rich terpene profiles. So start by defining your goal, then choose genetics that are bred to hit that target. A high-yielding, mold-resistant strain like a well-bred Northern Lights or a stabilized autoflower may outperform a legendary cutting if you do not have the environment to support it.
Your grow method is just as important as your strain choice. Soil, coco coir, and hydroponic systems each have real advantages, and none of them is objectively the best path.
| Method | Best For | Difficulty | Typical Yield Potential | Key Tradeoff |
|---|---|---|---|---|
| Soil (amended/living) | Beginners, outdoor, flavor-focused grows | Low | Moderate to high | Slower correction of nutrient problems |
| Coco coir | Indoor, faster growth, beginner-friendly hydro | Medium | High | Requires consistent watering and cal-mag |
| Hydroponic (DWC/NFT) | Maximum yield and growth speed | Medium-High | Very high | pH and EC swings punish fast; less forgiving |
| Outdoor / in-ground soil | Large plants, natural light, low cost | Low-Medium | Very high per plant | Weather and pest exposure; season-dependent |
For most beginners, a quality photoperiod or autoflowering strain grown in a premium potting mix or coco coir is the best starting point. Autoflowers are faster (60 to 75 days seed to harvest) and do not require a light schedule change, which simplifies things enormously. Photoperiod strains give you more control over plant size and let you keep plants in veg until they are exactly the size you want. Pick one method, commit to it, and learn it well before mixing approaches.
Seed or clone setup and dialing in your environment
Seeds vs. clones
Feminized seeds from a reputable breeder are the easiest starting point. They are stable, free of male plants, and do not require a mother plant. Clones are faster if you have a proven, healthy mother, but they can carry pests or disease into your space. If you go with clones, inspect them carefully and consider a short quarantine period before introducing them to your main grow area.
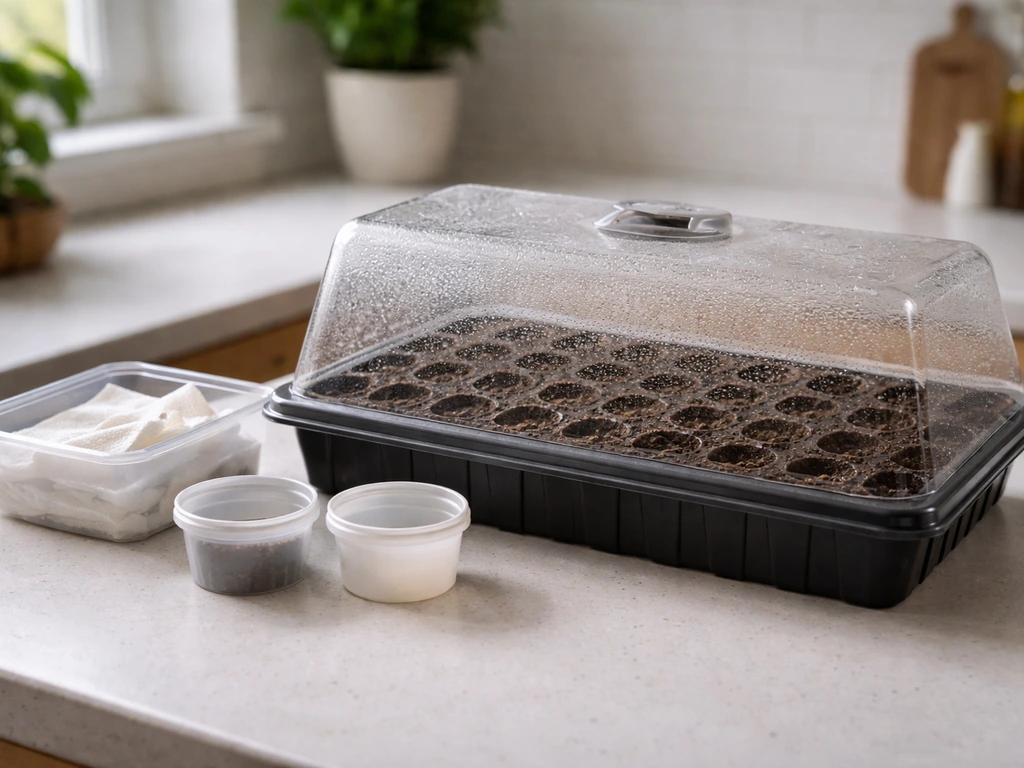
Germinate seeds using the paper towel method or by planting directly into a lightly moistened seedling mix. Keep temperatures at 75 to 80°F (24 to 27°C) and humidity around 65 to 70% during germination and the seedling stage. Most seeds pop within 24 to 72 hours using the paper towel method. Plant taproot-down, about a quarter inch deep, and keep your light close but not blasting heat onto the canopy.
Environment targets from day one
Temperature and humidity are your two biggest levers. Vapor Pressure Deficit (VPD) is the measurement that ties both together, and it tells you how efficiently your plant is transpiring. You do not need to obsess over VPD math, but you do need to understand the concept: too high and the plant closes stomata and slows growth; too low and you risk fungal issues. A decent VPD chart (many are free online) paired with a digital temperature and humidity sensor is all you need to stay in range.
| Growth Stage | Temperature (°F) | Relative Humidity (%) | Target VPD (kPa) |
|---|---|---|---|
| Seedling | 75–80 | 65–70 | 0.4–0.8 |
| Vegetative | 70–82 | 50–65 | 0.8–1.2 |
| Early Flowering (weeks 1–3) | 68–78 | 45–55 | 1.0–1.4 |
| Late Flowering (weeks 4+) | 64–76 | 35–45 | 1.4–1.6 |
That drop in humidity as you move into late flower is not optional. A 2025 study found that elevated relative humidity significantly decreased cannabinoid concentrations and delayed flowering onset by roughly three weeks compared to lower RH conditions. Keeping humidity high late in flower does not just raise mold risk, it actively reduces the potency of your finished product. For even more guidance on how to grow more potent weed, focus on your strain choice and late-flower environment control potency of your finished product. Get a dehumidifier if you need one.
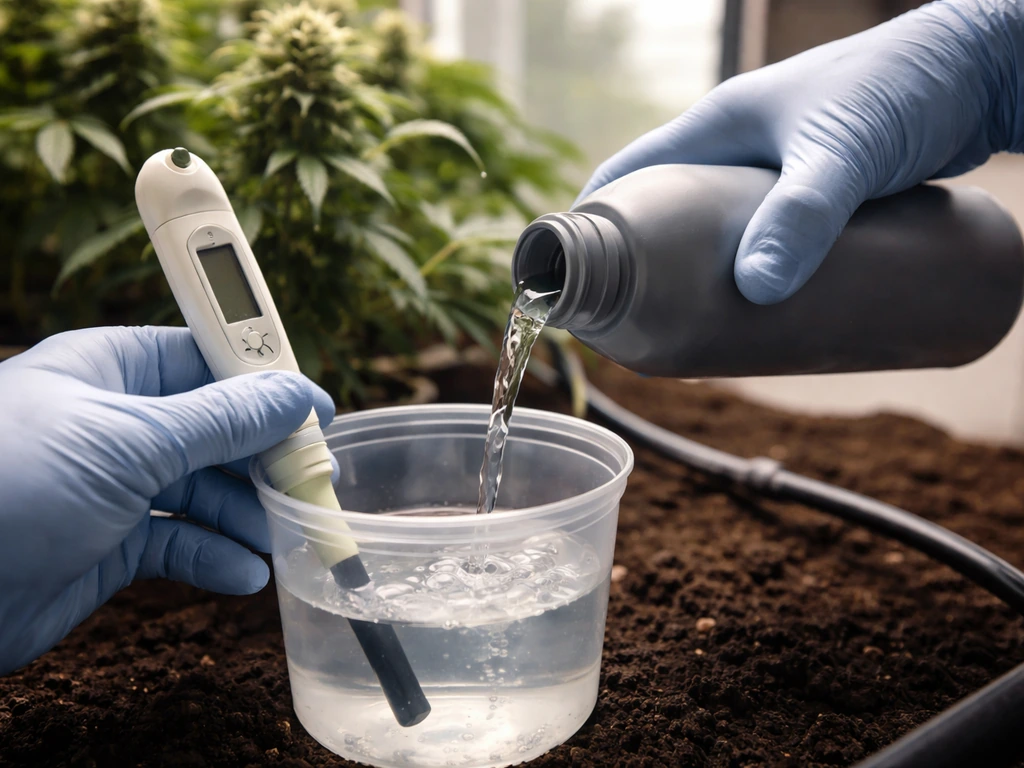
Container, medium, and root zone
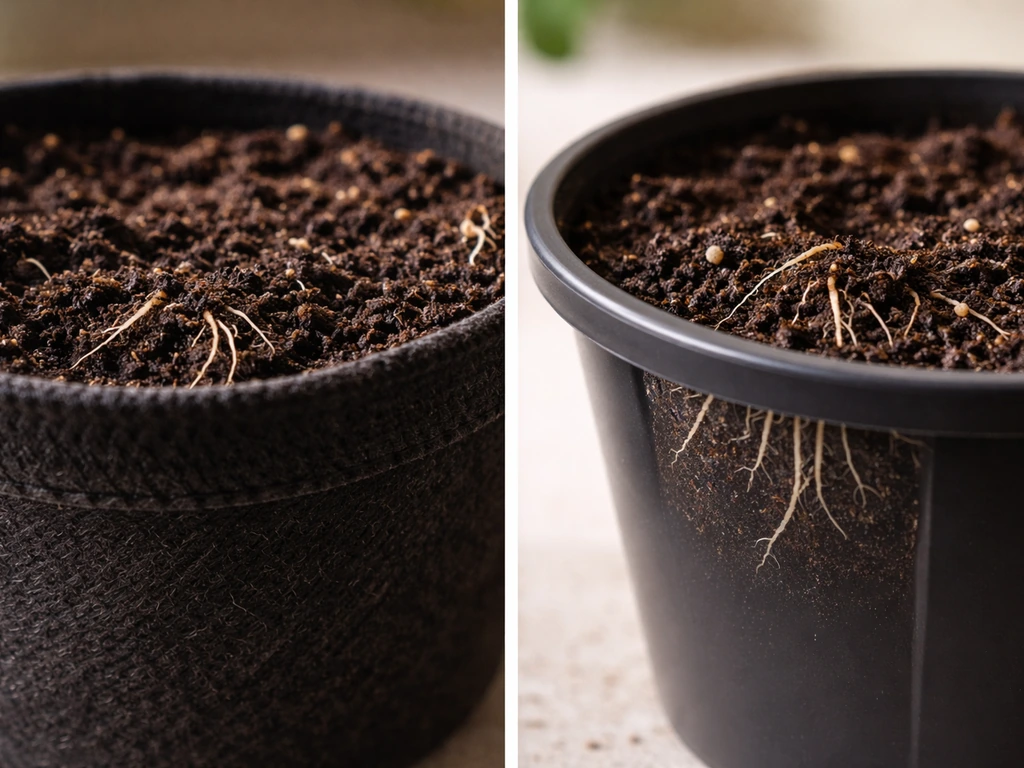
Use fabric pots if you can. They air-prune roots and prevent overwatering far better than plastic. A good starting size is 3 to 5 gallons for indoor plants in veg, scaling up to 5 to 10 gallons for larger photoperiod plants. If you are growing in soil, use a high-quality potting mix with good drainage. For coco, aim for a 70/30 coco-to-perlite blend. Always maintain your root zone pH: 6.0 to 7.0 for soil, 5.5 to 6.2 for coco and hydro. pH drift outside these ranges locks out nutrients regardless of how much you feed.
Vegetative growth: light schedule, nutrients, and training
Light during veg
Photoperiod plants stay in veg under 18 hours of light and 6 hours of darkness. A 2022 ScienceDirect study on LED lighting during the vegetative stage reported that light intensity can be adjusted to influence vegetative morphology and support stronger growth for higher yield potential.
Autoflowers are typically run at 18/6 or even 20/4 their whole life. Research confirms that [cumulative light during the vegetative stage, measured as total PPFD (photosynthetic photon flux density), directly correlates with plant size, node count, and branching](https://www. ncbi. nlm.
nih. gov/pmc/articles/PMC12699039/), and because flowers form at every node, more nodes mean more potential bud sites. If you want to make your weed plant grow big, focus on maximizing cumulative light during veg to increase size, node count, and branching how to make my weed plant grow big. For indoor LED grows, target 400 to 600 PPFD during early veg and ramp up to 600 to 900 PPFD by late veg.
Keep your light at the manufacturer's recommended hanging height to avoid light stress.
A full-spectrum LED is the practical choice for most indoor growers in 2026. They run cooler than HPS, last longer, and modern quantum boards deliver excellent canopy penetration. For outdoor growers, you are at the mercy of your latitude and season, but full-sun exposure (6 or more hours of direct sun) is the minimum for a quality harvest.
Vegetative nutrients
During veg, plants need higher nitrogen relative to phosphorus and potassium. A standard 3-1-2 NPK ratio (nitrogen-phosphorus-potassium) works well. Start at half the manufacturer's recommended dose and observe your plants for a week before increasing. Yellow lower leaves often signal nitrogen deficiency, while dark green, clawed leaves suggest nitrogen excess. Adjust by 10 to 20% at a time, not all at once. Always check your runoff or reservoir EC (electrical conductivity) to avoid salt buildup, targeting 0.8 to 1.4 EC during early veg and 1.2 to 2.0 EC in late veg depending on your medium.
Training techniques that make a real difference
Training is one of the biggest levers you have for maximizing yield and quality, and it costs nothing but time. The two most accessible techniques for beginners are Low Stress Training (LST) and topping.
- LST (Low Stress Training): Gently tie down the main stem to create a flat, wide canopy. This exposes lower bud sites to light and encourages even development across the plant. Start when the plant has 4 to 6 nodes.
- Topping: Cut the main growing tip above the 4th or 5th node to create two main colas instead of one. This effectively doubles your top bud sites and keeps the plant wide rather than tall.
- ScrOG (Screen of Green): Weave branches through a horizontal net to create a flat canopy at a uniform height. Excellent for indoor grows where you want to maximize light efficiency in a fixed space.
- Lollipopping: Remove lower growth and popcorn sites that will never receive enough light to produce dense buds. This redirects energy to the top canopy and improves airflow at the base.
Do not train autoflowers aggressively. Because they are on a set schedule, heavy training can stress them at a time when they cannot recover fully. Gentle LST is fine; topping is risky unless you are experienced with your specific autoflower genetics.
Flowering optimization: photoperiod control, nutrients, and airflow
For photoperiod strains, switch to a 12/12 light schedule (12 hours on, 12 hours off) to trigger flowering. Autoflowers handle this automatically. The flip to 12/12 is straightforward but there are two common mistakes: light leaks during the dark period (even a small crack of light can confuse the plant) and not adjusting your environment fast enough as the plant shifts from vegetative to reproductive mode.
Flowering nutrient protocol
Shift your feeding toward higher phosphorus and potassium as soon as you see the first pistils. A 1-3-2 or 1-4-2 NPK ratio supports bud development without excess nitrogen, which can delay maturation and reduce terpene quality. Continue reducing nitrogen gradually through mid-flower. In the final two weeks before harvest, most growers flush with plain pH-adjusted water to clear any residual mineral salts, which can affect the taste and smoothness of the final smoke. Whether you believe in flushing or not, stopping heavy feeding late in flower is almost universally agreed to improve quality.
Airflow and canopy management during flower
Airflow is non-negotiable in flower. Moving air strengthens stems, prevents hot and humid pockets in the canopy, and is your frontline defense against botrytis (bud rot) and powdery mildew. Run at least one oscillating fan inside your tent or room, positioned to move air gently across the canopy without blasting leaves. Your exhaust fan should exchange the full volume of air in your space every one to three minutes. If you are using a sealed room with CO2 supplementation, make sure your CO2 controller is calibrated and working before you commit to that approach.
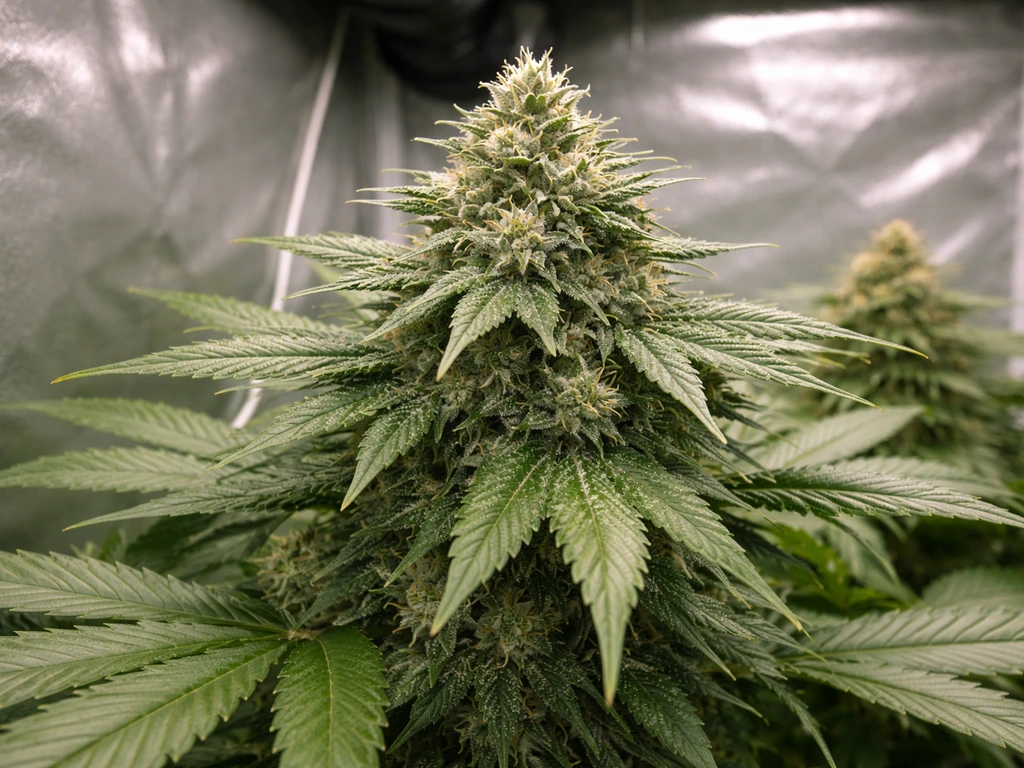
During weeks four through eight of flower (depending on strain), increase your PPFD toward 800 to 1,000+ for high-light-tolerant strains if your setup allows. Research using LED lighting found that higher PPFD during both veg and flower stages enhanced inflorescence yield. Do not increase light intensity without also managing the resulting heat and humidity change, because those factors interact. More light usually means more heat, which means you need more airflow and potentially more dehumidification.
Harvest timing and post-harvest curing basics
Knowing when to harvest
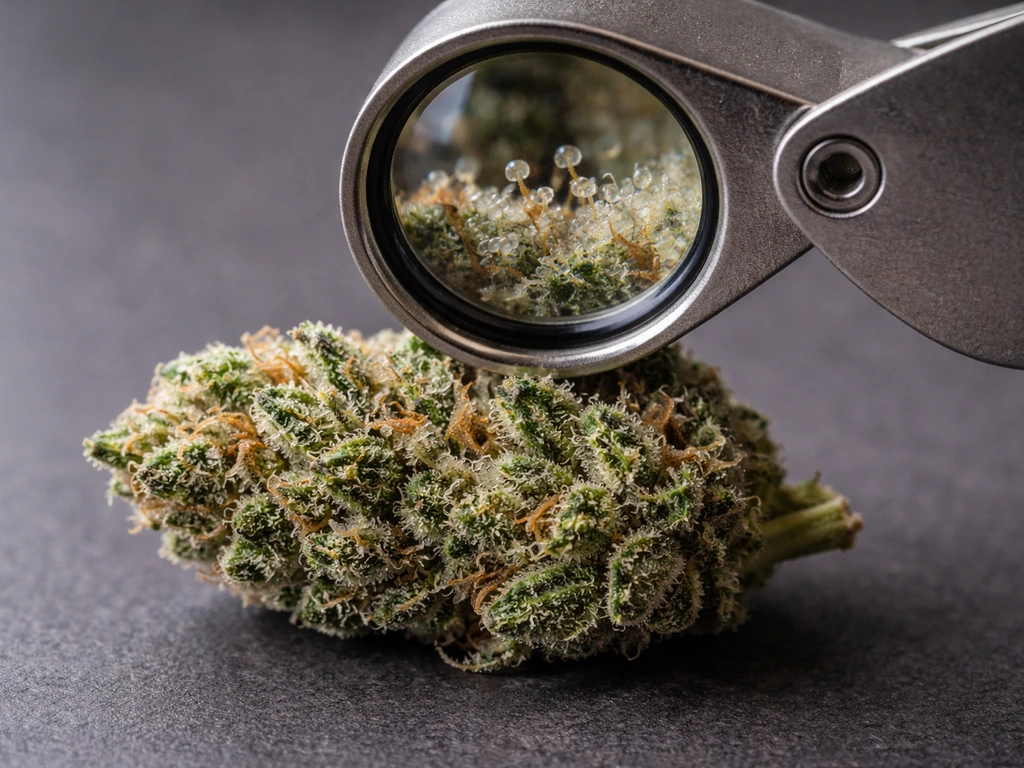
The single most reliable way to time your harvest is by examining trichomes under a jeweler's loupe (30x to 60x) or a digital microscope. Trichomes are the tiny resin glands that hold THC, CBD, and terpenes. Here is what to look for and what it means:
- Clear trichomes: Not ready. THC is still building. Harvesting now gives you weak, anxiety-producing effects.
- Cloudy/milky white trichomes: Peak THC, maximum uplifting effect. Many growers targeting potency harvest when mostly cloudy.
- Amber trichomes: THC is degrading to CBN. More amber means more sedative, relaxing effects. A 10 to 30% amber ratio is a common target for a balanced, body-heavy result.
- Mixed cloudy and amber: The sweet spot for most growers who want both potency and relaxation.
Pistil color is a secondary indicator. When 70 to 90% of white pistils have turned orange or red, the plant is approaching maturity. Use this alongside trichome inspection, not as a replacement for it. Breeder-listed flowering times are estimates, not guarantees. Always check trichomes.
Drying and curing
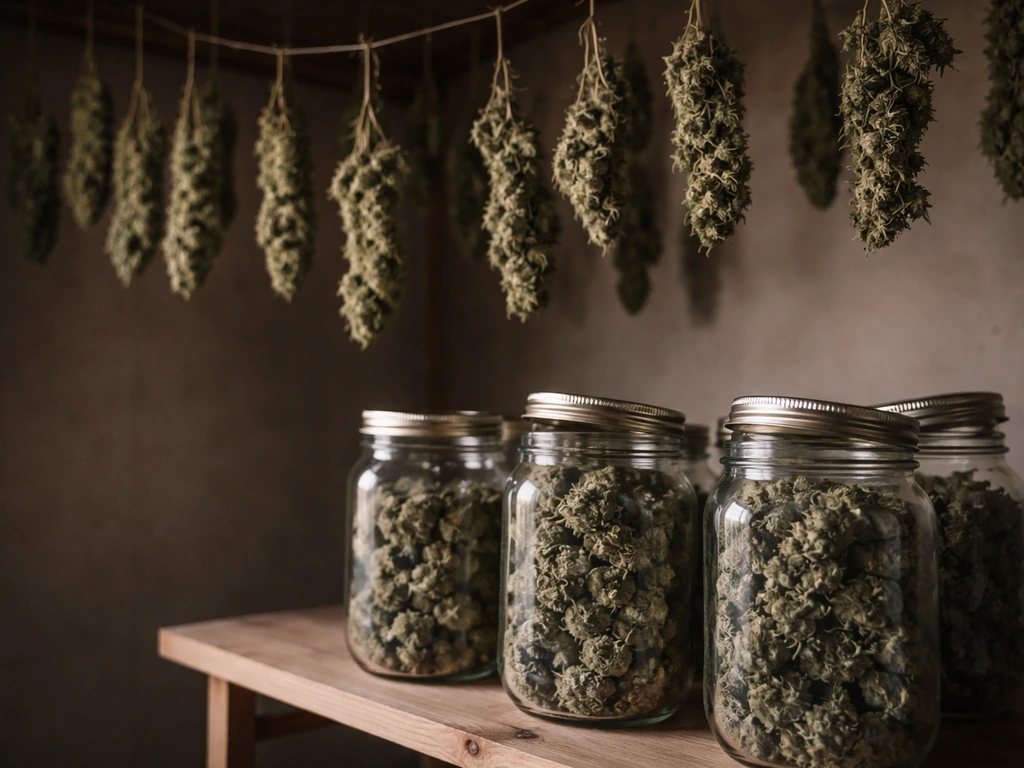
Drying and curing are where a lot of growers throw away weeks of good work. Do not rush this. After cutting, hang whole branches or individual buds in a dark room at 60 to 65°F (15 to 18°C) with 50 to 55% relative humidity and gentle airflow. A slow dry over seven to fourteen days preserves terpenes far better than a fast dry at high temperatures. You know the buds are ready to jar when the smaller stems snap rather than bend.
Once jarred, cure in glass mason jars at room temperature. Open the lids (a process called "burping") twice a day for the first two weeks to release moisture and exchange gases. After two weeks, burp once daily for another two weeks. A minimum cure of four weeks transforms the taste, smoothness, and effect profile of your bud significantly compared to freshly dried weed. Six to eight weeks is even better for high-quality strains. Keep jars in a cool, dark space and your product will hold quality for months.
Regarding disposal of plant waste: check your local rules. Many jurisdictions require cannabis plant waste to be rendered unusable before disposal (mixed with soil, paper, or other compostable material). Do not discard live plant material or identifiable cannabis waste in public areas or unsecured bins.
Troubleshooting common quality and yield problems
I have made most of these mistakes myself, so here is the honest breakdown of what goes wrong and how to fix it: If you are learning how to take care of weed plants grow, focus on consistent light, nutrients, and humidity targets from seed through harvest.
| Problem | Likely Cause | Fix |
|---|---|---|
| Yellow lower leaves during veg | Nitrogen deficiency | Increase nitrogen feed by 15–20%; check pH first |
| Dark green clawed leaves | Nitrogen toxicity | Flush with plain pH water; reduce feed concentration |
| Brown leaf tips and edges | Nutrient burn or low humidity | Reduce EC; increase humidity if below 40% during veg |
| Purple or reddish stems/leaves | Phosphorus deficiency or cold temps | Raise temps above 65°F; adjust phosphorus in feed |
| Spotty yellow patches (interveinal) | Magnesium or iron deficiency | Raise pH if in coco/hydro; add cal-mag supplement |
| Slow or stunted growth | pH out of range, root problems, or low light | Test runoff/reservoir pH; check roots for rot or circling |
| Powdery white coating on leaves | Powdery mildew (PM) | Reduce humidity immediately; remove affected leaves; use potassium bicarbonate spray |
| Gray fuzzy growth on buds | Botrytis (bud rot) | Remove affected buds; increase airflow; reduce humidity below 45% |
| Light bleaching (white or yellow at tops) | Light too close or intensity too high | Raise light or reduce intensity; target 800–1,000 PPFD max |
| Heat stress (tacoing leaves upward) | Temperature above 85°F (29°C) | Improve ventilation or add AC; raise light if LED is heat source |
| Overwatering (droopy, fat leaves) | Watering too frequently | Water only when top inch of medium is dry; lift pot to feel weight |
| Underwatering (droopy, thin leaves) | Not watering enough or hydrophobic medium | Water thoroughly until runoff; check medium for dry pockets |
| Pests (spots, webbing, holes in leaves) | Spider mites, fungus gnats, or thrips | Identify pest specifically; use appropriate treatment (neem, diatomaceous earth, insecticidal soap) |
| Low potency at harvest | Harvested too early, high humidity during flower, or poor genetics | Check trichomes; manage RH below 50% in flower; upgrade genetics next run |
If you are chasing potency specifically and feel like your results are consistently underwhelming, the most common culprits are harvesting too early, high late-flower humidity (which research shows directly reduces cannabinoid concentration), and genetics that are not capable of hitting the numbers you want. If you are aiming for the strongest weed possible, focus on dialing in genetics, environment, and harvest timing together rather than chasing one single variable harvesting too early. Address those three before blaming your technique.
Beginner routine checklist and next-step plan
Consistency beats perfection every single time in cannabis growing. If you want the closest thing to “perfect” weed, focus on consistency across your genetics, environment, feeding, training, and harvest and cure how to grow perfect weed. A basic daily and weekly routine catches problems early and gives you the data to improve run after run.
Daily checks (takes 5 to 10 minutes)
- Check temperature and humidity with your digital sensor; compare to your stage target from the VPD table above
- Inspect leaves for color changes, spots, curling, or pests
- Check soil or coco moisture by lifting the pot or using a moisture probe
- Confirm lights are on and off at the correct times
- Look at the tops of the canopy for any signs of light stress or heat stress
Weekly tasks
- Mix and pH-adjust all feed water before use; target the correct pH for your medium
- Measure runoff EC and pH to detect salt buildup or pH drift
- Prune dead or yellowing leaves and any lower growth that is not getting light
- Adjust training ties or net as the plant grows
- Photograph your plant from the same angle each week to track progress and spot changes
- Clean up any debris on the floor of your grow space to prevent pest habitat
Your next-step action plan
- Confirm your local laws: plant count, canopy limits, visibility rules. Write them down. This is step one, not optional.
- Choose your method (soil, coco, or hydro) and pick one strain suited to that method and your space. Buy feminized seeds from a reputable breeder.
- Set up and test your environment before the first seed goes in. Get temperature, humidity, and light intensity dialed in to seedling-stage targets.
- Germinate and set up your seedling under gentle light (200 to 300 PPFD) with humidity at 65 to 70%.
- Begin training (LST for beginners) once the plant has 4 to 6 nodes. Top if you want multiple colas and are growing photoperiod.
- Flip to 12/12 (photoperiod) or let your autoflower trigger naturally. Drop humidity and shift nutrients toward a bloom formula.
- Monitor trichomes from week 6 of flower onward. Harvest when trichomes match your desired effect profile.
- Dry slowly for 7 to 14 days at 60 to 65°F and 50 to 55% RH. Cure in glass jars for at least four weeks, burping daily.
- Keep a grow journal. Write down what you fed, any problems you saw, and how you fixed them. Your second run will always be better than your first.
If you want to go deeper on specific goals, the path to growing bigger plants, increasing terpene and cannabinoid production, or keeping plants healthy through every stage all branch off from this foundation. Getting the basics of this guide right consistently is what separates growers who are always disappointed by their results from growers who are proud of every harvest. If you want the clearest path to how to grow a healthy weed plant, focus on dialing in the basics you practiced in this checklist and keep conditions steady from day one.
FAQ
If I’m asking “how to grow the best weed plants,” should I pick a high-THC strain or a high-yield strain first?
Start by matching your goal to the right maturity type. If you need the simplest schedule, choose an autoflower, because it does not rely on light-cycle control. If you want maximum control of plant size before flowering, choose photoperiod (veg as long as you need, then flip to 12/12). Then, budget for the reality that “more light” only helps if your heat and humidity are stable enough to keep VPD in range, otherwise you get stress signals instead of more yield.
Why do my plants look like they need more fertilizer even when my pH and EC are “on target”?
Re-check two things before blaming your nutrients: medium and drainage. In coco, people often overwater because coco feels moist longer, and that can lock roots in low-oxygen conditions even when pH and EC look fine. In soil, a common issue is compacted or low-drainage mix that keeps the root zone saturated. If you can, weigh your pots at watering and wait until the pot is meaningfully lighter before the next watering, then adjust feed frequency accordingly.
What’s the most common mistake when using temperature and humidity sensors?
Use your sensors as decision tools, not decorations. Place the temperature and humidity probe at canopy height, not near the exhaust, and avoid measuring where airflow blasts directly onto the sensor. If readings swing wildly, your dehumidifier and circulation may be oversized or mispositioned, causing cycles that stress plants. Stabilize first (constant airflow, correct dehumidifier placement), then fine-tune watering and feeding.
How do I know if my problem is nitrogen excess versus a late-flower issue like high humidity?
Too much nitrogen late in flower is one of the fastest ways to reduce quality, but the fix is gradual. When pistils show, reduce nitrogen according to your feeding plan and let phosphorus and potassium lead. Also, make sure runoff pH and EC are not rising over time, because salt buildup can mimic nutrient issues. If you are already near the end of flower, avoid big changes, aim for consistent low-stress conditions and proper airflow.
Should I harvest when most pistils turn color, or when trichomes look a certain way?
Harvest timing is best when you use trichomes, but the most useful detail is to pick a consistent “target window” and stick to it. Many growers aim when most trichomes are cloudy with some amber, rather than waiting for all amber. Waiting for 100% amber can push flavor sharper and effect more sedative, which may not match your goal. If you have to choose between late and early, err slightly early and then cure properly, because curing can smooth harshness but cannot undo under-ripening completely.
What should I do if I notice early signs of botrytis or mildew on buds?
If you see mold risk increasing, do not try to fix it with trimming alone. Reduce humidity and improve airflow first, then remove only the clearly affected material. When foliage is too wet, buds trap moisture, so keep leaf surfaces dry through better VPD and gentle circulation. Also ensure your drying room has the right RH and temperature, because mold failures often happen after harvest, not in the grow.
Is CO2 supplementation worth it for growing the best weed plants indoors?
Yes, but treat it as a control problem, not a “luxury upgrade.” CO2 works best when lights and airflow keep the environment stable, because plants still need the right light intensity and VPD for efficient photosynthesis. If your humidity is too high, you will just increase mold pressure while getting less real benefit from CO2. If you supplement CO2, confirm your controller and ventilation strategy, then only increase CO2 after you are already hitting consistent temperature and humidity.
How often should I calibrate pH and EC meters to avoid nutrient lockout?
A reliable routine is to calibrate and validate before every run. Calibrate your pH meter using fresh calibration solutions, and check sensor drift by measuring a known solution or your calibration reference. For EC/TDS, verify with a standard conductivity solution when possible. Many growers chase nutrient problems when the real issue is measurement error, especially after storage or heavy cleaning of probes.
What’s the best way to avoid light stress when increasing PPFD?
Lights can look “fine” while still stressing the plant if intensity is uneven across the canopy. Make sure the hanging height and dimmer are set so your target PPFD is consistent where leaves are actually growing, then recheck after any training that changes canopy height. If leaves claw upward or show bleaching, back off PPFD and raise airflow and cooling slightly, then remeasure rather than guessing.
Can I switch from soil to coco (or coco to hydro) mid-grow without hurting my plants?
If you are switching mediums, plan for different buffering behavior. Soil often buffers pH and nutrients, while coco usually behaves more like hydro and can drift if you do not manage it with regular feedings and proper pH. Also, coco generally needs more frequent watering because it holds less available water. If you transition mid-grow, the plant can respond with nutrient disorder, so keep changes small and adjust one variable at a time.
Next Article
How to Grow a Healthy Weed Plant From Seed to Harvest
Step-by-step guide to grow a healthy weed plant, from seed and veg light care to flowering, nutrients, and harvest curin