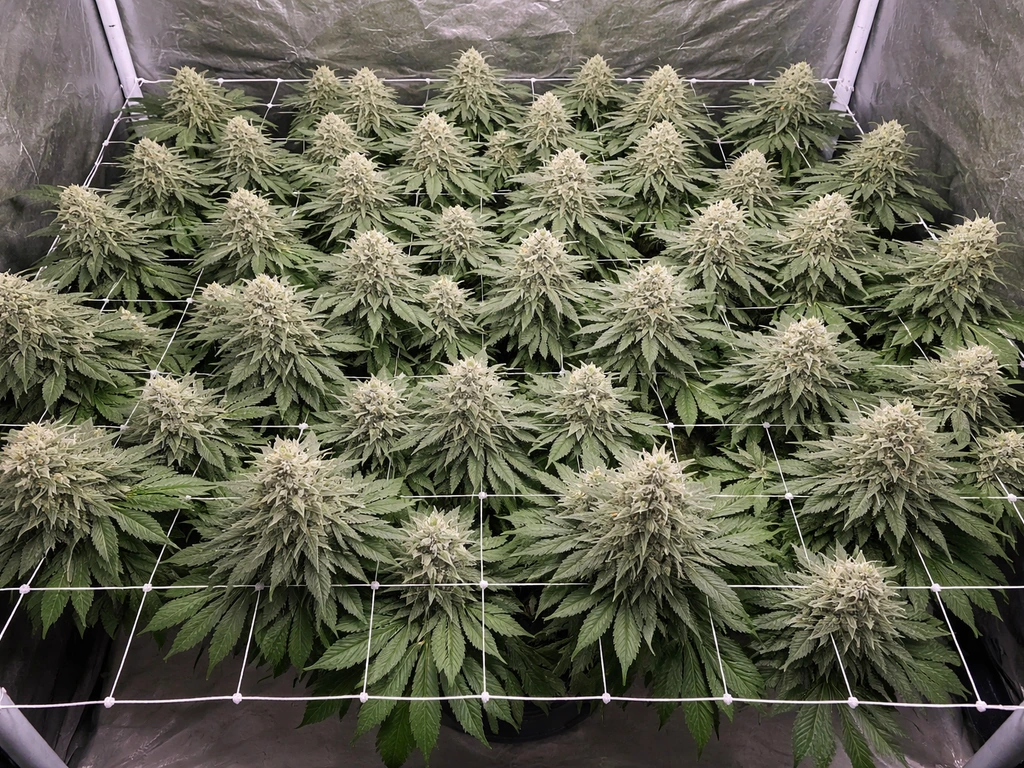
Kush strains are among the most forgiving cannabis plants you can grow at home. They stay short and bushy, flower fast (usually 7–9 weeks), and handle beginner mistakes better than most. Pick your seeds, set up a decent environment, keep pH dialed in, and you will get quality buds on your first run. This guide walks you through the entire process from seed to cured jar, including specific notes on Critical Kush wherever it behaves differently from the wider Kush family.
How Do You Grow Kush at Home A Beginner Guide

Marcus Holbrook
30 May 2026
Before anything else: check your local laws. Home cannabis cultivation is legal in some places and illegal in others, and the rules vary enormously by jurisdiction, plant count limits, and whether your grow is for personal or medical use. Grow responsibly, stay within whatever your local regulations allow, and keep your setup private and secure. Nothing in this guide overrides the laws where you live.
Picking the right Kush strain for your grow
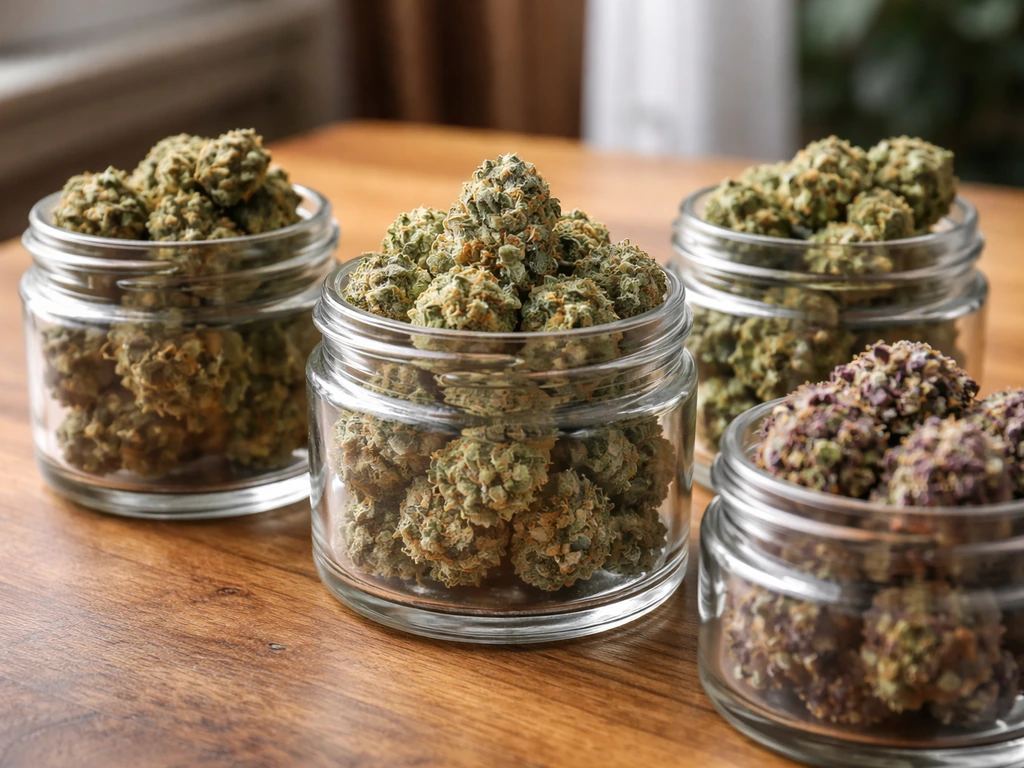
The Kush family is big. OG Kush, Kosher Kush, Rainbow Kush, and Critical Kush all share that indica-dominant, compact, resinous profile, but they have real differences in height, yield potential, and how picky they are about conditions. If you specifically want rainbow kush, focus on keeping conditions stable through late flower so dense buds do not develop mold or bud rot. For most beginners, any Kush is a good starting point because the whole lineage tends to be hardy, resilient, and quick to finish.
Critical Kush deserves a special callout here because it is one of the most popular beginner choices in the Kush family, and it does a few things slightly differently. It is a cross of Critical Mass and OG Kush, which gives it an exceptionally short flowering time: about 55–65 days indoors according to Royal Queen Seeds, or roughly 8–9 weeks by most grower accounts.
It stays compact indoors at around 2–3 feet (60–90 cm), which makes it a great tent strain. Outdoors, expect it to reach about 100–140 cm with yields up to around 550 grams per plant under ideal conditions. That fast finish means less time in the high-humidity danger zone during late flower, which is a real advantage for mold prevention.
When sourcing seeds, buy feminized or autoflowering from a reputable seed bank. Feminized photoperiod seeds give you the most control over timing. Autoflowering Critical Kush exists and is even faster but gives you less flexibility to extend veg time if something goes wrong. For your first grow, feminized photoperiod is the better learning experience. Always buy from a seed bank that ships to your region legally.
| Strain | Indoor Flowering | Indoor Height | Notes for Beginners |
|---|---|---|---|
| Critical Kush | 55–65 days | 60–90 cm (2–3 ft) | Fastest Kush finisher, great for small tents, slightly stretchy at flip |
| OG Kush | 8–9 weeks | 90–120 cm | Classic Kush, slightly more demanding on nutrients |
| Kosher Kush | 9–10 weeks | 60–100 cm | Very dense buds, higher mold vigilance needed |
| Rainbow Kush | 8–9 weeks | 60–90 cm | Colorful, easy going, good for beginners |
| Generic Kush cultivar | 7–9 weeks | 60–120 cm | Most Kush strains fit this window and size range |
Setting up your grow space
Growing indoors
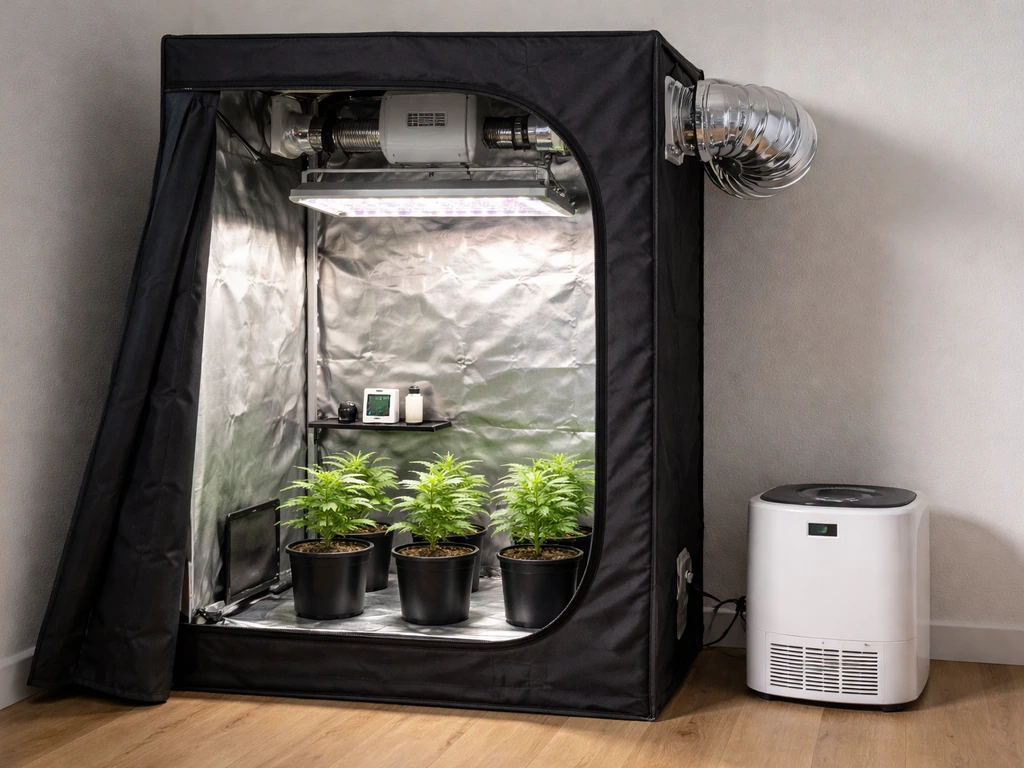
A 2x4 or 4x4 tent with a quality LED is the easiest starting point. Kush strains stay short, so a tent with 5–6 feet of vertical clearance is plenty. You need an inline fan with a carbon filter for odor control and a clip fan or two for canopy airflow. A basic thermometer/hygrometer that logs min/max readings is essential. You cannot manage what you are not measuring.
Target environment by stage. During vegetative growth, aim for 78–82°F (25–28°C) with relative humidity around 55–70% and a VPD of roughly 0.8–1.2 kPa. In early flower, bring humidity down to the 50–60% range and target VPD around 1.0–1.4 kPa. Late flower is where bud rot risk peaks on dense Kush nugs, so push humidity down to 40–50% and target VPD of 1.2–1.6 kPa. Airflow through the canopy matters as much as the overall RH number. Stagnant air next to a dense cola is how Botrytis gets started.
Growing outdoors
Kush strains do well outdoors in temperate climates. They finish early enough (harvest typically falls in late September to mid-October in the northern hemisphere) to avoid the worst autumn rain and frost in most regions. Plant after your last frost date, choose a spot with at least 6–8 hours of direct sun, and make sure you have good drainage. Container growing outdoors gives you the option to move plants under cover if weather turns bad during late flower, which is especially valuable with Critical Kush given how dense its colas can be.
A note on hydroponics
Kush strains grow very well in hydroponic systems, particularly deep water culture or coco coir. If you are already considering hydro, Critical Kush's short flowering time means you see results faster than with longer-flowering strains, which is useful when dialing in a new hydro setup. Just know that hydro demands tighter pH management (5.5–6.2 depending on medium) and more frequent monitoring than soil. It is not the best starting point if this is your first grow, but it is absolutely a valid path if you are ready for it.
Germination and first-week care
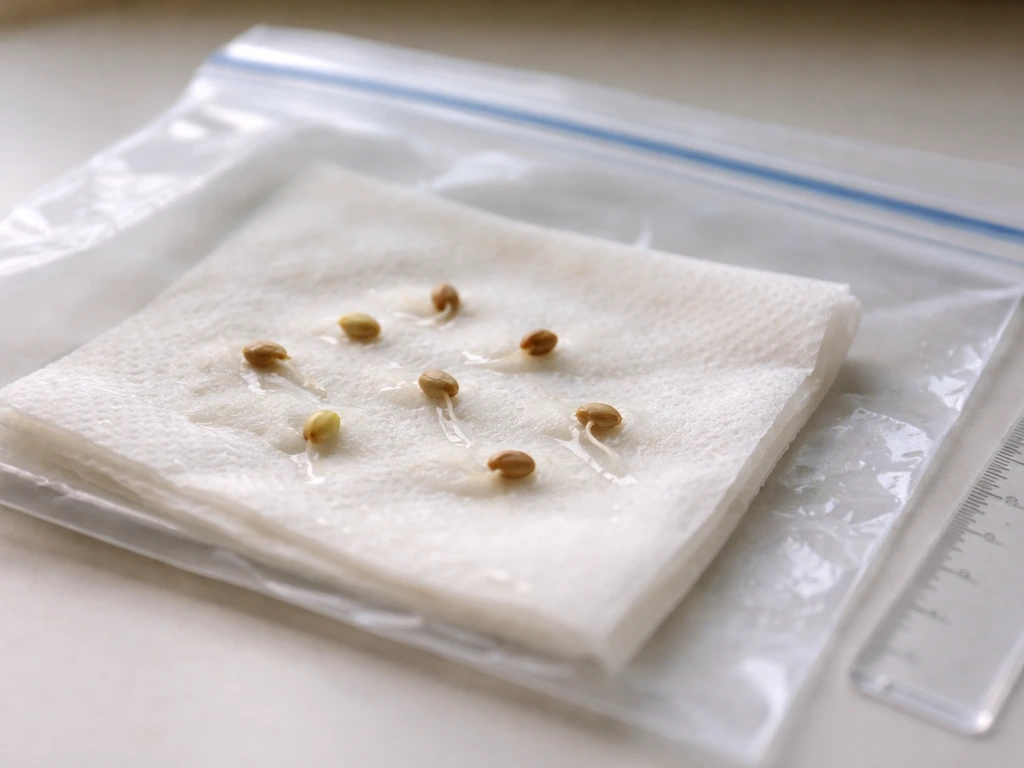
The paper-towel method is the most reliable for beginners. Soak your seeds in room-temperature water for 12–18 hours, no longer. Extending a soak past 24 hours starves the embryo of oxygen and can kill it before it even starts. Once a white radicle (the first root) pokes out, it is ready to plant.
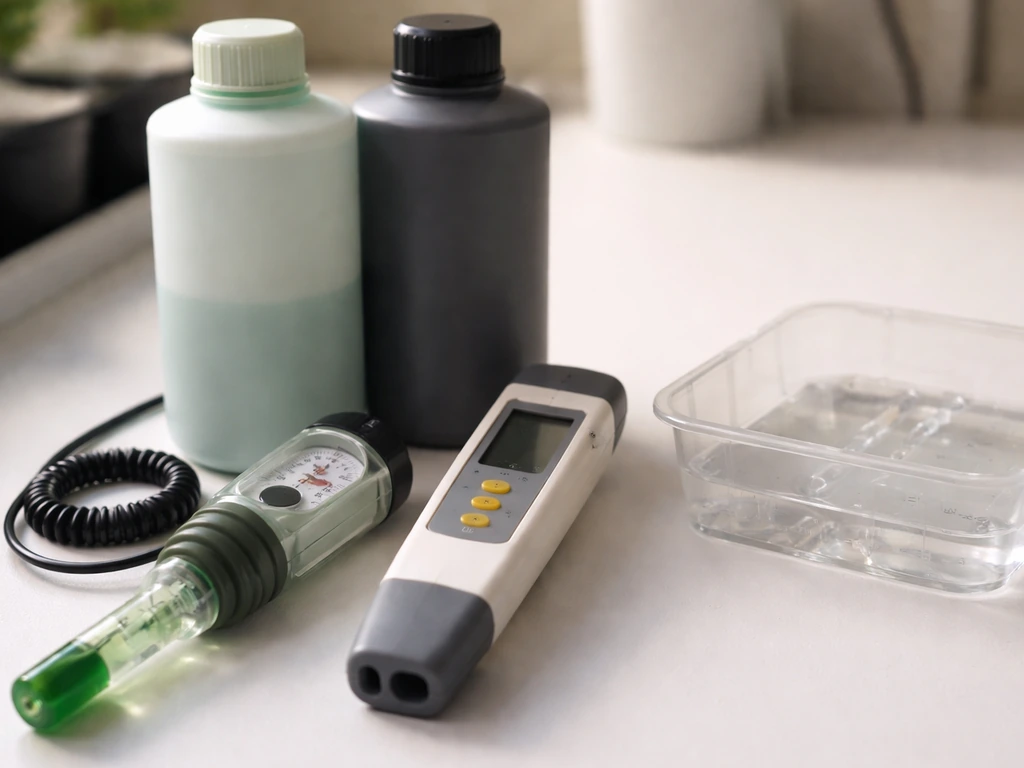
Plant the sprouted seed about 1/4 to 1/2 inch (6–13 mm) deep in pre-moistened medium with the radicle pointing down. Your first pH targets depend on what you are growing in: soil wants 6.2–6.6, coco or soilless mixes need 5.8–6.2, and rockwool sits at 5.5–5.8. Keep your nutrient solution or water EC at or below 0.8 mS/cm (roughly 400 ppm) for the first two weeks. Seedlings do not need strong nutrients. I made the mistake of overfeeding on my first grow and burned the seedling before it even had its second set of leaves.
Seedling environment targets: 70–80°F (21–27°C), RH around 65–70%, and gentle light (keep LED intensity low or increase distance to reduce PPFD). Water lightly every 2–4 days, letting the medium partially dry out between waterings. If growing in coco, you can water more frequently from the start since coco drains well. Overwatering is one of the most common beginner killers.
Vegetative growth: feeding, watering, and training
Once your plant has 3–4 true nodes and is actively pushing new growth, vegetative stage is fully underway. Keep your 18/6 light schedule (18 hours on, 6 off). Gradually increase nutrient strength as the plant grows, targeting EC around 1.2–1.8 mS/cm in soil and up to 2.0 in coco or hydro during peak veg, always adjusted to what the plant is showing you.
Nitrogen is the dominant nutrient in veg. A standard grow-phase formula from any cannabis-focused nutrient brand works fine. Follow the manufacturer schedule at about 75% of the recommended dose to start and increase if the plant looks pale or slow. Water when the top inch of soil feels dry, or in coco, fertigate at least once daily with a complete solution. Always pH your water and nutrient solution before it goes into the medium, every single time.
Topping and LST for Kush
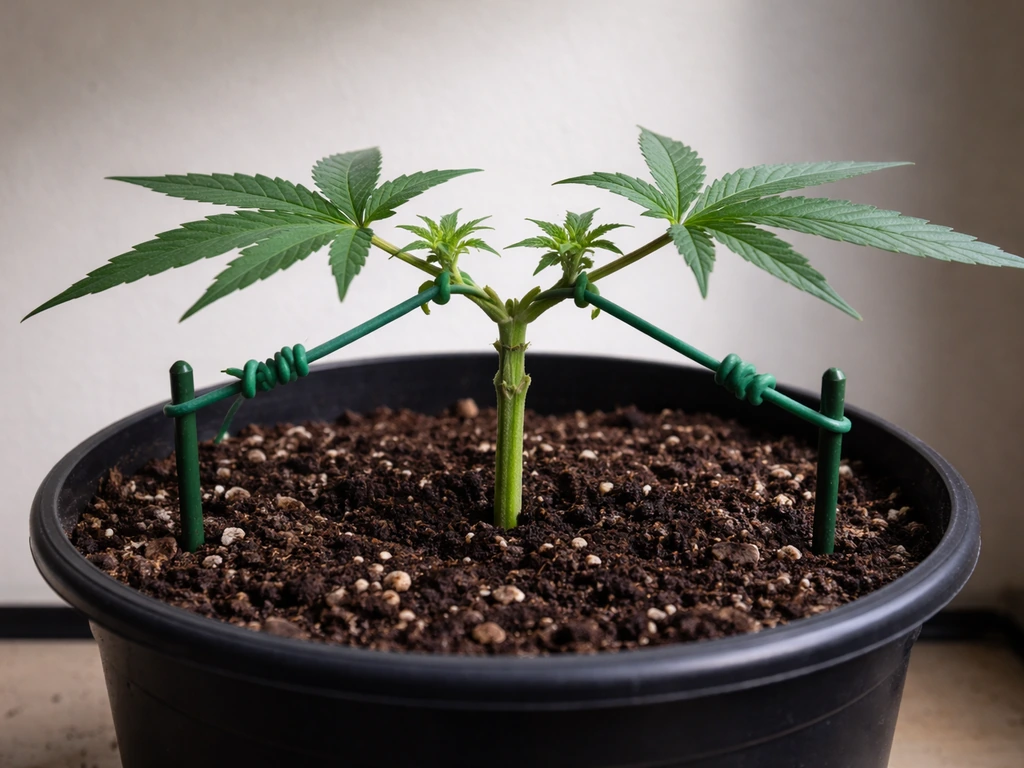
Kush plants are naturally bushy and compact, which is both a blessing and a challenge. They do not need aggressive training to stay manageable, but a little canopy work goes a long way toward maximizing your light coverage and yield. The beginner-safe window for topping is when the plant has 4–6 nodes, ideally after the 5th or 6th node appears. Topping earlier than the 4th node risks stunting the plant. Once you flip to 12/12, stop topping entirely as it stresses the plant during a critical phase.
Low-stress training (LST) works beautifully with Kush because the stems are thick but flexible when young. After topping, tie down the main branches outward with soft plant ties or garden wire so the canopy spreads horizontally. This exposes lower bud sites to direct light and dramatically increases your final yield without adding much stress to the plant. If you are not comfortable topping, LST alone is effective and even gentler. A ScrOG (screen of green) net works especially well with the bushy Kush growth pattern if you want to maximize a small tent.
Flowering: light flip, stretch, and feeding
When you are happy with the size of your plant (usually after 4–8 weeks of veg for indoor grows), switch your light timer to 12 hours on and 12 hours off. This is the flower trigger for photoperiod strains. Within about a week of flipping, you will start to see the first pistils appear. Critical Kush can show signs within as few as six days of the 12/12 switch.
Expect a stretch. Most Kush plants will grow noticeably taller in the first 2–3 weeks of flower, potentially doubling in height from where they were at flip. Critical Kush has a moderate stretch compared to sativas, but you still need to account for it. If you are growing in a tent, flip your plants when they are at roughly half the maximum tent height so the stretch does not push tops into the lights.
Shift your nutrients at flip. Drop nitrogen and increase phosphorus and potassium. A bloom-phase formula does this automatically. During the stretch and early flower (weeks 1–3 of 12/12), target EC around 1.4–1.8 mS/cm in hydro or coco. Mid to late flower can push slightly higher at 1.8–2.2 mS/cm depending on the plant's response. Watch the leaves: clawing or dark green tips mean you are pushing too hard; pale or yellowing new growth means you need to increase.
In the final 1–2 weeks before harvest, most growers flush with plain pH-adjusted water to clear residual salts from the medium. This is debated in the growing community, but flushing is low-risk and many growers notice a cleaner taste in the final product. For Critical Kush with its 55–65 day flowering time, start your flush around day 45–50 based on trichome development rather than calendar days.
Troubleshooting common Kush problems
Nutrient deficiencies and lockout
The most common deficiency mistake beginners make is adding more nutrients when the plant shows a deficiency. Often the real issue is pH being out of range, which causes nutrient lockout: the nutrients are there, but the roots cannot absorb them. If your plant is showing yellowing, interveinal chlorosis (yellow between green veins), brown spots, or curling, check your pH before adding anything. Bring pH back into range first, then wait 2–3 days to see if the symptoms stop progressing.
Calcium and magnesium deficiencies are very common in Kush grows, especially in coco or hydro. Cal-Mag is cheap insurance and worth adding at a low dose from mid-veg onward. Magnesium deficiency shows as yellowing between the veins of older, lower leaves. Calcium shows as small brown spots and distorted new growth. Iron deficiency shows up as yellowing on new growth near the tops, which can look alarming but usually resolves once pH is corrected.
Spider mites and common pests
Spider mites are the most destructive common pest on Kush plants. They live on the undersides of leaves, leaving tiny yellow speckles on the top surface. If you see fine webbing near the bud sites, you have a serious infestation. Treat immediately with insecticidal soap or diluted neem oil sprayed on the undersides of every leaf. Repeat every 3–5 days for at least three cycles to break the egg-to-adult lifecycle. Stop foliar spraying once flower sites start forming to avoid residue on buds.
Bud rot and mold
Bud rot (Botrytis cinerea) is the most serious late-flower threat with dense Kush strains. It thrives in humid, stagnant air and works from inside the cola outward, so by the time you see grey fuzz or browning sugar leaves on the outside, the inside may already be compromised. Early signs include a section of bud that feels soft or mushy, a sour or off smell, and sugar leaves turning brown or grey faster than surrounding ones.
If you find it, cut out the affected section well past the visible rot line, do not shake or disturb the bud as you remove it (you will spread spores), and immediately improve airflow and drop RH below 45%. Prevention is far easier than treatment, so keep late-flower RH in the 40–50% range and make sure air is moving through the canopy.
Yellowing, curling, and general leaf stress
Some yellowing of lower leaves in late flower is completely normal as the plant redirects energy to bud development. What you do not want is yellowing marching rapidly up the plant from bottom to top before week 6 of flower, or new growth at the tops yellowing and twisting. Downward clawing leaves usually mean nitrogen toxicity or overwatering. Upward-curling leaf edges often point to heat stress or severe underwatering. Diagnose from pattern and context, not from adding a random supplement.
Harvest, drying, and curing
Knowing when to harvest
A jeweler's loupe (30–60x) or a digital microscope is how you actually confirm harvest readiness. Look at the trichomes on the buds themselves, not the sugar leaves (which amber faster and give a misleading reading). The progression goes: clear (not ready), cloudy/milky (peak THC, more cerebral effect), and amber (THC degrading to CBN, heavier sedative effect). For most Kush strains, harvest when you see roughly 80–90% cloudy trichomes with 5–15% amber, depending on the effect you prefer. All-cloudy gives a more energetic high; more amber gives a heavier, more sedative result, which suits the Kush profile well.
For Critical Kush specifically, do not harvest strictly by calendar. The 55–65 day window is a guide, not a guarantee. Individual phenos, environmental variation, and growing method all affect actual finish time. If you are aiming for OG Kush specifically, the same indoor setup and timing guidance can help you get consistent results how to grow OG Kush indoors. Start checking trichomes around day 50 and check every 2–3 days after that.
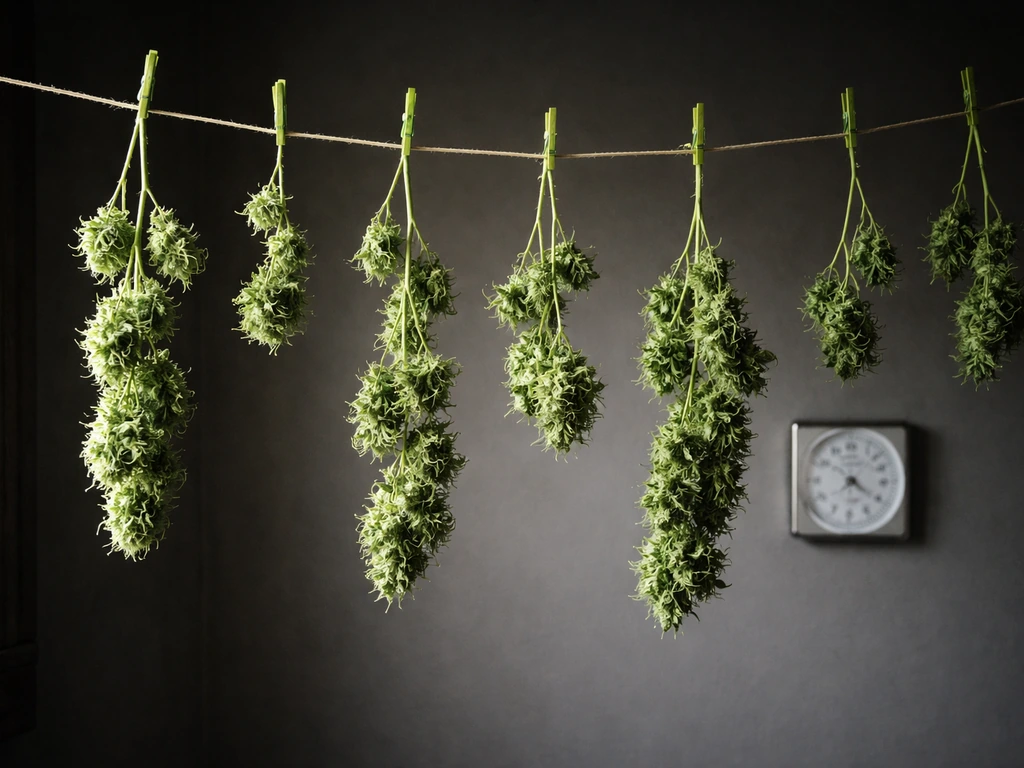
Drying your harvest
Hang whole branches or trimmed buds in a dark, ventilated space at around 60–68°F (15–20°C) and 55–65% RH. Gentle airflow helps (a small fan pointed at the wall, not directly at buds), but avoid blasting air across the buds or they will dry too fast and lose terpenes. The goal is a slow dry over 10–14 days. A bud is ready to move to jars when the small stems snap cleanly rather than bending, and the outside of the bud feels dry but not crispy.
Curing for quality
Curing is what separates good cannabis from great cannabis, and it is also the easiest step to skip or rush. Pack your dried buds loosely into glass mason jars (do not fill to the top), seal them, and store in a cool, dark place. For the first week, open the jars twice a day for 15–20 minutes to let moisture equalize and fresh air in. This is called burping.
After the first week, you can reduce burping to once a day, then every few days. Target RH inside the jars at 58–62%, which you can monitor with small hygrometer packets or maintain with Boveda 58% or 62% packs. A minimum cure of 3–4 weeks dramatically improves flavor and smoothness. Six to eight weeks is better for Kush strains known for complex terpene profiles.
Final quality checks
Before sealing jars for storage, do a quick check on each batch. The buds should smell complex and pungent, not like hay, ammonia, or anything musty. Hay smell means the cure needs more time. Ammonia smell means too much moisture got into the jars and you may have a mold risk. Any visible white or grey fuzz on the buds means mold, and that product should not be consumed. Properly cured Kush buds should be sticky but not wet, break apart easily, and smell exactly like the strain's profile promises.
Your next steps this week
If you are ready to start, here is what to focus on in the next 7 days:
- Confirm your local laws on home cultivation (plant count limits, indoor vs outdoor restrictions, licensing requirements if any).
- Choose your strain: Critical Kush if you want the fastest, most compact Kush experience; OG Kush, Kosher Kush, or Rainbow Kush if you want to explore the wider family.
- Order feminized seeds from a reputable, legally operating seed bank that ships to your region.
- Source your minimum equipment: a grow tent (2x4 is a great beginner size), a quality LED, an inline fan with carbon filter, a clip fan, a digital thermometer/hygrometer, and a pH meter with calibration solution.
- Decide on your growing medium: soil for the most forgiving first run, coco coir if you want faster growth and are comfortable watering more frequently, hydro if you are ready for tighter management.
- Set up your tent and run it empty for 24 hours to confirm your temperature, humidity, and airflow are within target before any seeds go in.
- Start your germination soak (12–18 hours in room-temperature water) the day your seeds arrive.
What to monitor every day once your grow is running: temperature and humidity (check morning and evening at minimum), the color and texture of your leaves (early stress shows there first), whether the medium needs water (finger-test the top inch of soil, or check runoff EC/pH in coco), and your light height as the plant grows. Kush grows are rewarding precisely because the strains are forgiving enough to let you learn from small mistakes without losing the whole crop. Get the environment dialed in, keep pH honest, and you will be sitting with a jar of quality home-grown Kush buds in about 3–4 months from seed.
FAQ
Can I grow Kush using autoflower seeds instead of photoperiod?
Yes, but use different targets and be careful with timing. If you run autoflower Kush, you cannot rely on flipping lights to control flowering, so veg length is mostly fixed. Start watching trichomes a bit earlier than you would for photoperiod, and avoid topping unless your particular auto strain explicitly supports it (many autos respond poorly to topping and long recovery times). Also expect smaller plants and less overall training flexibility compared with photoperiod Kush.
If I already measure RH, do I still need to track VPD for mold prevention?
It can be, especially in a tent, but don’t treat it like a single-number fix. If you use VPD as your guide, you may need to lower humidity or raise leaf temperature to hit the same VPD band, and that usually means adjusting both dehumidification and airflow. A practical approach is to measure min and max RH, then correct RH during lights-on when heat is higher, so late-day swings do not push buds into rot-prone conditions.
My Kush looks nutrient-stressed, should I just raise or lower nutrients?
Not necessarily. Soil can tolerate slightly higher EC early on, while coco and hydro are less forgiving because roots sit closer to the feed. If your leaves look nutrient-stressed but pH and runoff look correct, confirm light intensity first (too much light can mimic “too much nutrients” by causing clawing or dark, tight leaves). Then adjust only one variable at a time over several days so you can identify what actually helped.
How can water quality and pH drift affect Kush even if I pH my mix?
For most home growers, the biggest water quality mistake is pH drift after the nutrient is mixed. pH can change as water sits, especially with certain fertilizers. Mix, measure pH promptly, then feed. If you are using tap water, also watch alkalinity, because very high-alkalinity water can keep pH locked and cause recurring deficiencies even when you “correct” pH each time.
What is the best way to avoid making a nutrient problem worse?
Use the “wait, then correct” method. If you see deficiencies, first check pH in the medium or runoff and confirm your light intensity. Only after pH is within range should you adjust nutrients, then wait 2 to 3 days before changing anything else. This prevents the common overcorrection loop (adding nutrients when it is actually pH lockout).
Do Kush seedlings need nutrients right away?
Seedling feeding should be minimal, but “zero nutrients” can also cause slow, pale growth depending on your medium. The safer rule is to start with very low EC (as low as your article suggests) and ramp only after you see stable new growth and healthy color. If you are in a pre-fertilized soil, you can often skip the first feeding or use ultra-low doses to avoid salt buildup.
Can I change mediums (for example, soil to coco) mid-grow without stalling?
Yes, and the safest approach is to treat it like a dialing-in phase, not a full reset. In coco and hydro, many growers start with plain water or very low EC, then increase after the plant shows consistent uptake. If you transplant, wait several days before any aggressive nutrient increase, because root recovery can temporarily change how the plant responds to feed.
What’s the most common reason bud rot still happens even when RH is not extremely high?
Because Kush buds are dense, many mold problems show up as soon as conditions allow. In late flower, make “air movement through the canopy” a priority, not just overall room RH. Use enough clips to open the plant slightly, position fans so air crosses leaves rather than blasting a single cola, and consider running the inline fan/dehumidifier based on RH trends, not just a daytime average.
How do I decide between a more energizing harvest and a heavier Kush harvest?
If your trichomes are mostly cloudy but you want a stronger, more sedative effect, wait for some amber to appear without overshooting. A common mistake is to harvest too early because sugar leaves amber first. For accuracy, focus on the trichomes on the buds themselves and take multiple samples from top and lower flowers, because maturity can vary within the same plant.
What should I do if I find early signs of bud rot but I am not sure how far it spread?
If you see mold risk or you had to remove a bud section, don’t ignore the rest of the plant. Improve airflow and reduce RH immediately, then inspect daily for soft spots, off smells, or rapid discoloration. If you already had grey fuzz or mushiness, discard affected material and consider harvesting the healthy sections earlier than planned, since late-flower conditions can quickly worsen.
What is the biggest jar-curing mistake that causes hay or ammonia smells?
For curing, avoid both extremes: packed too tight (stifles airflow and traps moisture) or jars left open too long. Burp briefly and consistently, not for long sessions. If the jar RH climbs above the target consistently, it usually means the dry was too wet, so keep burping and consider extending cure steps, but do not “cook” the jars in warm places.
How do I troubleshoot leaf yellowing without guessing which deficiency it is?
Troubleshooting starts with patterns. If yellowing moves upward quickly before mid-flower, check for pH lockout and heat stress, then look for root stress from overwatering (droopy plants with wet medium, slow recovery). If new growth near the tops is yellow, that can point to iron availability issues, so revisit pH first. Only after pH and environment are corrected should you add supplements like Cal-Mag.
How do I prevent spreading spider mites or rot to other plants during treatment?
A simple safety rule is to isolate tools and airflow. After treating mites or fungus, avoid moving the plant closer to others without cleaning your hands, scissors, and any reusable materials. Mites especially spread via contact and disturbed leaves, so handle the affected plant last and change gloves or sanitize after.
Next Article
How to Grow 1 Pound Per Plant: Yield Guide for Beginners
Step-by-step plan to grow ~1 lb per plant using strain choice, light, training, feeding, and troubleshooting for beginne