The best way to grow cannabis outdoors is to start with the right strain for your climate, put it in a sunny spot with well-draining soil, feed it according to its growth stage, and keep a close eye on pests and mold from week one. Done right, a single outdoor plant can produce several ounces to over a pound of dried flower by fall, all for a fraction of what you'd spend on indoor setups.
Best Way to Grow Pot Outdoors: Seed to Harvest Guide

Marcus Holbrook
6 May 2026
This guide walks you through every step, from the legal check you need to do before you buy a single seed, all the way through harvest and curing. If you want top-shelf results, focus on each step in the outdoor grow cycle, starting with genetics, climate fit, and steady moisture and nutrient management. If you want a full walkthrough, use this guide to learn how to grow weed outdoors from seed.
After you finish the harvest stage, you can follow the curing steps to improve flavor, smoothness, and overall potency harvest and curing.
Check Your Local Laws Before You Do Anything Else
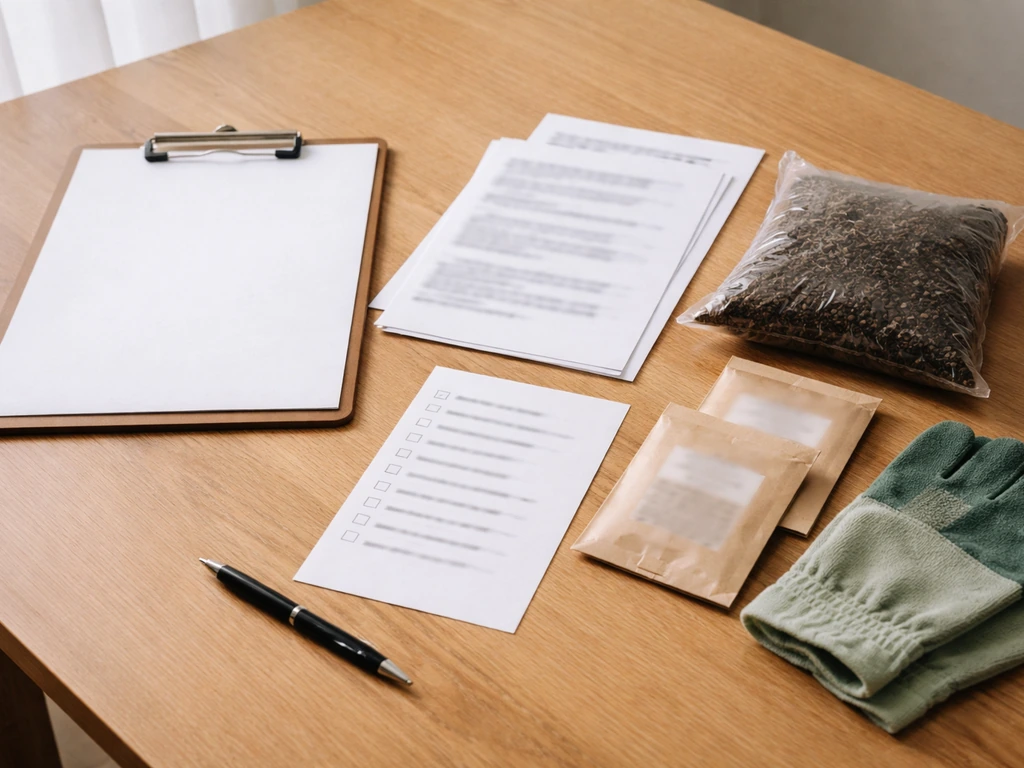
Cannabis cultivation law varies enormously by state, county, and city, and getting this wrong can have serious consequences. Your first task before buying seeds, soil, or any equipment is to look up exactly what your jurisdiction allows. State law sets the baseline, but local ordinances can be stricter, and both apply to you.
Here is a quick snapshot of how different states handle home growing, just to show you how much the rules diverge. California allows adults 21 and over to grow up to six plants per private residence, but plants must be kept in a locked area and not visible from any public place.
Sacramento layers on additional local rules, including odor control requirements (the smell cannot be detectable from outside your property using normal unaided senses) and hard limits on neighborhood impacts like traffic and light pollution. Rhode Island allows adults 21 and over to cultivate up to three mature plants and three immature plants per dwelling unit, with similar odor-prevention requirements. Massachusetts allows up to six plants per adult, with a household cap of twelve.
Michigan permits adults over 21 to grow up to twelve plants at home. Washington State is one of the stricter examples: recreational home growing is not permitted at all, and cultivation is only lawful for qualified medical patients or designated providers who hold a valid authorization form.
The pattern is clear: even in legal states, local rules can restrict where plants can be placed, how many you can have, whether they need to be in an enclosed structure, and how you handle odor. Always confirm your county and city rules in addition to your state law before you start. If you are unsure, your state's cannabis regulatory agency website is the most reliable place to check.
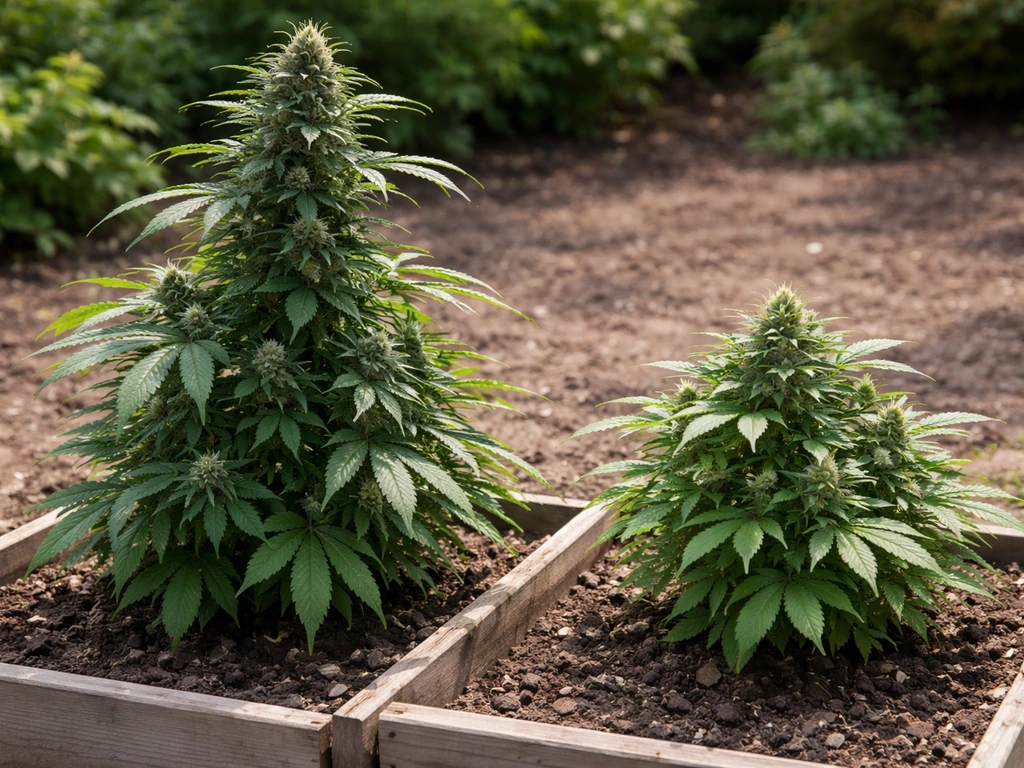
Picking the Right Strain for Your Outdoor Climate
Strain choice is one of the highest-leverage decisions you will make. The wrong strain in the wrong climate leads to late harvests, mold disasters, or plants that simply underperform. The right one almost grows itself. When selecting an outdoor strain, the main factors are your growing season length, your local humidity, and how much space you have.
Photoperiod vs. Autoflowering Strains
Photoperiod strains flower based on day length, which means they switch from vegetative growth to flowering automatically as summer days shorten after the summer solstice. They typically finish between late September and early November depending on the strain and your latitude. Autoflowering strains flower based on age rather than light cycle, usually finishing in 70 to 90 days from seed regardless of day length. Autos are a great pick if you have a short growing season, want multiple harvests per year, or want smaller, more discreet plants. Photoperiods, if your season allows, often produce larger yields.
Matching Strain to Climate
If you are in a humid, rainy climate (think Pacific Northwest, Southeast US, or UK), prioritize strains with mold resistance and shorter flowering times. Look for strain descriptions that mention Botrytis resistance, open bud structure, or sativa-dominant genetics that finish before the heavy fall rains. Strains with dense, compact indica buds are beautiful but are mold magnets when humidity spikes. If you are in a hot, dry climate like the Southwest US or the Mediterranean, you have much more flexibility and can run longer-flowering strains with bigger, denser buds without the same mold risk. Northern growers with frost arriving in September should lean hard toward early-finishing strains or autoflowers that can wrap up by late August.
As a general starting point for beginners: look for strains labeled as mold-resistant, early-finishing, or specifically bred for outdoor cultivation. Popular choices across a range of climates include Durban Poison (a classic early finisher), Blue Dream (adaptable, mold-tolerant), any OG Kush outdoor pheno selected for your region, and most autoflowering varieties. If you want to go deeper on photoperiod-specific management outdoors, that is a whole topic on its own.
Finding and Optimizing Your Outdoor Grow Site
Cannabis is a sun-hungry plant. It wants a minimum of six hours of direct sunlight per day, but eight to twelve hours is ideal and will directly translate into bigger, better yields. When scouting your site, stand in the spot at different times of day and watch where shadows fall. South-facing spots (in the Northern Hemisphere) get the most light exposure throughout the day. A south-facing wall or fence nearby can also act as a heat reflector, giving you a slightly warmer microclimate that extends your season a bit. USDA Forest Service research on cold-air pooling and cold-air drainage in low-lying valleys explains why frost pockets can form, so choosing higher, well-ventilated spots helps reduce frost risk.
Microclimate Factors That Matter
- Wind exposure: moderate airflow is good for strengthening stems and reducing mold, but strong prevailing winds stress plants and reduce yields. A natural windbreak like a hedge or fence helps.
- Frost risk: cold air sinks into low spots. If your yard has a hollow or depression, it will frost first. Grow on elevated ground if possible.
- Humidity pockets: areas surrounded by dense vegetation or near standing water stay more humid. This elevates mold risk during late flowering.
- Privacy and security: your local rules may require plants to be out of public view, and practically speaking, discreet plants are safer plants. Use natural screening or privacy fencing where needed.
- Access to water: you will be watering frequently during hot stretches. Pick a spot you can actually reach easily with a hose or that is close enough to carry water to without it being a daily chore.
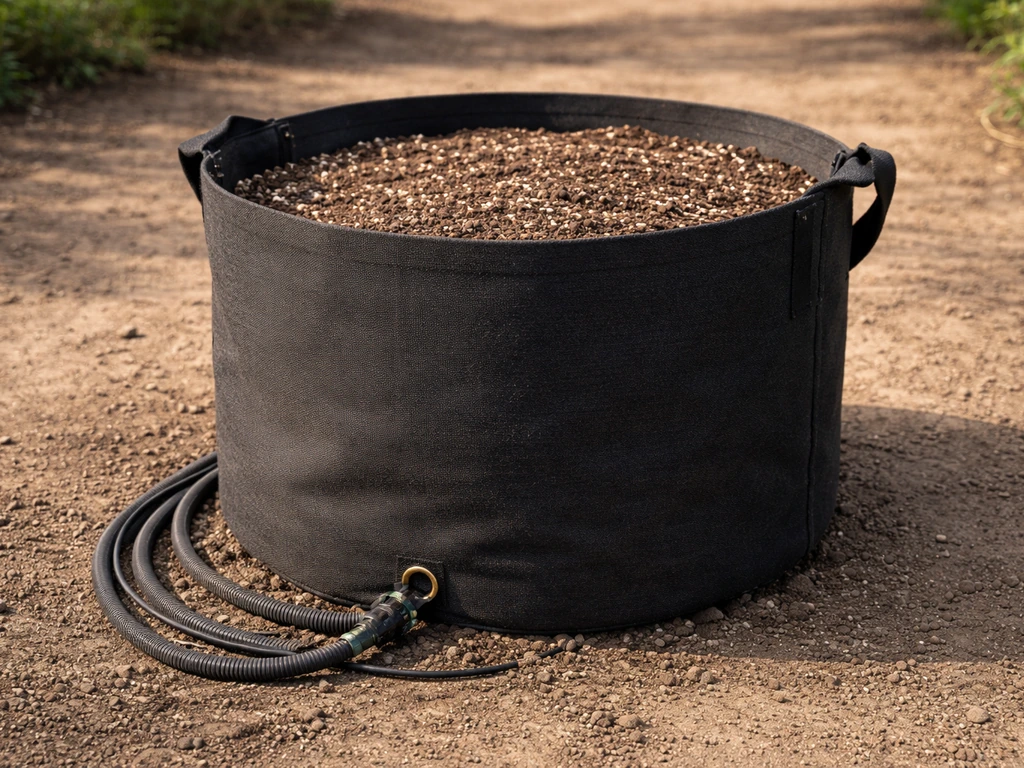
If you are growing in containers rather than directly in the ground, you have a major advantage: you can move plants to chase the sun or dodge bad weather. A 15 to 25 gallon fabric pot is a solid choice for most outdoor grows. It gives roots room to breathe, drains well, and produces plants large enough for a good yield without being unmanageable.
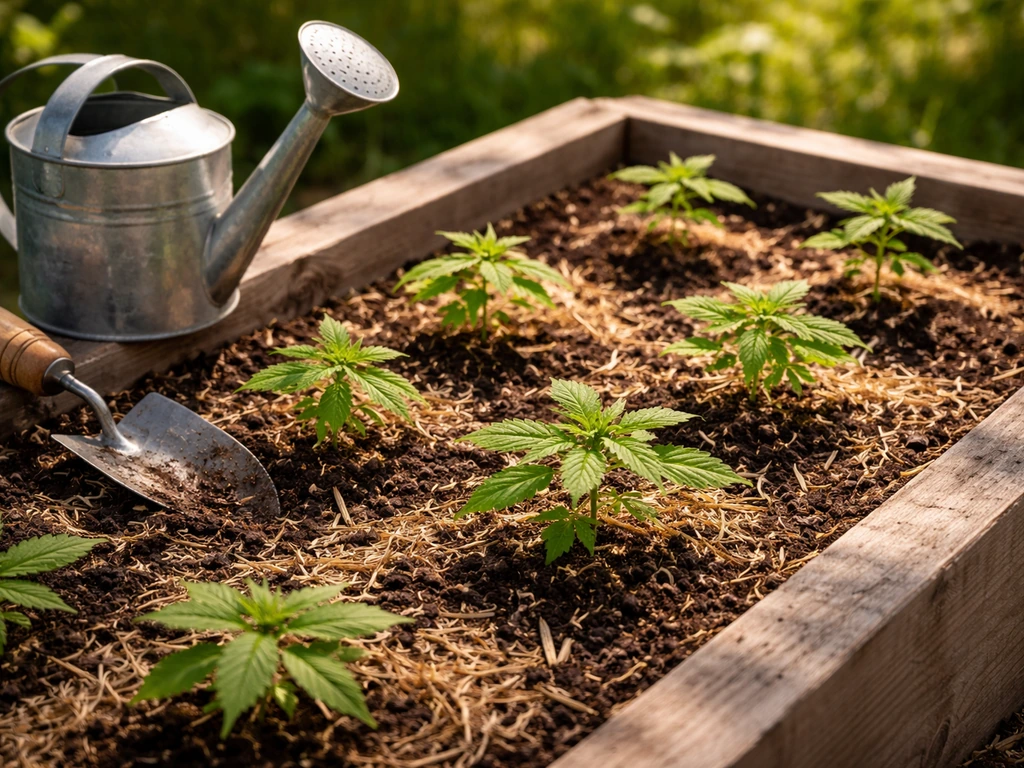
Soil Setup and Watering: Getting the Foundation Right
Cannabis does not like wet feet. The number one mistake I see beginners make is overwatering, which drowns roots, invites fungus gnats, and causes nutrient lockout. Your goal is a soil that holds moisture well but drains freely so roots never sit in stagnant water.
Building a Good Outdoor Soil Mix
If you are mixing your own soil, a good starting blend for outdoor containers is roughly 60% quality potting soil (look for one that includes perlite or pumice already), 20% extra perlite or coarse perlite for drainage, 10% compost or worm castings for slow-release nutrition, and 10% coco coir for water retention balance. If you are planting in-ground, amend your native soil heavily with compost and perlite before planting, especially if your soil is clay-heavy. Clay drains poorly and compacts around roots. Sandy soil drains too fast and will need more compost to hold nutrients.
pH: The One Number You Need to Know
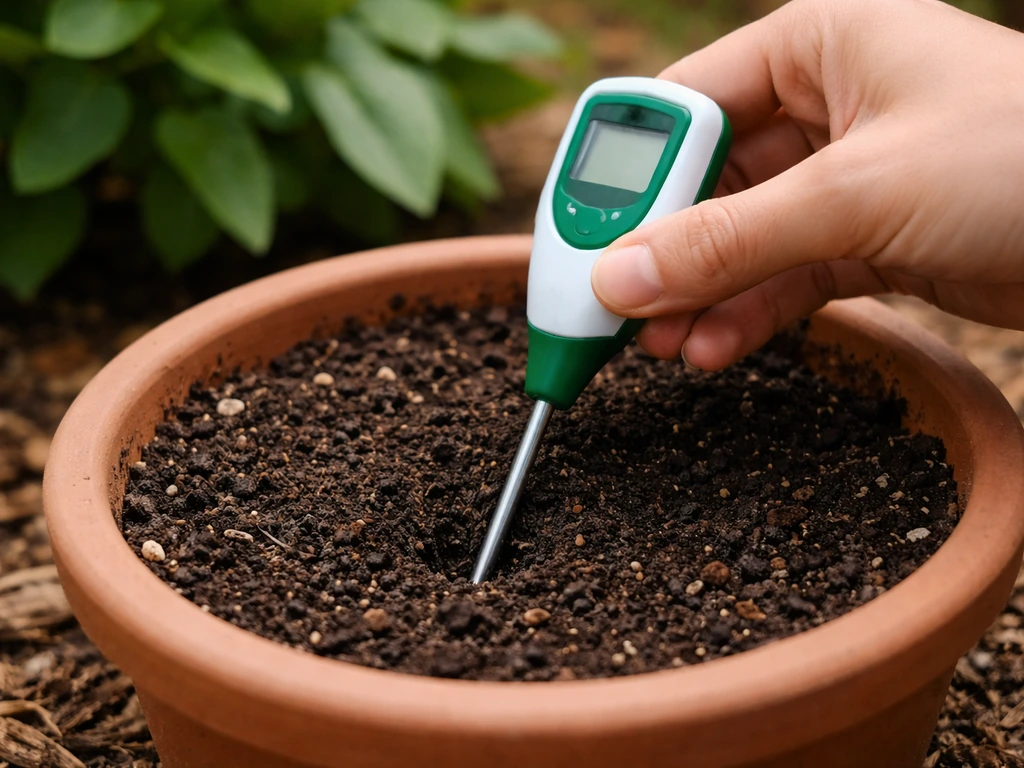
For soil grows, you want your root zone pH sitting between 6.0 and 7.0, with 6.3 to 6.8 being the sweet spot. Outside this range, nutrients become chemically unavailable to the plant, which shows up as deficiencies even when the nutrients are present in the soil. Get a basic pH meter (they cost around $15 to $30) and test your water and runoff. Most tap water runs between 7.0 and 8.0 and will need to be adjusted down with pH Down solution before you water. Test your soil runoff every couple of weeks to catch drift before it becomes a problem.
Watering Schedule and Technique
The simplest watering guide: stick your finger two inches into the soil. If it feels dry at that depth, water thoroughly until you see runoff from the bottom of the pot. If it still feels moist, wait another day. In hot weather during peak summer, a large plant in a fabric pot may need watering daily. In cooler or overcast stretches, every two to three days is typical. Water in the early morning when possible so excess surface moisture dries before the cooler evening, which helps prevent mold.
Feeding Your Plants: A Practical Outdoor Nutrient Schedule
Cannabis has different nutritional needs at different life stages. Overfeeding is just as damaging as underfeeding, and outdoor plants in well-amended soil often need less supplemental feeding than you would think, especially early on. Here is how to think about it stage by stage. A Michigan Great Apple & Berry Council “blank" rel="noopener noreferrer">Growing Cannabis” guide hosted as a PDF also emphasizes feeding plants based on growth stage, including outdoor nutrient needs from seedling through flowering.
| Growth Stage | Timeframe (approx.) | Primary Nutrient Focus | Key Notes |
|---|---|---|---|
| Seedling | Weeks 1-3 from seed | Low nitrogen, minimal feeding | Good amended soil provides enough; added nutrients can burn seedlings |
| Early Veg | Weeks 3-6 | Higher nitrogen (N), moderate P and K | Start light nutrient feeds at 25-50% label dose; increase gradually |
| Late Veg | Weeks 6-8 | Strong N, moderate P and K | Full feeding rate; encourage vigorous leafy growth before flip |
| Early Flower | Weeks 1-3 of flowering | Lower N, increasing P and K | Reduce nitrogen; boost phosphorus and potassium to support bud formation |
| Peak Flower | Weeks 4-7 of flowering | Low N, high P and K, Cal-Mag | Maximize P and K; watch for calcium and magnesium deficiencies |
| Late Flower/Flush | Final 1-2 weeks | Water only or very light flush | Stop nutrients; allows any residual salts to clear; improves final taste |
Outdoor growers using a quality pre-amended soil (like a craft cannabis mix or a living soil blend) can often get through the entire vegetative stage with minimal or no added nutrients, and then switch to a bloom-focused fertilizer at the onset of flowering. If your plant starts showing yellowing between leaf veins (a sign of calcium or magnesium deficiency, common outdoors in soft-water regions), add a Cal-Mag supplement at around 5 mL per gallon with your regular watering. Keep a bottle of it on hand because it is one of the most common outdoor deficiencies.
If you want to keep feeding simple, any reputable two or three-part nutrient line designed for cannabis (or even a quality tomato fertilizer in a pinch) will work if you follow the manufacturer's schedule and stay within the recommended pH range. The key habit is watching your plants. Pale green or yellowing leaves usually mean nitrogen deficiency or a pH problem. Dark, clawing leaves usually mean nitrogen toxicity. Trust what the plant is telling you more than any fixed schedule.
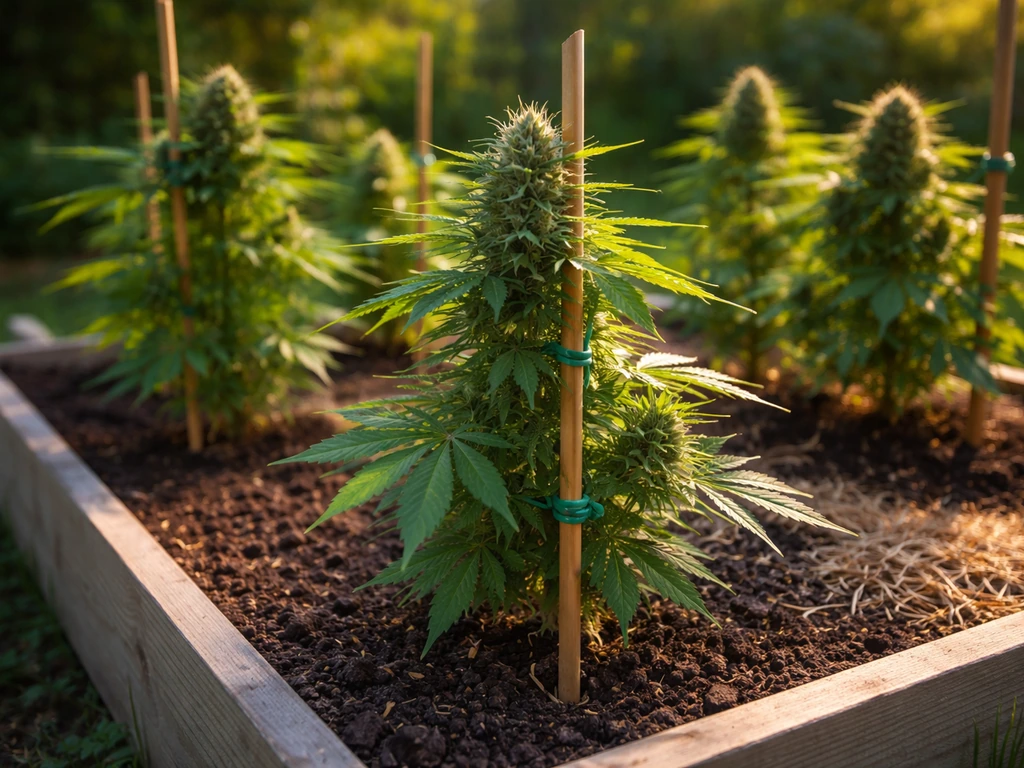
Training, Pruning, and Managing Your Plants Outdoors
Outdoor plants have the luxury of space and unlimited light from above, which changes how you approach training compared to indoor growing. Your goals are to maximize light penetration into the canopy, control plant height if needed for privacy or legal compliance, and keep airflow through the plant to reduce mold risk.
Topping and Low Stress Training (LST)

Topping is the act of cutting off the main growing tip once the plant has five to seven nodes. This redirects energy into the two side branches below the cut, creating a more bushy, multi-topped plant rather than a single tall Christmas tree. For outdoor growers, this is one of the best moves you can make. Multiple main colas instead of one means more yield, better light distribution, and a plant that stays lower and wider. Do your topping during early to mid vegetative growth, at least four to six weeks before your plant is expected to start flowering. Avoid topping autoflowers, as they do not have enough time to recover and redistribute energy effectively.
LST involves gently bending branches and securing them with soft ties or plant clips to open up the canopy horizontally. You can start this in early veg and continue through early flowering. Combined with topping, LST produces flat, wide plants that get excellent light coverage across all bud sites. Lollipopping, which is removing the small lower branches and bud sites that get little light, is worth doing before flowering to focus the plant's energy on the upper canopy where the real yields come from.
Sexing Plants and Preventing Accidental Pollination
If you are growing from regular (non-feminized) seeds, you need to identify and remove male plants before they release pollen. A single male plant can pollinate every female in range and ruin your entire harvest by filling buds with seeds instead of resin. Males reveal themselves two to three weeks into flowering with small pollen sacs at the nodes (they look like tiny clusters of grapes). Females show white hair-like pistils at the same locations. Pull males immediately when identified. If you want to skip this stress entirely, grow from feminized seeds, which produce female plants at a very high rate. Most beginner growers should start with feminized seeds for exactly this reason.
Pest Protection Outdoors
Outdoor plants face a wider range of pest threats than indoor ones. A preventive approach is far less work than trying to treat a full infestation. Spray plants with neem oil solution every seven to ten days during vegetative growth, stopping by mid-flowering to avoid flavor impact on buds. Introduce or encourage beneficial insects like ladybugs and lacewings if you can. Inspect the undersides of leaves weekly for spider mites (tiny dots and fine webbing), caterpillars (look for black frass pellets), or aphid colonies. Catch problems early and they stay manageable.
Knowing When to Harvest and How to Cure Properly
Harvesting too early is one of the most common beginner mistakes. An under-ripe plant gives you less potency, less weight, and a harsh, anxious-leaning smoke. Harvesting too late gives you a heavy, sedative effect and some cannabinoid degradation. The best tool for getting this right is a jeweler's loupe or digital microscope that lets you see the trichomes on the buds up close. Here is what you are looking for:
- Clear trichomes: plant is not ready, still maturing.
- Mostly cloudy/milky white trichomes with very few amber: peak THC, cerebral, energetic effect. Good harvest window for most users.
- Roughly 10-20% amber trichomes with mostly cloudy: slightly past peak THC, more relaxing and body-heavy effect. Many prefer this window.
- More than 30% amber: THC degrading to CBN, very sedative, most users consider this too late.
In addition to trichomes, watch your pistil color. When 70 to 90 percent of the white hairs have darkened and curled in, the plant is in or near its harvest window. Use both indicators together. Most outdoor photoperiod plants are ready between late September and early November in the Northern Hemisphere, depending on strain and latitude. Once you know the basics of photoperiod plants, you can apply the same outdoor timing and light-cycle principles to plan planting dates and harvest windows for your specific location.
Drying and Curing for Quality Smoke
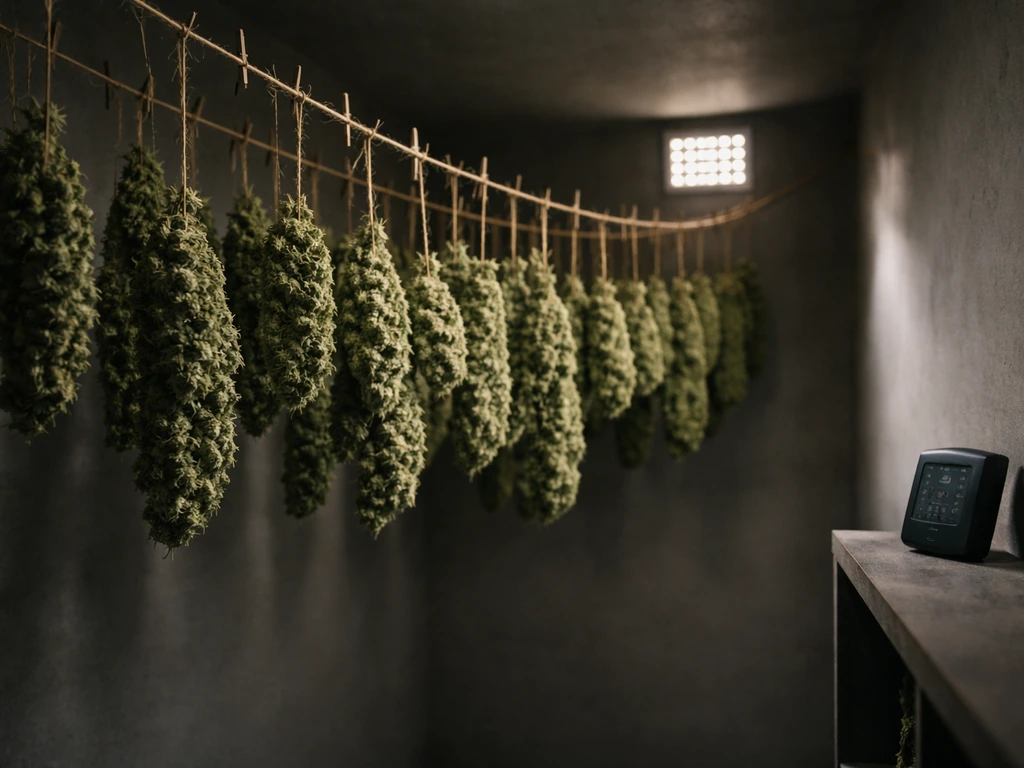
After harvest, hang your trimmed branches or whole plants upside down in a dark, ventilated space at 60 to 70 degrees Fahrenheit and 50 to 60 percent relative humidity. Drying takes seven to fourteen days. The goal is slow drying, not fast. Rushing the dry (using high heat or direct fan airflow on the buds) degrades terpenes and gives you harsh, poor-tasting cannabis. The branches are ready to jar when the smaller stems snap cleanly rather than bending.
Once dried, move buds into airtight glass jars filled to about 75% capacity. For the first two weeks, open the jars once or twice daily for ten to fifteen minutes to let moisture and gases escape, a process called burping. After two weeks, burp every few days. By four to eight weeks, the cure is mature and the flavor and smoothness will be noticeably better than freshly dried cannabis. Boveda 62% humidity packs inside the jars help maintain ideal moisture during this phase.
Fixing the Most Common Outdoor Growing Problems
Even experienced growers hit snags outdoors. The environment is not under your control the way it is indoors. Here is how to handle the problems that come up most often.
Bud Rot and Mold
Botrytis (gray mold/bud rot) is the outdoor grower's worst nightmare, especially in humid climates or during wet fall weather. It starts inside dense buds where air cannot circulate and shows up as brown, mushy patches that look like the bud is dying from the inside out. Once you see it, cut out the affected section immediately and at least an inch beyond the visible damage, then dispose of it away from your plants. Do not compost it.
Prevention is everything here: train plants to have open canopies, remove dense interior foliage before flowering, and if rain is forecast during late flower, consider covering plants temporarily with a transparent canopy or moving containers under cover. Strains with loose, airy bud structure are inherently more mold-resistant. If you are in a consistently humid region, this strain selection point is non-negotiable.
Pest Infestations
Spider mites thrive in hot, dry conditions and can explode in population in days. At the first sign of stippling on leaves, treat with insecticidal soap spray every three days for two weeks. For caterpillars (especially cannabis-specific ones like the hemp borer), use Bacillus thuringiensis (Bt) spray, which is an organic, caterpillar-specific bacterium that is safe to use up through harvest. Aphids are usually manageable with strong water sprays and neem oil. Fungus gnats indicate overwatering. Let the soil dry more between waterings and use yellow sticky traps near the soil to monitor and reduce adult populations.
Nutrient Problems
Yellowing of lower leaves that moves upward during mid-veg is normal nitrogen use; if it is happening fast and hitting upper leaves too, give a nitrogen boost. Yellow leaves with green veins (interveinal chlorosis) usually mean a calcium, magnesium, or iron deficiency, almost always triggered by pH being out of range. Fix the pH first before throwing more nutrients at it. Dark, curled-down leaf tips with lush dark green foliage means nitrogen toxicity, especially common when using soil that is too hot (over-amended with nitrogen sources). Flush with pH-corrected water and hold off on nitrogen feeds for a week or two.
Overwatering and Root Problems
A plant that looks wilted but has wet soil is almost certainly being overwatered. The leaves droop due to root stress, not water shortage. Stop watering immediately, let the soil dry out completely, and the plant will usually recover within a day or two. To avoid this cycle, switch to fabric pots (which air-prune roots and drain exceptionally well) and use the finger-test method described earlier rather than watering on a fixed schedule regardless of soil conditions.
Growing cannabis outdoors rewards patience and observation more than any technique or product. The growers who get consistently great results are not necessarily using the most expensive nutrients or the fanciest setups. They are the ones who check on their plants regularly, catch problems early, and make small adjustments before things spiral. Start simple, stay curious, and you will get better with every season.
FAQ
What’s the best way to grow pot outdoors if I’m in a very short season (less than 90 days)?
Prioritize autoflowers or very early-finishing photoperiod strains, then start them so flowering begins as soon as temperatures stabilize and day length supports them. Also plan for the coldest nights, use containers you can move, and consider a clear, temporary cover during unexpected early rain to prevent bud rot during the ripening window.
Can I start outdoor seeds directly in the ground, or should I start them indoors first?
You can direct-sow if your nights are reliably warm and your soil is workable, but starting indoors in small pots often gives you a head start and a stronger root system before pests and uneven weather hit. If you do start indoors, harden seedlings off for about a week by gradually increasing outdoor sun exposure to avoid leaf burn.
How many plants can I realistically grow for a first outdoor season?
Even where legal caps allow more, a beginner usually performs better with 1 to 3 plants because you can inspect leaves, manage irrigation, and respond to pests quickly. More plants often means you miss the early signs of mites or mold, which are far easier to control when caught within days.
Should I use organic or bottled nutrients outdoors?
Both can work, but bottled nutrients are easier to dial in quickly if your soil is inconsistent. If you use organic inputs, rely on them for soil structure and slow nutrition, then still monitor for pH-related issues using runoff tests, because organic grow media can also drift outside the ideal root-zone range.
How do I prevent mold if my buds get dense late in flower?
The biggest lever is airflow and canopy openness, do topping and LST early, then avoid adding excess foliage late in flower. If a rainy stretch is forecast, use a temporary clear cover to keep buds drier, but ventilate enough to prevent high humidity buildup underneath.
Do I need to remove fan leaves, or does that increase risk?
Light defoliation can improve penetration, but removing too much can stress the plant and slow it right when it needs to finish strong. If you do it, remove only a few leaves that block direct airflow to interior bud sites, and avoid heavy defoliation during the week leading into a wet weather period.
What’s the safest way to water during heat waves without overwatering?
Water early morning and water thoroughly only when the finger test at two inches is dry, in fabric pots you may need daily watering during peak heat. If runoff dries quickly, consider smaller, more frequent waterings rather than one large soak, and never leave saucers holding water under containers.
How can I tell nitrogen deficiency from pH problems quickly?
If the yellowing spreads and you also see stalled growth or problems after you changed soil amendments or watering water source, test runoff pH first. Nutrient lockout from pH being out of range often looks like deficiency but won’t improve if you keep adding fertilizer, so fix pH before increasing doses.
Is it ever okay to compost diseased plant material from an outdoor grow?
No, if you suspect bud rot or botrytis, do not compost it. Cut out affected tissue and dispose of it away from your grow area to avoid reintroducing spores into your soil or containers.
How do I know when a plant is ready in real outdoor conditions, not ideal lab conditions?
Use both trichomes and pistil timing as you described, then adjust for weather variability, if you have sudden cool or rainy spells near your window, check trichomes more often. If most trichomes are moving from cloudy toward amber but pistils are still mixed, prioritize trichomes and be cautious about waiting too long in wet periods.
What’s the best curing method if I don’t have humidity packs?
You can still cure without packs by controlling jar humidity through burping frequency and leaving headspace so moisture can escape. If jars stay too wet and smell grassy, burp longer and more frequently until the snap-test improves, if they overdry, seal and shorten burp sessions to retain moisture.
Should I worry about odor during flowering outdoors even if I’m in a legal area?
Yes, odor can attract complaints and also creates management challenges if you are near neighbors, flowering increases terpene release. Use a locked, not-visible location plus proactive airflow and bud protection from moisture, and consider dedicated odor control measures like carbon filtration for any equipment generating smell, especially drying racks.
Next Article
How to Grow Weed Outdoors From Seed: Step by Step Guide
Learn how to grow weed outdoors from seed with timing, site setup, watering, nutrients, training, pest control, and harv