Growing cannabis from seed indoors is completely doable for a first-timer, but the difference between a thriving plant and a dead seedling usually comes down to a handful of environmental details most guides gloss over. This is the step-by-step walkthrough I wish I'd had when I started: exact targets, real troubleshooting, and honest advice on what actually matters versus what you can stop worrying about. Before anything else, make sure you're growing within the legal limits of your jurisdiction.
How to Grow Weed Seed Indoors: Seed-to-Harvest Guide

Marcus Holbrook
20 Apr 2026
Rules vary widely, Colorado, for example, allows up to six plants per resident over 21, with no more than three flowering at one time, while Massachusetts allows up to 12 plants per household if more than one adult over 21 lives there. Massachusetts law permits adult-use residents to cultivate up to 6 marijuana plants for personal use, with a household cap of no more than 12 plants cultivated on the premises at once [up to 12 plants per household](https://www. mass.
gov/info-details/mass-general-laws-c94g-ss-7). Colorado’s home cultivation statute under the Amendment 64 framework [limits individuals to up to six marijuana plants, with no more than three being mature, flowering plants at a time](https://content. leg. colorado.
gov/sites/default/files/ib17-01coloradomarijuanahomegrowlaws. pdf). Look up your local rules before you spend a dollar on equipment.
Picking Seeds and Planning Your Indoor Grow Space
The seed you start with sets the ceiling for everything that follows. For beginners growing indoors, autoflowering strains are the most forgiving option because they flower based on age rather than light schedule changes, and they tend to stay compact. Photoperiod strains give you more control over size and yield but require a deliberate light-cycle flip to trigger flowering, which we'll cover later. If you're buying feminized seeds, the vast majority of reputable breeders sell reliable stock.
If you have older seeds from unknown sources, do a quick viability test before committing grow space to them: place 10 seeds on a damp paper towel, fold it over, and keep it warm (around 75°F) for 5 to 7 days. Count how many sprout, then divide by the total and multiply by 100 to get your germination percentage. Anything below 70% means you should expect some duds and plant extras.
For long-term seed storage, keep them at or below 5°C with moisture content around 6%, a small sealed container in the fridge with a desiccant packet works well.
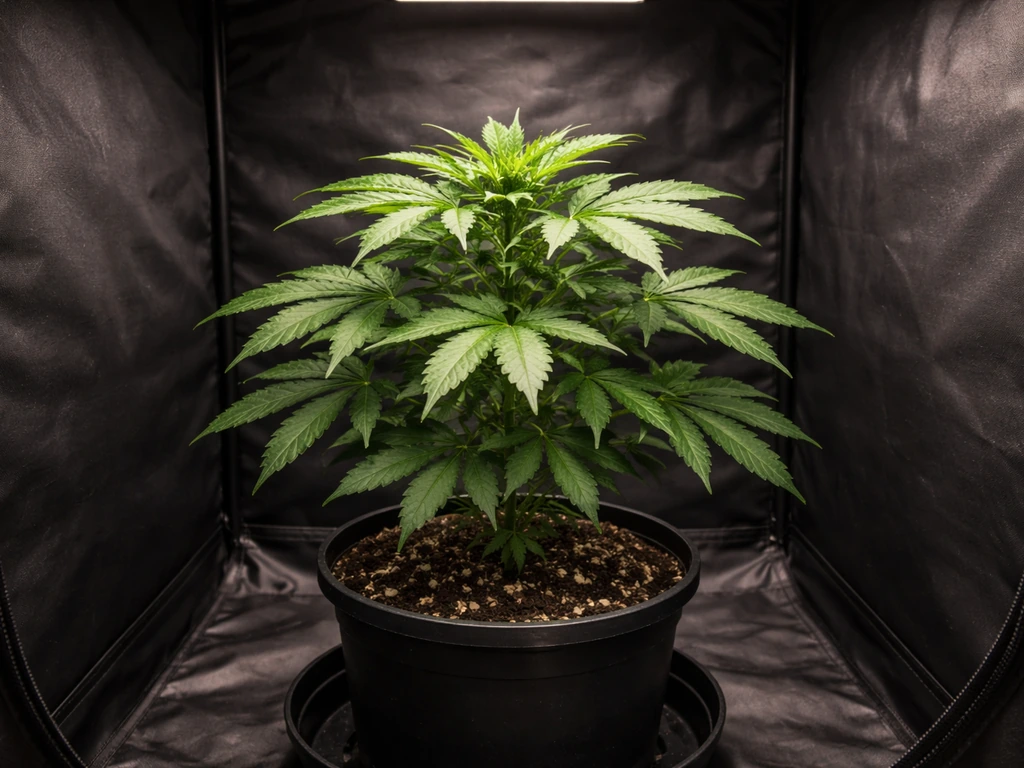
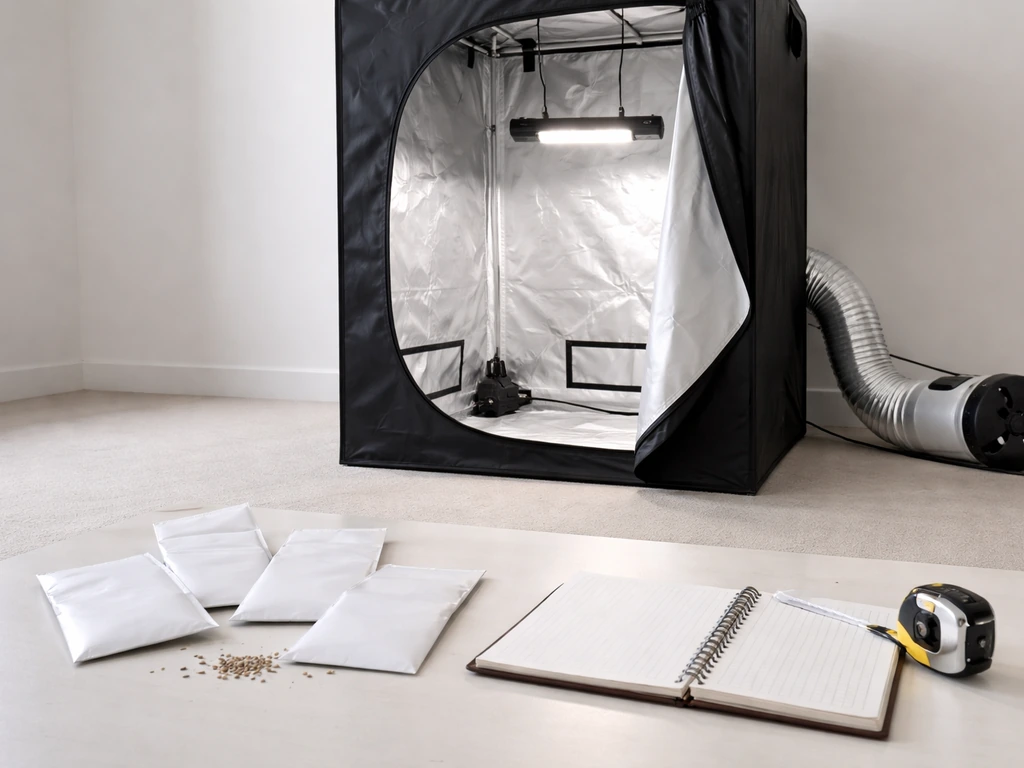
For your grow space, pick a dedicated area you can fully control: a grow tent is the easiest way to manage light, temperature, and smell all at once. A 2x4 foot tent handles two to four plants comfortably and fits most bedrooms or closets. You'll need a tent, a grow light, a ventilation fan with carbon filter, an inline duct fan, a thermometer/hygrometer combo, a timer, and containers with good drainage. Write out your budget before you shop, the light and ventilation are where quality actually matters. Skimping on those two is the most common first-timer mistake.
Germinating Cannabis Seeds and Starting Seedlings
The paper towel method is the most reliable and beginner-friendly germination approach. Place your seeds between two damp (not soaking wet) paper towels on a plate, then cover with a second plate or plastic wrap to hold moisture in. Keep the whole setup somewhere warm, ideally 75 to 80°F (24 to 27°C). Most healthy seeds will show a small white taproot within 24 to 72 hours. If you haven't seen a sprout by day 5, something is off, usually temperature or moisture level. Check that the towels aren't drying out and that the environment isn't too cold; below about 65°F (18°C), germination slows dramatically or stalls.
Once the taproot is about a quarter to a half inch long, it's time to plant. Make a small hole about 1 to 2 inches deep in your pre-moistened seedling medium, drop the seed in root-side down, and cover it gently. Don't pack the soil tight, the seedling needs to push through it. Use a small solo cup or a 4-inch pot with drainage holes for this early stage. A seedling dome or plastic wrap over the pot helps retain humidity at this fragile point. Expect the seedling to break the surface within 1 to 3 days of planting. If it doesn't appear within about 5 days, it's likely the seed is either non-viable or was planted too deep.
Damping-off is the main killer of seedlings and it's almost always caused by overwatering combined with poor airflow. It shows up as a brown, water-soaked area at the base of the stem, the plant will look like it's been pinched at the soil line and topple over. There's no saving a seedling that's damped off. To avoid it entirely: use a sterile, well-draining seedling mix, water sparingly (just enough to keep the medium lightly moist, never soggy), ensure some gentle air circulation, and avoid using non-sterile water sources like collected pond or outdoor runoff water. A light hand with the watering can during the first two weeks is genuinely the best prevention.
Lighting Schedule and Setup for Indoor Growth
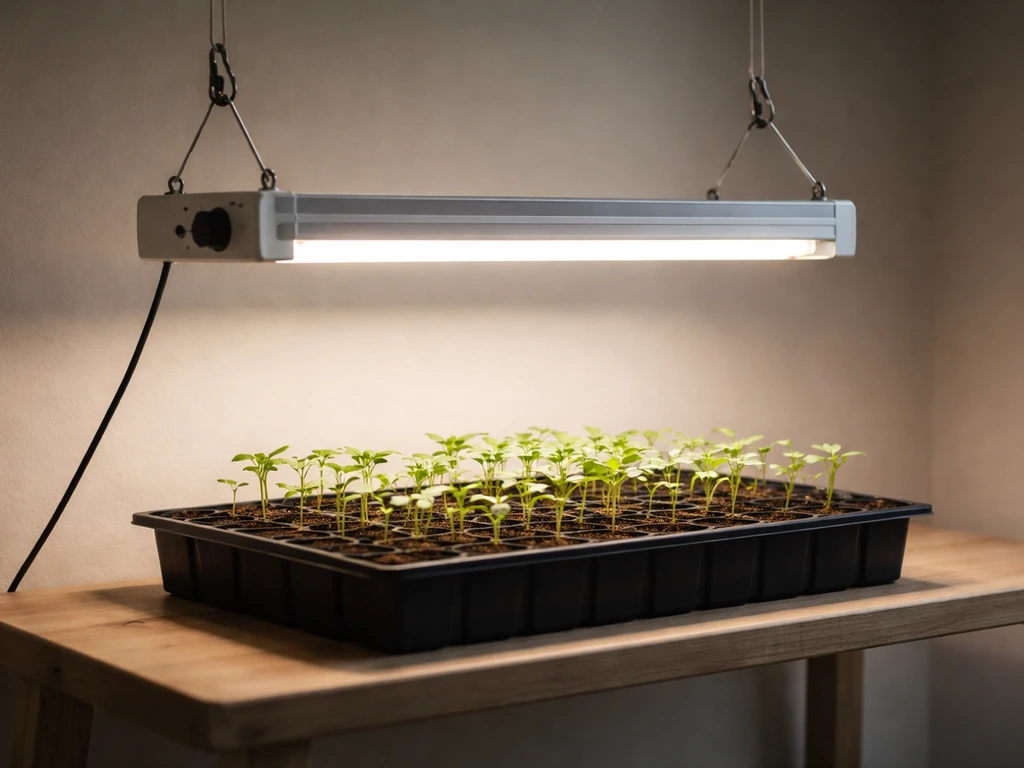
Light is the engine of indoor growing, and getting both intensity and schedule right matters from day one. For seedlings, you want relatively low light intensity, around 100 to 300 µmol/m²/s (PPFD) is appropriate. This is gentle enough that delicate seedlings aren't stressed or bleached, but sufficient to prevent them from stretching toward the light source and going leggy. Leggy seedlings (tall, thin, pale stems) are almost always a sign the light is too far away or too weak at the seedling stage.
As the plant moves into vegetative growth, you can ramp intensity up to around 400 to 600 µmol/m²/s, and into the 600 to 900 µmol/m²/s range during flowering, though exact targets depend on your strain and whether you're supplementing CO2. For photoperiod plants, run an 18-hours-on, 6-hours-off schedule during vegetative growth. To trigger flowering, switch to 12 hours on and 12 hours off.
Autoflowering strains don't need this flip; many growers run them at 18/6 or even 20/4 from seed to harvest. LED quantum board lights are the current best all-around option for home growers: they run cooler than HPS, draw less electricity, and can cover the full spectrum. Whatever light you use, get a timer, consistency matters more than most people realize.
Climate Control: Temperature, Humidity, and Airflow
Vapor pressure deficit (VPD) is the single most useful environmental metric for indoor cannabis growing. It ties temperature and humidity together into one number that tells you how efficiently your plants can transpire and take up nutrients. Rather than guessing at two separate variables, aim for VPD targets by stage. The practical numbers look like this:
| Growth Stage | Target VPD (kPa) | Approximate RH at 75°F | Temperature Range |
|---|---|---|---|
| Seedling | 0.4 – 0.8 | 70 – 80% | 72 – 78°F (22 – 26°C) |
| Vegetative / Early Flower | 0.8 – 1.2 | 55 – 70% | 70 – 80°F (21 – 27°C) |
| Mid to Late Flower | 1.2 – 1.6 | 40 – 55% | 65 – 78°F (18 – 26°C) |
| Final 2 Weeks / Pre-Harvest | 1.4 – 1.6 | 40 – 50% | 65 – 75°F (18 – 24°C) |
During flowering, never let relative humidity climb above 60%. Wet, warm buds are a perfect environment for botrytis (bud rot) and powdery mildew, and once either takes hold in dense canopy, it spreads fast. Progressively lower your humidity as you move from early to late flower, this both reduces mold risk and encourages the plant to produce more resin as a natural response to the drier conditions.
Airflow is equally important and often underrated. You want gentle, consistent air movement across the canopy, not a gale, just enough to make leaves sway slightly. This strengthens stems, prevents stagnant humid air pockets, and discourages fungal growth. An oscillating fan inside the tent pointed at the canopy, combined with an inline exhaust fan running through a carbon filter, handles most of this. Size your inline fan to exchange the tent's air volume at least once every 1 to 3 minutes.
Transplanting, Medium Basics, and Watering Technique
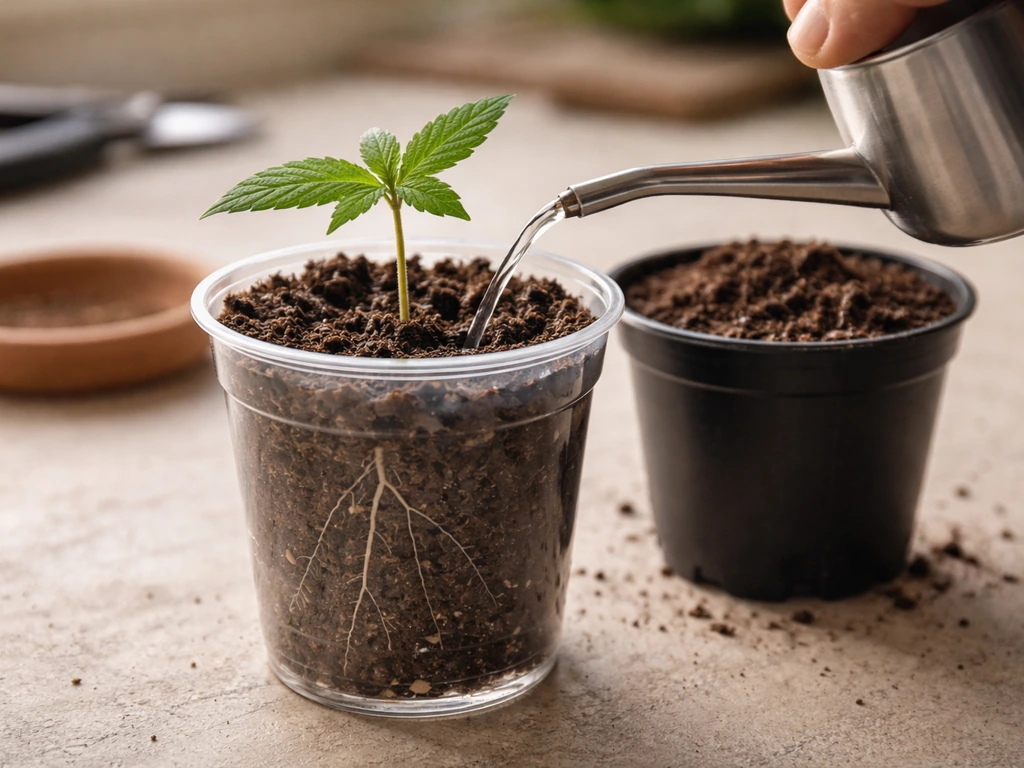
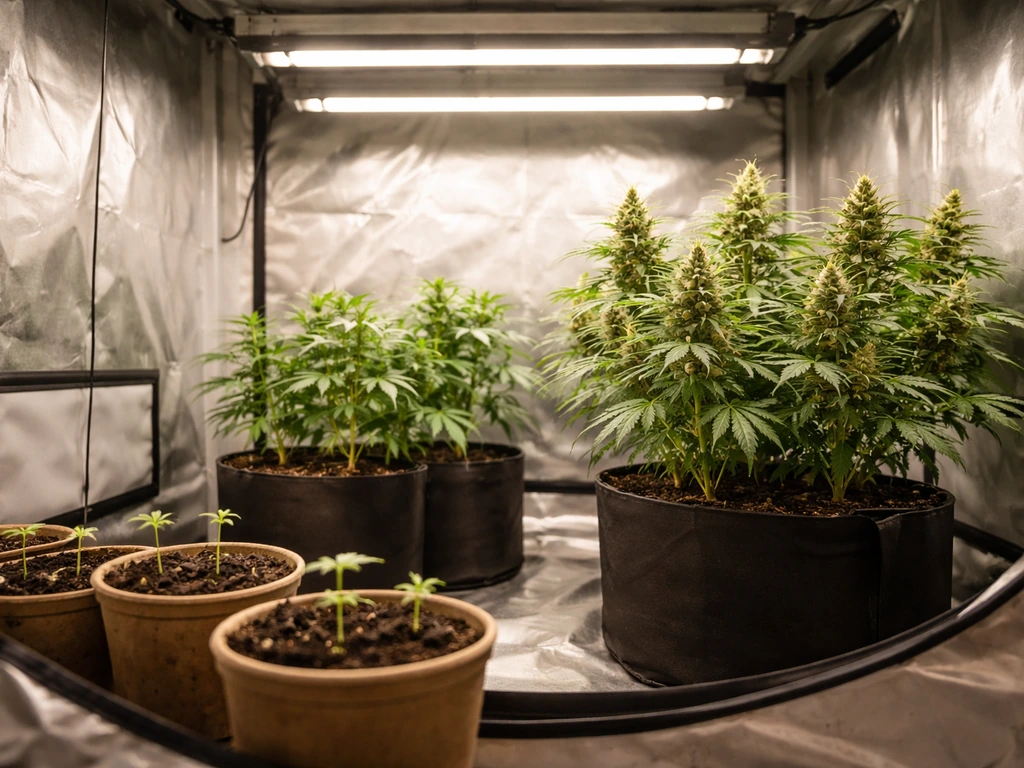
Most beginners start seeds in small containers and transplant up at least once before the final pot. A common and effective sequence is: seedling in a solo cup or 4-inch pot, then up to a 1-gallon container once roots start showing at the drainage holes, then into a 3- to 5-gallon final container for the rest of the grow. Larger final pots give photoperiod plants more root room and usually produce bigger yields, but they also take longer to water properly and dry out between cycles.
For medium, a high-quality pre-mixed cannabis or container soil works well for beginners and comes with enough nutrients built in to carry the plant through at least the first few weeks without added feeding. Coco coir (alone or mixed with perlite at roughly 70/30) is a step up in control, it drains excellently and doesn't hold excess water, but it requires you to manage all nutrients from the start since coco is inert. Whichever medium you choose, make sure it drains freely. Root rot is just as deadly as damping-off and has the same cause: too much water with nowhere to go.
When transplanting, be gentle. Keep the root ball intact, don't shake or squeeze it, and handle the plant by the container rather than the stem. Create a hole in the new medium the same size as the root ball, lower it in, and backfill without compacting. Water in gently after transplanting to help the roots make contact with new medium. The plant may look slightly stressed for a day or two afterward, that's normal. To reduce transplant shock, avoid feeding nutrients immediately after transplanting and make sure the new medium is pre-moistened.
Watering technique is where most new growers go wrong. The goal is to water thoroughly, then let the medium dry out to about 50 to 60% of its saturated weight before watering again. A simple trick: lift the pot after watering to feel how heavy it is, then lift it again before your next planned watering day. When it feels significantly lighter, it's time to water. For most setups, this works out to every 2 to 3 days in vegetative growth, slightly more frequent in peak flower when the plant is drinking more. Always water to about 10 to 20% runoff to flush out any salt buildup.
Vegetative to Flowering Transition and Maintenance
If you're growing photoperiod plants, you control when flowering begins by switching your light timer from 18/6 to 12/12. If you are planning how to grow weed from stem indoors, focus on getting the lighting cycle, humidity, and early watering dialed in during the transition. Most growers trigger this switch when the plant is about half the final height they want, cannabis typically doubles or even triples in height during the first few weeks of flower (this is called the stretch). So if your tent height allows for 4 feet of plant, flip to 12/12 when your plant is around 18 to 24 inches tall.
In the week or two before you flip, this is a good time to do any low-stress training (LST) like tying down branches to open up the canopy to light, or topping/fimming if you've been doing that during veg. After the flip, the plant will start showing pre-flowers within about 1 to 2 weeks, you'll see small white hairs (pistils) at the nodes. Bud sites develop from there. During the stretch, check your plant height every few days and adjust your light height to maintain the recommended distance from the canopy (your light manufacturer will specify this, usually somewhere between 12 and 24 inches depending on intensity and type).
Through flowering, keep an eye on lower leaves yellowing and drop them if they're blocking airflow to the lower canopy. A light defoliation in early flower (around week 3) can help open up bud sites, but don't go overboard, removing too many leaves during flower stresses the plant and can slow bud development. Autoflowering growers can ignore the light-flip entirely, but should still watch canopy height and airflow management.
Nutrients and Feeding Schedule Plus Troubleshooting Problems
Cannabis has different nutrient demands at each stage. During vegetative growth, the plant wants more nitrogen (N) to build leaves and stems. As it transitions into flower, nitrogen demand drops and phosphorus (P) and potassium (K) become more important for bud development. Most bottled nutrient lines designed for cannabis are labeled by stage (grow/bloom/micro or similar), and following the manufacturer's schedule at half to three-quarter strength is a safe starting point. Always mix nutrients into your water before checking and adjusting pH, aim for 6.0 to 7.0 pH in soil, or 5.5 to 6.5 in coco/hydro. pH being off by even half a point locks out nutrients regardless of how much you feed.
In a quality pre-amended soil, you often don't need to feed at all for the first 3 to 4 weeks. Overfeeding young plants is one of the most common beginner mistakes, it shows up as burnt, curled leaf tips (nutrient burn) or blotchy yellow/brown spots (toxicity or lockout). If you see these signs, flush with plain pH-adjusted water for a feeding or two before reintroducing nutrients at a lower dose.
Here are the most common problems and what they usually mean:
- Yellow leaves starting from the bottom of the plant, moving upward: classic nitrogen deficiency, usually in mid-to-late flower when the plant is naturally pulling N from older leaves — this is normal in late flower but early yellowing in veg means feed more.
- Burnt, brown leaf tips across the whole plant: nutrient burn from overfeeding. Back off the nutrients and flush.
- Purple or red stems with otherwise healthy growth: can be genetic (many strains do this naturally), or a mild phosphorus issue. Check temperature — cool nights below 60°F also cause this.
- Slow growth, pale green color across all leaves: likely nitrogen deficiency combined with underfeeding, or a pH problem preventing uptake.
- Curling, clawing leaves that curl downward: usually nitrogen toxicity from too much feeding, or sometimes heat stress from lights being too close.
- Leggy, pale seedlings stretching toward the light: the light is too far away or too weak. Lower it or increase intensity.
- Seedlings collapsing at the soil line with brown mush at the base: damping-off. Caused by overwatering and poor airflow. There's no recovery — remove affected seedlings immediately to prevent spread.
If you're troubleshooting and can't pinpoint the issue, check these three things in order before assuming a nutrient deficiency: water pH, watering frequency (overwatering is more common than underwatering), and light distance. At least 80% of beginner problems trace back to one of these three causes.
Harvest Timing and Next Steps After Curing
Knowing when to harvest is a skill that takes a grow or two to get comfortable with, but there are two reliable indicators to use together. First, watch the pistils (the white hairs on your buds): when around 90% of them have darkened and curled in, you're in the harvest window. Second, and more precise, is checking trichomes with a jeweler's loupe or a digital microscope.
Trichomes start clear, then turn milky white (peak THC), then amber (THC degrading to CBN, a more sedating compound). Most growers harvest when trichomes are mostly milky with about 10 to 30% amber, depending on the effect they prefer. Harvesting too early gives a lighter, less developed effect; waiting too long produces a heavier, more sedating result.
In the final 1 to 2 weeks before harvest, most growers drop the relative humidity to around 45 to 50% and reduce temperature slightly, targeting around 65 to 75°F. Some growers also flush with plain pH-adjusted water during this window to clear any residual nutrient salts, this is debated, but it's a low-risk habit to build.
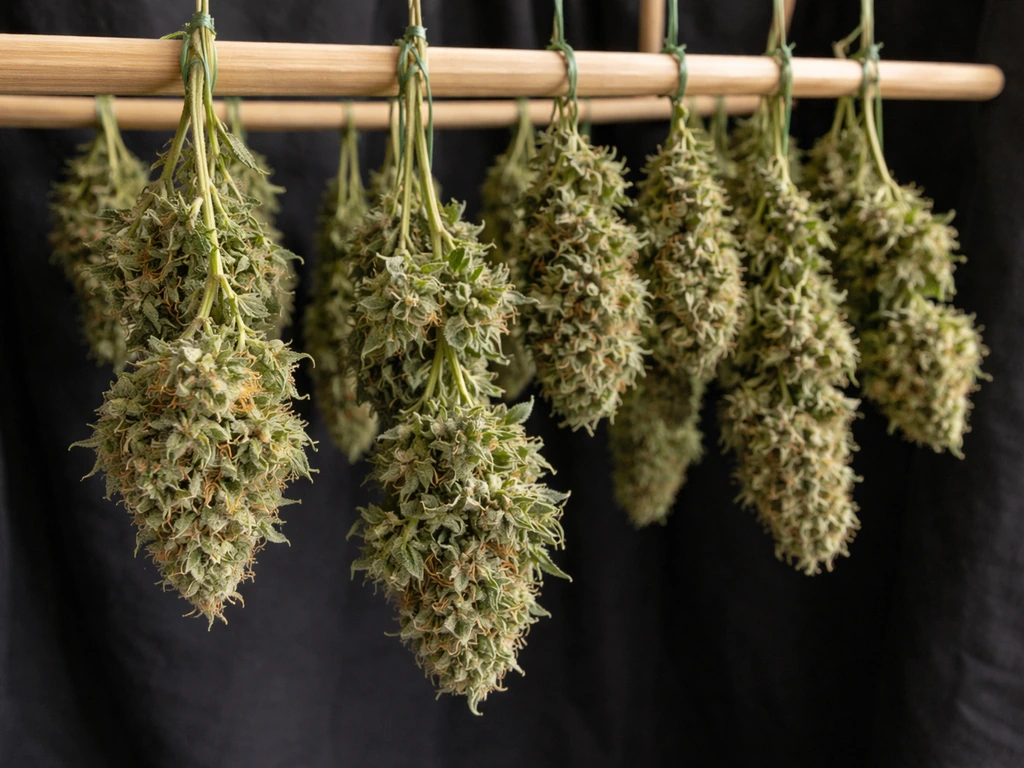
After you cut the plant, drying is the next critical step. Hang whole branches (or whole plants if they're small) in a dark room or tent with good airflow. Target a drying temperature of about 60 to 70°F (15 to 21°C) and relative humidity of 45 to 55%. Drying too fast, hot, dry conditions, locks in a hay smell and degrades terpenes. Drying too slowly in humid conditions invites mold. The sweet spot is a slow, 7 to 14 day dry. When the smaller stems snap rather than bend, your buds are ready to trim and move into curing jars.
Curing happens in sealed glass jars at around 60 to 65°F and 58 to 62% relative humidity. Open the jars once or twice a day for the first two weeks to exchange air (called burping), then taper off to every few days. A minimum cure of two weeks improves smoothness and taste noticeably; four to eight weeks produces a significantly better result. This is the step most impatient first-timers skip, and it's the one that actually separates mediocre homegrown from something you're proud of.
Your first grow is a learning run as much as a production run. Keep a simple journal: note what you fed, when you watered, what you observed, and any changes you made. By the time you're curing your first harvest, you'll already know a dozen things you'll do differently next time.
If you want to go deeper on the full indoor environment, including managing multiple plants in a dedicated room setup rather than a tent, the guides on growing weed inside and growing a weed plant in your room cover those angles in more detail. If you plan to start from a stem cutting indoors, you can build on the same environmental controls like light, airflow, and watering technique.
Growing through winter with different heating and humidity challenges is also a distinct topic worth exploring once you have a grow or two under your belt. Growing through winter with different heating and humidity challenges is also a distinct topic worth exploring once you have a grow or two under your belt how to grow weed inside during winter. Growing through winter with different heating and humidity challenges is also a distinct topic worth exploring once you have a grow or two under your belt, including how to grow weed inside during winter.
FAQ
What should I do if my germination taproot starts, but the seed won’t pop out of the medium after planting?
Check whether the seed was buried too deep or the medium is too compact. Aim for about 1 to 2 inches depth, keep the medium pre-moistened but not soggy, and ensure warmth stays roughly in the mid 70s °F. If the seed coat is stuck on the sprout, improve surface moisture and wait, avoid forcing it off with tools.
How many seeds should I plant if I’m not sure about the seed’s viability?
Use your viability test result as a guide. If germination is 70% or lower, plant extras, typically 1.5 to 2 times your target number of plants, because some seedlings will fail later from damping-off or root-rot even if they initially sprout.
Can I reuse my seedling mix or grow medium for the next batch?
For seedlings, it’s best to use fresh or properly sterilized medium. Reusing can carry unseen pathogens that increase damping-off risk, especially if the previous run was overwatered. If you do reuse, ensure it’s completely dry and consider sterilization steps appropriate for your setup.
My seedlings look healthy but stretch tall quickly. What’s the fastest fix?
Raise light intensity or bring the light closer, then verify you’re within the seedling PPFD range (too much distance is the common cause). Also confirm your airflow is gentle but consistent, since weak air movement and low light often combine into leggy, pale growth.
How do I know if I’m overwatering versus underwatering in early seedlings?
Overwatering usually leaves the base of the stem looking water-soaked and the plant may suddenly collapse (damping-off). Underwatering causes slower growth and a lighter, more wilting feel. A reliable method is the weight check after watering, then only water again when the pot is noticeably lighter (based on your earlier watering weight).
Do I need a humidity dome after sprouting?
A dome can help during the first days to stabilize moisture, but remove it or vent it once the seedling is established so you avoid stagnant, overly humid air. If you see condensation or the soil surface stays wet for long periods, reduce dome time and improve airflow.
What’s the right way to set up airflow if my tent is small?
Use gentle circulation across the canopy, not a direct blast. If leaves are whipping, airflow is too aggressive. Also size your inline exhaust so the tent volume exchanges every few minutes, then use an oscillating fan to prevent humid pockets rather than constantly blasting one spot.
How should I adjust my watering schedule after transplanting?
Plan for slower water uptake for 1 to 3 days after transplant, because damaged or just-reconnecting roots take time to recover. Keep the new medium pre-moistened, water gently after transplanting to settle the roots, then follow the weight-based approach rather than the old schedule.
What runoff percentage should I aim for, and what if I never get runoff?
A good rule is watering enough to see about 10 to 20% runoff during the active growth period. If you never see runoff, salt and nutrient buildup can accumulate in the root zone, so increase volume slightly while keeping the medium from staying saturated for long stretches.
Can I grow photoperiod and autoflower plants together in the same tent?
It’s usually not ideal because photoperiod plants require a strict 12/12 flip to flower, while autoflowers keep their own schedule. If you must, separate them by space and strongly consider splitting tents or using separate light schedules, since mixing schedules can stall photoperiod flowering or stress autoflowers.
What should I do if flowering starts late or the plants don’t show pistils when I flip to 12/12?
First confirm your timer is accurate and the lights receive truly uninterrupted darkness. It’s normal to wait 1 to 2 weeks for pre-flowers, but if nothing appears after that, double-check light distance and make sure temperature and humidity are in a reasonable range for early flower stability.
How do I prevent nutrient burn in the first month?
In pre-amended soil, often skip feeding for the first 3 to 4 weeks. When you do start nutrients, begin at half to three-quarter strength, mix into water first, and only change one variable at a time. Burn usually shows as curled, burnt tips and progresses quickly when you overfeed and the medium stays wet.
What pH tool should I trust for home growers?
Use a calibrated meter, because uncalibrated readings cause nutrient lockout even if you “follow the numbers.” Check calibration regularly (per your device instructions) and remember that soil and coco target different ranges, so don’t apply a soil pH reading to coco/hydro.
Is flushing before harvest necessary?
It’s debated, and it’s not required for every grow. A practical low-risk approach is to flush with pH-adjusted water for a short window if you suspect salt buildup, but don’t expect it to “fix” harvesting errors like picking too early or drying too fast.
How can I tell if drying is going too fast?
If buds develop a harsh hay smell early, feel dry and brittle, or the timeline is much shorter than about 7 to 14 days, drying is probably too fast. Slow down by reducing airflow slightly or lowering drying temperature, while maintaining enough airflow to avoid mold.
What if I get mold during the grow or after drying?
If you see any suspicious growth on buds, remove affected material immediately to limit spread and review humidity and airflow. Preventatively, keep humidity lower during flower, run carbon-filtered exhaust properly, and avoid drying conditions that are hot and very humid. If mold is extensive, recovery may not be possible, and the safest move is to discard affected product.
Should I keep a journal, and what details matter most?
Yes, and focus on the variables that drive outcomes: watering date and how much (including whether you got runoff), any nutrient feed amounts, pH readings, light schedule changes, and what you observed (leaf color, stretching, signs of pests or disease). This makes troubleshooting faster than relying on memory.
Next Article
How to Grow Weed Inside One Small Plant Guide
Step-by-step guide to grow one small indoor cannabis plant from seed to harvest: setup, lighting, climate, nutrients, tr