Yes, you can grow a cannabis plant in your room, and with the right setup, a single plant in a spare closet or a small tent can yield two to four ounces of dried flower in roughly 10 to 16 weeks from seed. The catch is that the legality depends entirely on where you live, and the quality of your harvest depends on nailing a handful of environmental variables: light, temperature, humidity, airflow, and nutrients.
How to Grow a Weed Plant in Your Room: Beginner Guide

Marcus Holbrook
20 May 2026
This guide walks you through every step, from checking your local laws to cutting down a finished plant. Health Canada’s guidance on [growing cannabis at home safely](https://www. canada. ca/en/health-canada/services/drugs-medication/cannabis/personal-use/growing-cannabis-home-safely.
html) applies to adults registered for personal medical production and includes requirements like respecting the production limit on your certificate and following maximum plant and possession limits. If you want the full indoor workflow, use this as a starting point and then follow a dedicated guide on how to grow weed inside.
Before You Start: Legality, Feasibility, and What You Actually Need
The first thing to settle is whether home growing is legal where you live. Laws vary wildly, not just country to country, but state to state and city to city. Getting this wrong has real consequences, so spend 10 minutes on your local government's official website before you buy anything. The Washington State Liquor and Cannabis Board notes that Washington does not allow home growing for non-medical use, and home growing is only allowed for qualified medical patients or designated providers with valid authorization blank" rel="noopener noreferrer">checking your local laws.
Here's a quick snapshot of how a few major jurisdictions currently handle home cultivation. This is not legal advice, always verify with your local authority, because local municipalities can impose stricter rules on top of state or provincial law.
| Jurisdiction | Home Grow Limit (Adults) | Key Restrictions |
|---|---|---|
| California (USA) | Up to 6 plants per residence (age 21+) | Local cities/counties may ban or restrict home grows |
| British Columbia (Canada) | Up to 4 plants per household | Additional local or Indigenous government rules may apply |
| Canada (medical) | Personal production allowed with Health Canada registration | Must follow production limit and max plant/possession limits on registration certificate |
| Washington State (USA) | Not allowed for non-medical adults | Only qualified medical patients or designated providers with valid authorization may grow |
| Ohio (USA) | Allowed in a secured, enclosed area (closet, room, greenhouse) | Must not be visible from public spaces; no access by under-21s |
| Los Angeles County (CA) | Up to 6 plants per residence under state law | Property owners may forbid grows per tenant law |
Once you've confirmed it's legal, think practically about feasibility. You need a private, controllable space, a dedicated tent, closet, or spare room works. You'll need to manage smell (carbon filters are a must), electricity costs (a 200–400W LED setup adds roughly 15–30 dollars per month to your bill in most US markets), and you'll need to be home enough to water and monitor regularly. If you're renting, check your lease, many landlords prohibit cultivation regardless of state law.
The minimum realistic shopping list for a beginner one-plant room grow includes a grow tent (a 2x2 ft tent is perfect for one plant), a full-spectrum LED light, a small inline fan with a carbon filter, a thermometer/hygrometer, a pH meter, a container, growing medium, nutrients, and seeds or a clone. Total startup cost for a decent beginner kit runs roughly 200 to 400 dollars, after that, ongoing costs are mostly nutrients and electricity.
Choosing the Right Strain and Starting Method
For room grows, autoflowering strains are the easiest starting point. They flower automatically based on age (not light schedule), stay compact, usually 18 to 36 inches tall, and finish in 70 to 90 days from seed. Indica-dominant photoperiod strains are the next step up: slightly more yield potential, but you control flowering by changing the light schedule. Sativa-dominant strains tend to stretch tall and take longer to flower, which makes them a poor fit for most room setups unless you have serious ceiling height.
Top beginner-friendly strain types to look for: autoflowering hybrids labeled compact or dwarf, classic indica photoperiod strains like Northern Lights or White Widow, and CBD-rich varieties if you're not after THC potency. Whatever you pick, buy from a reputable seed bank with verified genetics, cheap mystery seeds waste months of your time.
Seeds vs. Clones: Which Should You Start With?
Seeds are the easier choice for most beginners. Feminized seeds (bred to produce only female plants) remove the risk of accidentally growing male plants, which don't produce flower and can ruin your crop if they pollinate females. Germinate by placing seeds between moist paper towels in a warm spot (72 to 78 degrees Fahrenheit / 22 to 26 Celsius) for 24 to 72 hours until a small taproot appears, then transplant into your starting medium. A more detailed walkthrough of the seed germination process is something worth reading separately if you want to go deeper on that stage alone.
Clones, cuttings taken from a known mother plant, skip germination and give you a genetic head start, but they can carry pests or diseases and are harder to source if you don't already know a grower. For a first room grow, a feminized autoflowering seed is your lowest-risk starting point.
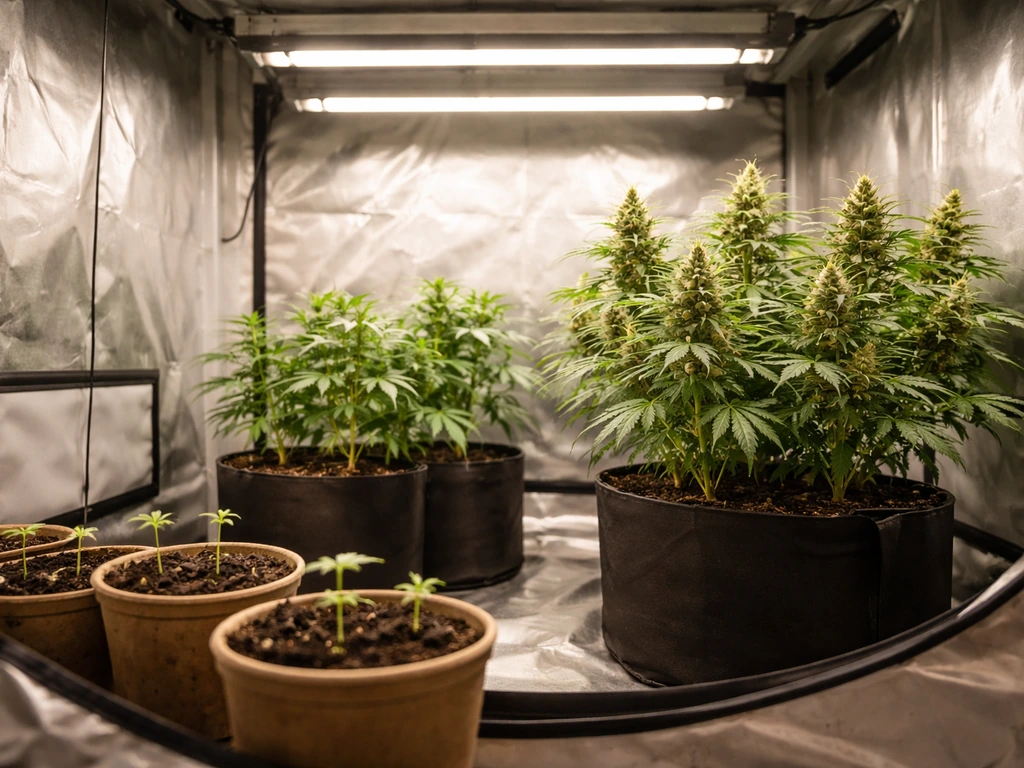
Setting Up Your Grow Space: Size, Airflow, Temperature, and Humidity
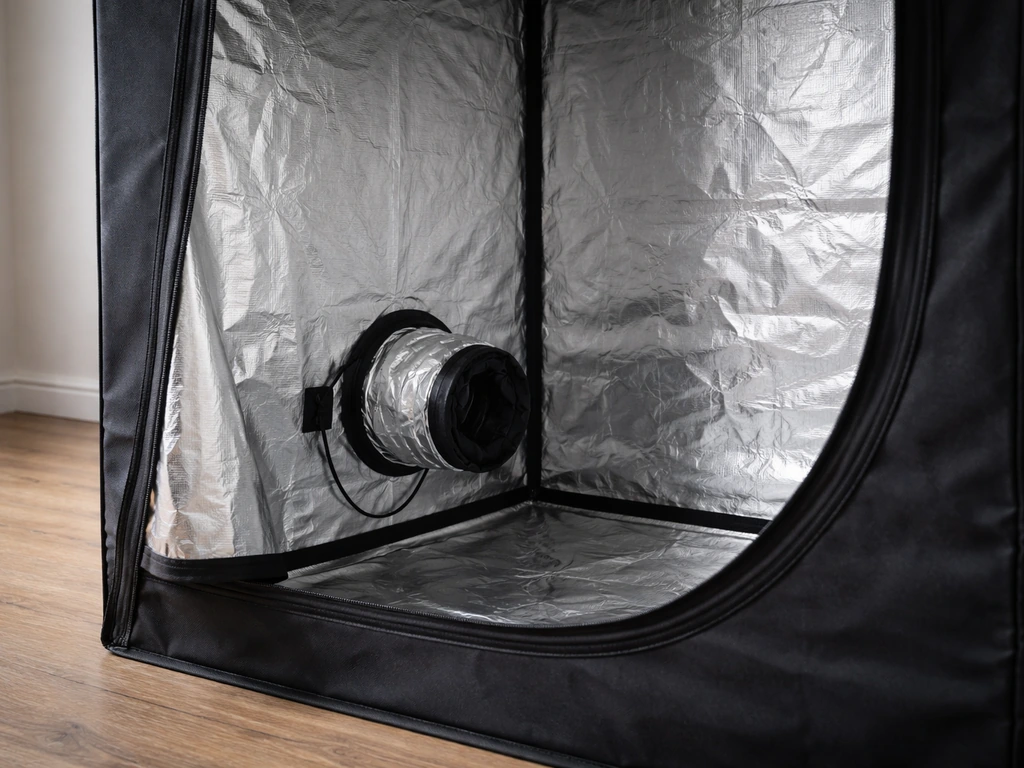
A grow tent is the most practical option for a room setup, it's lightproof, reflective on the inside, has ports for fans and cables, and it keeps the grow contained and stealthy. A 2x2 ft tent handles one plant comfortably. A 2x4 ft tent fits two to three plants. If you're using a closet, line the inside with white paint or Mylar reflective film to maximize light efficiency.
Airflow is non-negotiable. Stagnant air leads to mold, mildew, and weak stems. You need: an inline fan exhausting hot air out through a carbon filter (sized to exchange the tent air volume at least once per minute), one or two small oscillating fans inside to create gentle stem movement, and passive or active fresh air intake at the bottom of the tent. For a 2x2 ft tent, a 4-inch inline fan rated at 190–200 CFM is appropriate. Always run your exhaust through a carbon filter, it eliminates 95 percent or more of cannabis odor.
Here are the environmental targets to hit at each stage:
| Growth Stage | Temperature (°F) | Temperature (°C) | Relative Humidity |
|---|---|---|---|
| Seedling (weeks 1–2) | 70–77°F | 21–25°C | 65–70% |
| Vegetative (weeks 3–8) | 70–82°F | 21–28°C | 50–70% |
| Flowering (weeks 1–6) | 68–79°F | 20–26°C | 40–50% |
| Late Flower / Pre-Harvest (weeks 7+) | 64–75°F | 18–24°C | 30–40% |
High humidity in late flower (above 50%) is the single biggest cause of bud rot. Get a digital thermometer/hygrometer with a min/max memory function and check it at least once a day until you understand your room's natural swings. A small humidifier handles low humidity in seedling stage; a dehumidifier or extra exhaust fan handles high humidity in flowering.
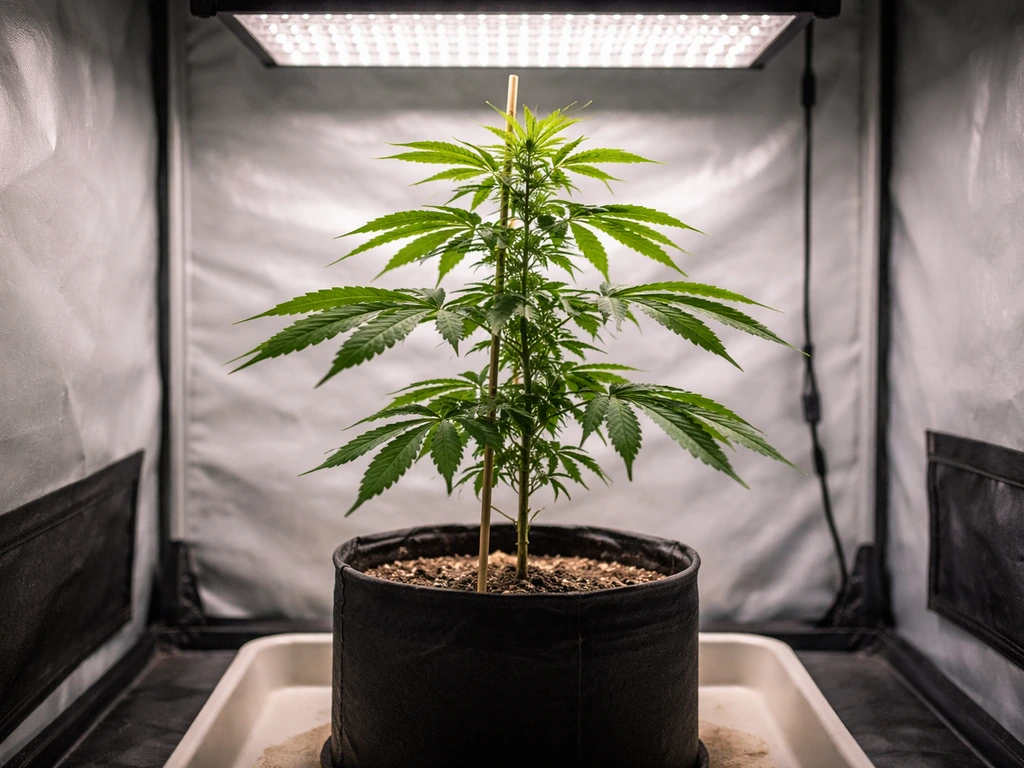
Lighting: What to Use and How to Schedule It
LED grow lights are the best choice for a room grow today. They run cooler than HID lights, consume less electricity, and modern full-spectrum LEDs produce excellent results. For a 2x2 ft space with one plant, a 100–200W LED (actual draw, not claimed equivalent) is plenty. For a 2x4 ft tent, 200–300W actual draw is the target. Avoid cheap blurple LED panels, they underdeliver. Look for reputable brands with Samsung LM301B or similar diode specs, or quantum board style fixtures.
Light Schedules for Photoperiod vs. Autoflowering Plants
Photoperiod strains follow the sun, or more precisely, they follow your light timer. During vegetative growth, run lights 18 hours on and 6 hours off (18/6). When you're ready to trigger flowering (usually after 4 to 8 weeks of veg), switch to 12 hours on and 12 hours off (12/12). The plant reads the 12 consecutive hours of darkness as a signal to start producing buds. Keep this schedule rock solid, any light leaks during the dark period can confuse the plant and cause stress or hermaphroditism.
Autoflowering strains don't rely on a light schedule change to flower. Most growers run them on 18/6 or even 20/4 from seed to harvest. Some run 24/0, though a few dark hours generally keeps the plant healthier long term. Set a digital timer and forget it, consistency is more important than the exact hour count.
Light height matters too. Most LEDs should be positioned 18 to 24 inches above the canopy during veg and can move to 12 to 18 inches in flower, depending on intensity. Watch for light stress signs: bleached or white leaf tips signal the light is too close; pale, stretchy growth signals it's too far away.
Growing Medium, Containers, and Watering
For a beginner room grow, a high-quality potting mix is the most forgiving medium. Look for cannabis-specific soil or an airy mix of perlite and coco coir, avoid dense garden soil, which compacts and drowns roots. A blend of 70% good potting mix and 30% perlite by volume gives excellent drainage and aeration. Coco coir is a great alternative: it's pH-stable, reusable, and forces you into a more active feeding schedule that gives you tight control over nutrients.
Container size directly affects how large your plant grows. Start seedlings in a small 16 oz or 1-liter container, then transplant up as the plant grows. A single photoperiod plant in full veg will want to finish in a 3 to 5 gallon pot. Autoflowering plants do best when started and finished in their final container (typically 2 to 3 gallons) to avoid transplant stress. Fabric pots are excellent, they air-prune roots, prevent overwatering, and dramatically reduce the risk of root rot.
How to Water Without Overdoing It
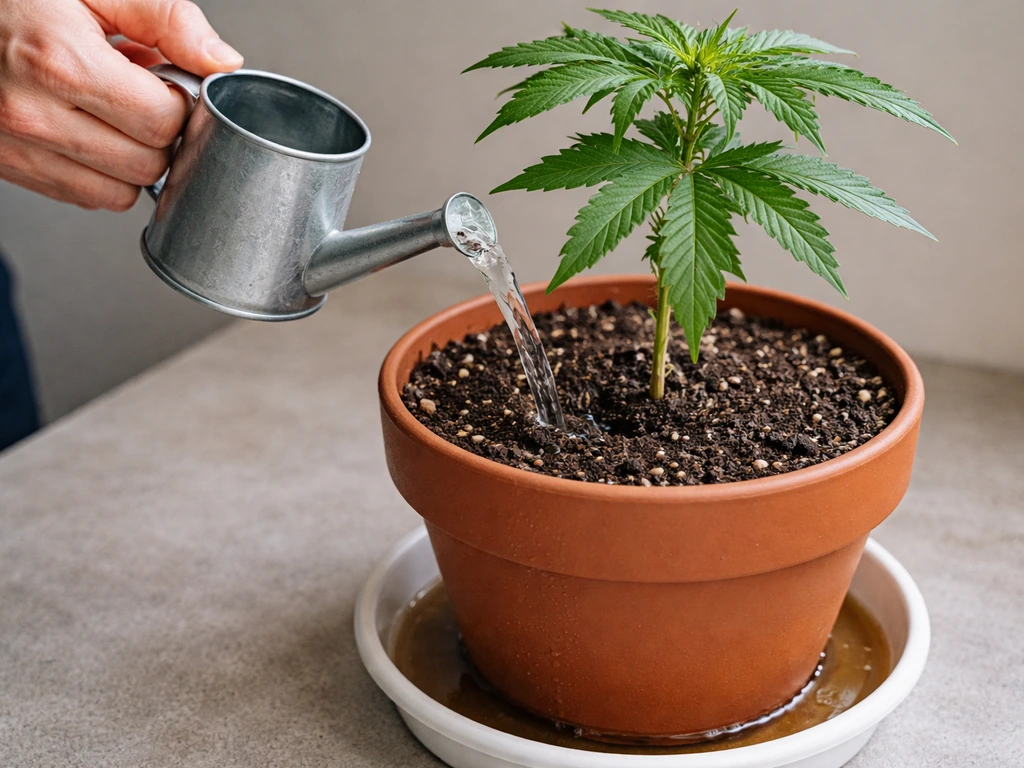
Overwatering kills more beginner plants than any other mistake. Cannabis roots need oxygen as much as water, soggy soil suffocates them. The correct method: water thoroughly until 10 to 20 percent runoff exits the bottom of the pot, then let the top inch or two of soil dry out completely before watering again. Lift the pot, a light pot means it's ready to water; a heavy pot means there's still plenty of moisture in the medium. In a small 2-gallon fabric pot under a 150W LED, you'll typically water every 2 to 3 days in veg, and more frequently (sometimes daily) in heavy flower.
pH your water every time. Cannabis in soil takes up nutrients best between pH 6.0 and 7.0 (target 6.3 to 6.8). In coco or hydro, the target range is tighter: 5.5 to 6.5 (target 5.8 to 6.2). An out-of-range pH locks out nutrients even if you're feeding perfectly, this is one of the most common causes of yellowing leaves that beginners mistake for a nutrient problem. Get a decent digital pH pen and calibrate it monthly.
Feeding Your Plant: Nutrients and a General Schedule
Cannabis has different nutritional needs at each growth stage. In veg, it craves nitrogen (N) for leafy green growth. In flower, phosphorus (P) and potassium (K) take priority for bud development, and nitrogen is gradually reduced. A simple 3-part base nutrient system (Grow, Bloom, Micro) from a reputable brand covers all your bases. If you start with a quality pre-amended soil, you usually won't need to feed anything for the first 3 to 4 weeks, the soil has enough nutrients to get you started.
| Stage | Primary Nutrients | Feeding Frequency | Strength |
|---|---|---|---|
| Seedling (weeks 1–2) | None or very light | None / plain pH'd water | N/A |
| Early Veg (weeks 3–4) | N-heavy (e.g., Grow formula) | Once per week | 25–50% of label dose |
| Full Veg (weeks 5–8) | High N, moderate P/K | Every other watering | 50–75% of label dose |
| Early Flower (weeks 1–3) | Reduce N, increase P/K | Every other watering | 75% of label dose |
| Peak Flower (weeks 4–7) | High P/K, low N | Every other watering | Full dose |
| Late Flower / Flush (last 1–2 weeks) | Plain pH'd water only | Every watering | No nutrients |
Always start at half the recommended dose and work up, it's much easier to add more next time than to flush out nutrient burn. Feed, then plain water, then feed again is a safe rhythm that prevents salt buildup in the medium. Flush the medium with plain pH'd water in the final one to two weeks before harvest to clear residual salts and improve the flavor and smoothness of your finished product.
What's Happening Week by Week: Growth Stages, Training, and Harvest
Seedling Stage (Weeks 1–2)
Your seed cracks open, the taproot goes down, and the first two round leaves (cotyledons) emerge. The plant is fragile, keep humidity high (65–70%), don't overwater, and don't feed yet. The seedling will develop its first set of serrated true leaves within the first week. Treat this stage like babysitting a newborn: keep conditions stable and don't mess with it.
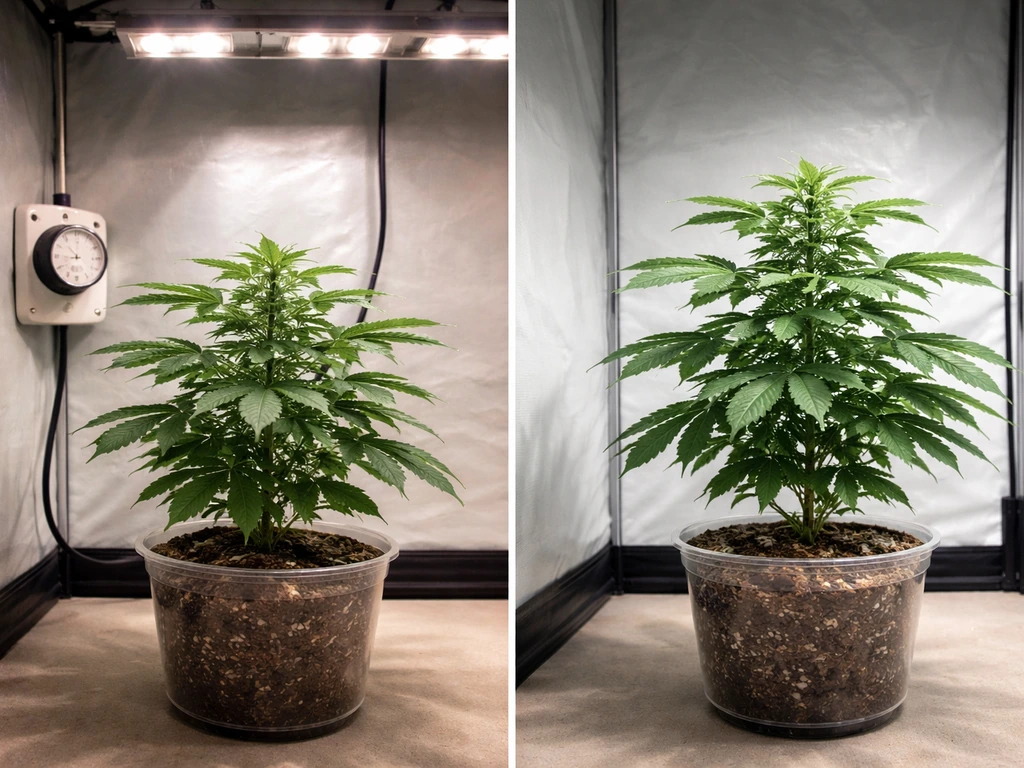
Vegetative Stage (Weeks 3–8)
The plant is now building roots, stems, and leaves. Node sets develop, growth accelerates, and you'll see the plant visibly changing every day. This is when training pays off. Low Stress Training (LST), bending branches outward and tying them down to keep the canopy flat, opens up the plant to more light and dramatically increases your final yield without shocking the plant. Simply tie the main stem sideways when it's pliable, then guide the new growth upward. You can also top the plant (cut off the main growing tip) at the 4th or 5th node to create two main colas instead of one, this doubles your tops but adds about a week to veg time.
Flowering Stage (Weeks 1–10 Depending on Strain)
For photoperiod plants, switch to 12/12 light to trigger flowering. Within 1 to 2 weeks you'll see white hair-like pistils forming at the nodes, that's your sign the plant is female and flowering has begun. Bud sites multiply, then swell, then fill out over the next 6 to 10 weeks depending on the strain. The smell intensifies dramatically during this stage, make sure your carbon filter is doing its job.
Remove any large fan leaves that are blocking light from lower bud sites during the first few weeks of flower (a technique called lollipopping or defoliation). Don't overdo it, the leaves are solar panels. A light pruning of the bottom third of the plant keeps energy focused on the main colas.
Knowing When to Harvest
The most reliable harvest indicator is trichome color, checked with a jeweler's loupe or small digital microscope (30x to 60x magnification). Trichomes are the tiny crystal-like resin glands on buds and surrounding leaves. Clear trichomes mean the plant isn't ready. Milky white (cloudy) trichomes signal peak THC. Amber trichomes indicate THC is degrading into CBN, which produces more of a body effect. Most growers target 10 to 30 percent amber mixed with mostly cloudy trichomes for a balanced effect. The pistils (hairs) also give a rough guide: when 70 to 90 percent have turned orange or red and curled in, harvest is approaching. Breeders list estimated flower times on seed packaging, use that as a ballpark, then verify with trichomes.
Troubleshooting Common Indoor Problems
Mold and Powdery Mildew
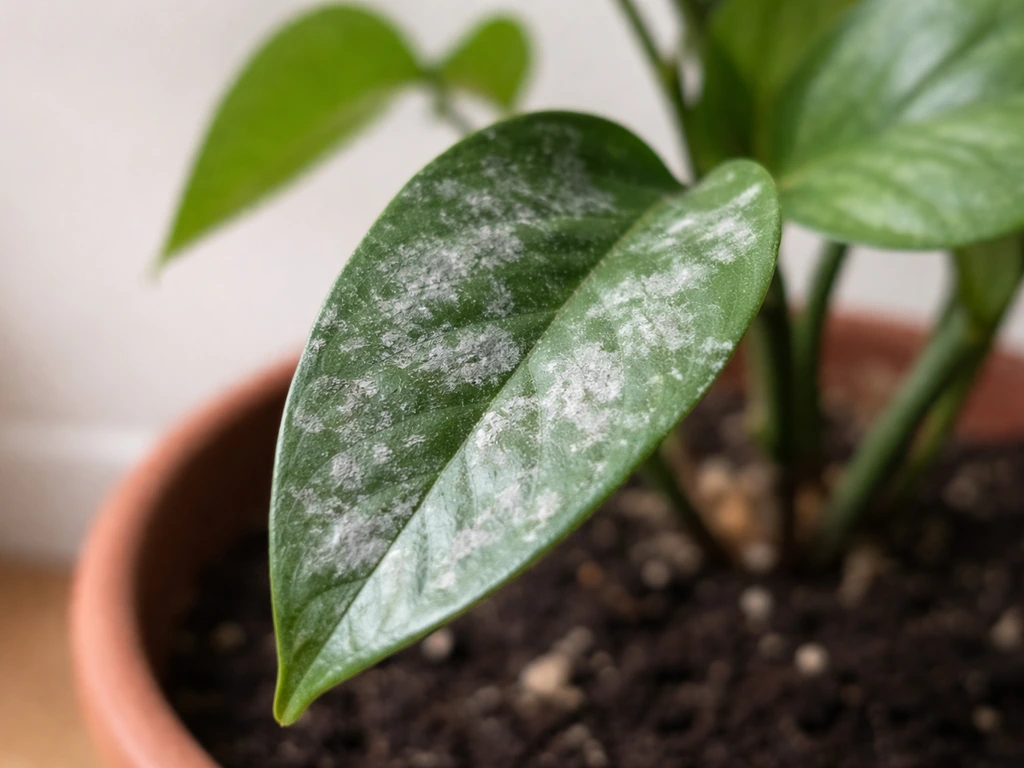
Powdery mildew shows up as white chalky spots on leaves. Bud rot (Botrytis) attacks dense flowers from the inside out, you'll see greyish-brown mush when you pull a bud apart. Both are caused by high humidity combined with poor airflow. Prevention is the entire solution: keep humidity under 50% in flower, keep air moving constantly, and never let leaves stay wet. If you catch powdery mildew early, a diluted hydrogen peroxide spray (3% food grade, 1 part to 3 parts water) or potassium bicarbonate spray can knock it back. Bud rot: remove the affected material immediately with scissors and disposal outside the tent, then drop humidity aggressively.
Pests: Spider Mites, Fungus Gnats, and Aphids
Spider mites leave tiny white dots on leaves and eventually form fine webbing on bud sites. Treat with neem oil spray or insecticidal soap early in veg, never in flower if you can avoid it, as residues affect the final product. Fungus gnats are small flies whose larvae eat roots, they thrive in overwatered soil. Let the top layer dry out completely between waterings, and use sticky yellow traps to monitor numbers. Beneficial nematodes or Bacillus thuringiensis israelensis (BTi) products applied to the soil kill larvae without harming the plant. Aphids cluster on new growth and undersides of leaves, insecticidal soap or spinosad-based sprays handle them well in veg.
Nutrient Deficiencies and Toxicities
Yellow leaves starting from the bottom of the plant usually indicate a nitrogen deficiency in late veg or early flower, often normal as the plant naturally draws nitrogen down from lower leaves in flower, but if it's creeping up fast, add a light nitrogen feed. Yellow or burnt leaf tips usually mean nutrient toxicity (too much fertilizer) or a pH issue preventing uptake. Rusty brown spots on leaves can indicate a calcium or magnesium deficiency, a CalMag supplement fixes this quickly. The first diagnostic step for any leaf problem is always to check your pH: 80% of apparent nutrient problems are actually pH lockout problems in disguise.
Overwatering, Underwatering, and Growth Stalls
Overwatered plants droop with leaves that curl down and feel firm and full, the plant looks sad but isn't wilting from thirst. Underwatered plants also droop, but leaves are thin, papery, and light. The fix for both is the same: let the pot dry properly between waterings and use the lift test as your guide. If your plant seems to stall and stop growing, no new leaves for four to five days, check temperature, root health, pH, and light distance first. Root-bound plants (roots circling the bottom with nowhere to go) also stall growth; transplant up one container size to resolve it.
Light Stress and Heat Stress
Bleached or light-colored leaf tips near the top of the canopy indicate light burn, raise the light a few inches and monitor. Leaves that taco (curl upward along the edges) often signal heat stress, especially if the temperature at canopy level exceeds 85°F (29°C). Improve exhaust, add a small fan aimed at the canopy, or raise the light. A thermometer placed at canopy height gives you the most accurate reading, the air temperature at plant level is what matters, not the room temperature measured elsewhere.
Indoor growing inside a dedicated room or tent shares a lot of foundational principles with broader indoor methods, so as you build experience with one plant, moving to a multi-plant setup or exploring different training methods becomes a natural next step. Many growers also explore winter-specific setups or growing directly from a stem cutting once they've nailed the basics, each variation builds on the same environmental fundamentals covered here. If you want to grow weed from a stem indoors, you can start with a healthy cutting and root it before moving it into your grow tent setup. If you are wondering how to grow weed inside during winter, focus on keeping temps stable, managing humidity swings, and adjusting your light schedule to match the season winter-specific setups.
The learning curve is real but not steep. Your first grow will teach you more than any article can, take notes on what you do each week, keep your environment stable, don't overthink the feeding, and you'll end up with something genuinely satisfying to harvest.
FAQ
What’s the best way to control smell beyond just using a carbon filter?
Carbon filters are most effective when the exhaust fan pulls air through the filter at the right rate, so pair the filter with a fan that matches the tent’s airflow target. Also keep all intake air and any cable openings inside the tent, if you can smell anything outside the tent, it usually means unfiltered leakage or a fan/filter mismatch.
Can I grow a single plant in a closet without a full tent?
You can, but you still need a lightproof, reflective space and a consistent air path. Line walls with reflective material, seal gaps around doors and vents, and make sure the exhaust pulls from high in the closet so heat and humid air leave the canopy area, not just the room.
How many hours can the lights be off during the “off” period without stressing photoperiod plants?
Once you switch to the 12/12 schedule, even brief light leaks during the dark window can cause stress. Use a timer with a reliable blackout, then confirm with a quick test by turning the lights off and checking for any glow around the tent zipper, indicator LEDs, and nearby windows.
Do I need to measure humidity and temperature every day?
At least daily early on helps you learn your room’s swing pattern, then you can rely on the min/max memory on your sensor. What matters most is humidity in flower, where staying under 50% reduces botrytis risk, and canopy-level readings beat guesses from across the room.
What’s the simplest way to prevent nutrient lockout?
Track pH for every watering, not just once at setup. Use the same method each time, calibrate the pH pen monthly, and confirm runoff pH occasionally, if runoff is consistently out of range, the medium and your input pH are diverging.
Should I use soil, coco, or a mix for the first room grow?
Soil is more forgiving because it buffers pH and nutrients, coco gives tighter control but requires more frequent feeding and more careful pH management. If you want the lowest stress, start with a quality pre-amended soil or airy potting mix, then only switch to coco once you are comfortable reading what the plant is telling you.
How do I know whether my problem is overwatering, nutrient burn, or pH issues?
Start with pH, then check the pot weight. Overwatering shows heavy, damp medium and drooping that does not improve after a day or two, nutrient burn often follows feeding and can show crispy edges, and pH lockout usually looks like nutrient deficiency symptoms even if you fed correctly. The lift test and runoff pH are the fastest decision aids.
What should I do if my plant grows too tall for the space?
In a small room, choose compact or dwarf genetics or an autoflowering strain, then avoid starting too early with a long veg. If it is already stretching, raise the light intensity within safe limits, increase airflow, and consider low stress training to flatten the canopy rather than waiting for a later correction.
Is flushing for the final 1 to 2 weeks always necessary?
It is mainly about clearing residual salts and reducing harshness, not a magic yield booster. If you fed lightly and controlled pH well, you may only need a conservative flush period, in contrast, if runoff buildup is high, more attention to runoff monitoring matters more than a specific flush duration.
How can I tell when it’s the “right day” to harvest besides trichome color?
Use trichomes as the primary indicator, but pistil color and plant fade help confirm timing. If most trichomes are mostly cloudy with some amber and you see pistils mostly darkening and retracting, harvesting is usually near, if trichomes stay clear, do not rush even if pistils look ready.
What are the best early signs of pests that I might miss in a room grow?
Spider mites and fungus gnats are common, so inspect undersides of leaves weekly and set sticky traps near the tent floor. Fungus gnats show up when the top layer stays too wet, if you see more adults plus damp soil, let the medium dry out and address larvae with soil-targeted treatments.
Can I use tap water straight from the faucet?
Often you can, but you must still test it, tap water pH and mineral content vary a lot by location. Measure pH before watering and adjust as needed, if your water is high in alkalinity, you may need more aggressive pH management to keep soil or coco in range.
What should I do if my exhaust fan is running but humidity still spikes?
Humidity spikes usually mean either insufficient air exchange, poor intake design, or the fan pulling mostly from above while humid air near the canopy remains. Check that the intake path is open, that the carbon filter is not restricting airflow excessively, and that your sensor is reading at canopy height, not far away.
Next Article
How to Grow Weed Seed Indoors: Seed-to-Harvest Guide
Step-by-step seed-to-harvest guide for growing cannabis indoors: germination, seedlings, light, climate, feeding, flower