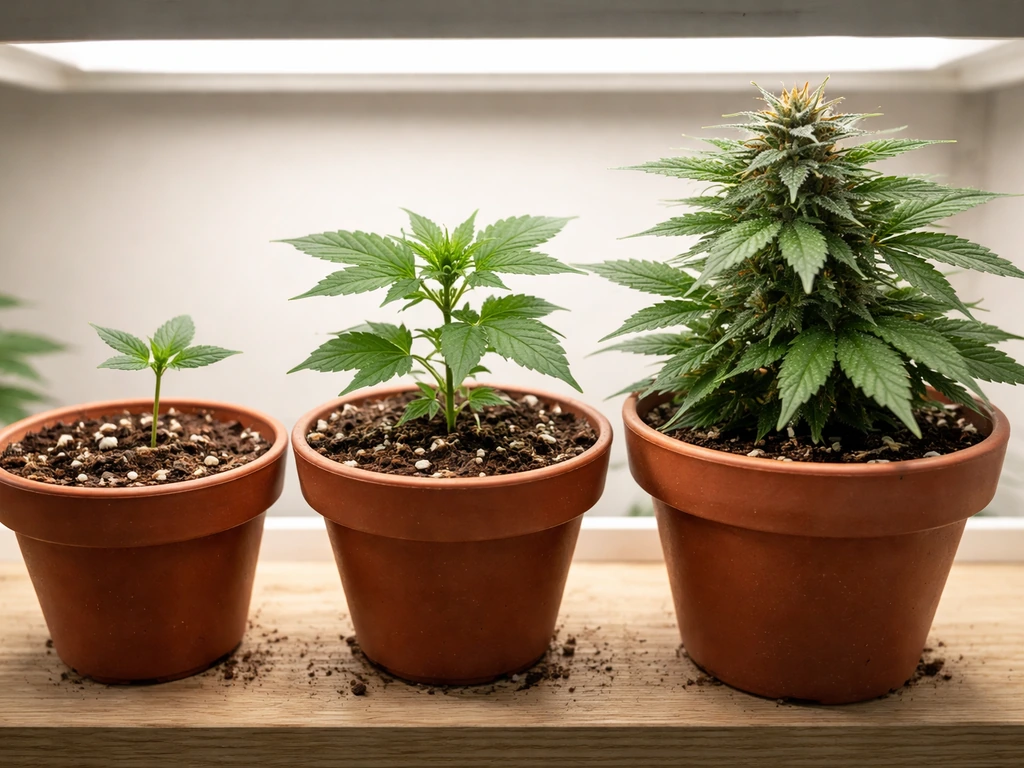
If you searched 'how to grow weed videos' or pulled up YouTube tutorials, you already know the basic idea: find a walkthrough, follow it step by step, and end up with your own harvest. That plan works. The problem is that most beginner videos compress weeks of nuance into 10 minutes, skip the parts that actually kill plants (humidity management, pH, feeding transitions), and assume you already know which strain or setup to start with. If you want to speed up the plant’s timeline, focus on methods that improve growth rate while still keeping your environment stable how to grow weed faster. This guide fills those gaps. It follows the same seed-to-harvest structure those videos use, adds the specific numbers and decisions they gloss over, and gives you a real plan you can act on today.
How to Grow Weed Videos: Seed-to-Harvest Guide

What 'how to grow weed' YouTube searches usually mean
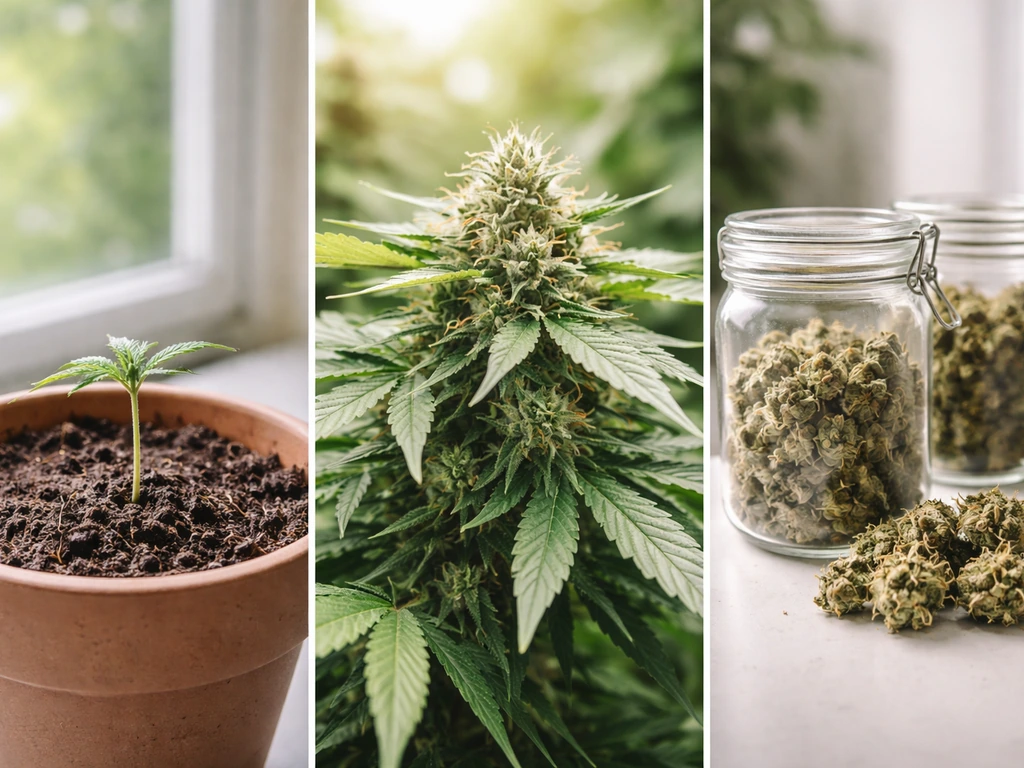
When someone types 'how to grow weed videos' into a search bar, they almost always want the same thing: a linear, stage-by-stage tutorial that starts at the beginning and doesn't assume any prior knowledge. If you want to copy what you see on YouTube while still learning the indoor specifics, use the step-by-step targets in this guide how to grow weed videos. The most popular YouTube grow channels structure their content in discrete phases, usually something like: get your supplies, germinate, grow through veg, flip to flower, harvest and dry. That framework is genuinely useful and this guide follows the same logic.
Where those videos often fall short is in the details that separate a successful grow from a frustrating one. They'll show you a plant under a nice light but not tell you the target temperature and humidity for that exact stage. They'll show a feeding chart but not explain what changes between soil, coco, and hydro. And almost none of them spend enough time on what to do when something goes wrong. So use videos for visual reference and motivation, but pair them with specific targets and troubleshooting logic. That combination is what actually gets you to harvest.
Choosing your starting point: strain and setup
Before you touch a seed, make two decisions: what you're growing and how you're growing it. These choices define everything else, including your timeline, equipment list, and difficulty level.
Pick a strain that matches your situation
For a first grow, autoflowering strains are genuinely the easiest entry point. Grow Weed Easy similarly recommends starting with an auto-flowering strain for beginners because it can reach harvest in about 2 to 3 months from germination autoflowering strains are genuinely the easiest entry point. They go from seed to harvest in roughly 70 to 90 days regardless of your light schedule, which means fewer variables to manage. Photoperiod strains give you more control over plant size and yield, but they require a separate vegetative and flowering light schedule (18/6 for veg, 12/12 to trigger flower), and the total cycle runs longer. If you want to understand the full cultivation cycle before dealing with light manipulation, start with an autoflower. If you want to dial in a repeatable, higher-yield system, a photoperiod indica or hybrid is worth the learning curve. Either way, choose a strain with documented beginner-friendliness, a forgiving feeding tolerance, and resistance to mold or pests, especially if your environment isn't perfectly controlled.
Choose your growing method: indoor, outdoor, or hydro
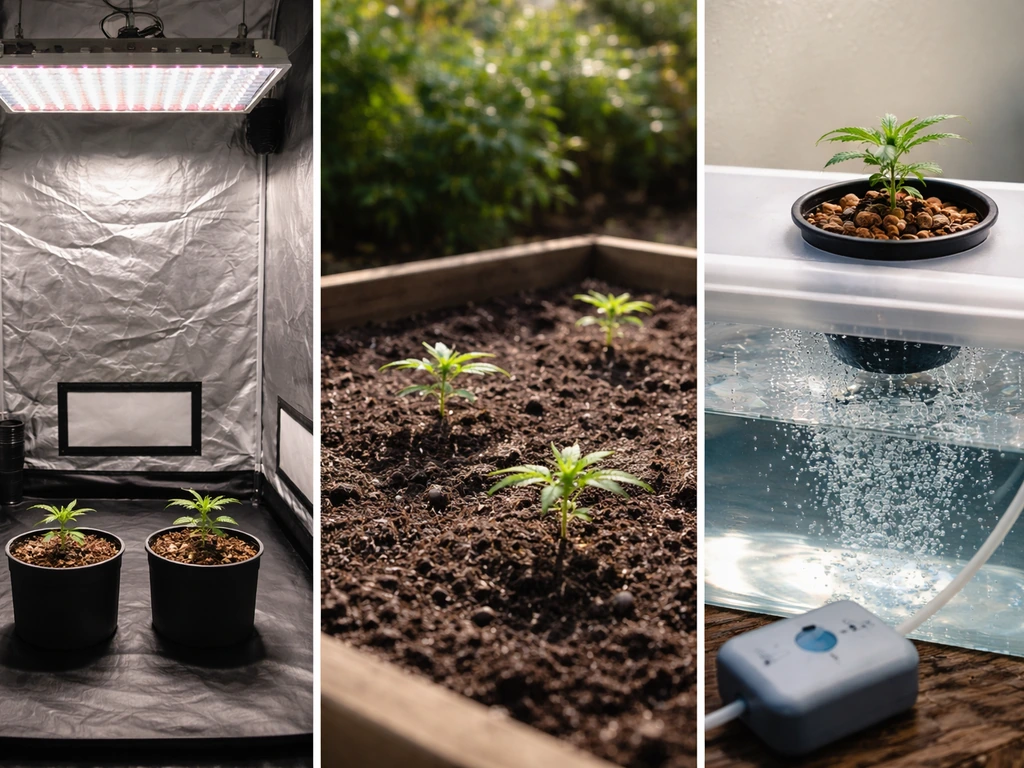
None of these three methods is inherently better. They're just different tradeoffs.
| Method | Best for | Main advantage | Main challenge |
|---|---|---|---|
| Indoor (soil) | Most beginners | Full environmental control, year-round growing | Equipment costs, electricity, space |
| Outdoor | Low-budget growers with garden access | Free sunlight, lower cost, bigger yields | Season-dependent, pest/weather exposure |
| Hydroponic (DWC/coco) | Growers wanting faster growth and bigger yields | Faster growth, highly efficient nutrient delivery | Steeper learning curve, pH sensitivity, system failures |
If you're watching YouTube tutorials for the first time, indoor soil growing is the method most videos are based on and the easiest to replicate at home with a grow tent, a light, and basic supplies. Coco coir is a great middle ground if you want hydro-like speed with slightly more forgiveness than full DWC. Outdoor growing is the lowest barrier to entry cost-wise but depends entirely on your local climate and legal situation. If you want to go deeper on speeding up your timeline, a guide on how to grow weed faster covers techniques like using coco, dialing in DLI, and strategic pruning that complement whichever method you choose.
Step-by-step seed-to-harvest grow plan
This is the core of what those videos are trying to show you. Here's the full workflow with specific timing, targets, and decisions at each stage.
Stage 1: Germination (Days 1 to 5)
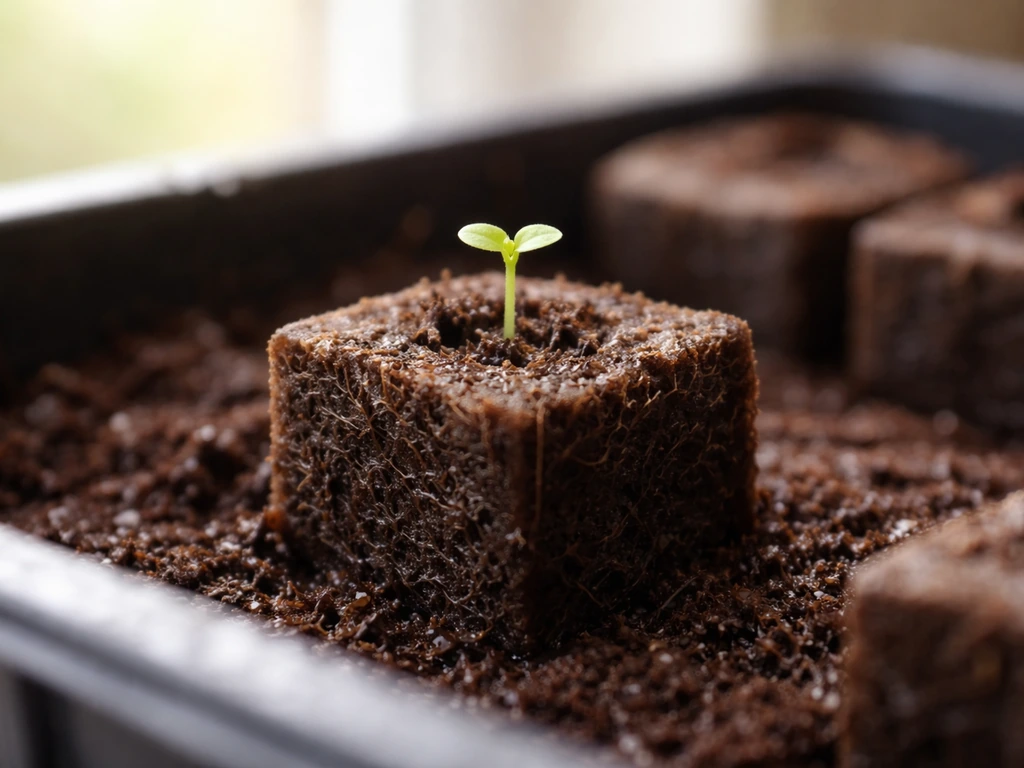
The easiest, most reliable germination method is a seedling plug or starter cube, not the paper towel method you'll see in older videos. Place your seed in a pre-moistened rapid rooter or Jiffy plug, keep it somewhere warm (around 75 to 80°F / 24 to 27°C), and cover it loosely to retain humidity. You should see a taproot emerge and the seedling pop above the surface within 2 to 5 days. If you use the paper towel method, you risk damaging the taproot when transferring. Starter plugs avoid that problem entirely. Once the seedling has emerged and you can see the first set of rounded cotyledon leaves, you're in the seedling stage.
Stage 2: Seedling (Days 5 to 14)
Seedlings are fragile and don't need much. Keep your light at about 18 to 24 inches away (or follow your specific light's manufacturer recommendation for seedlings), run an 18/6 light schedule if you're on photoperiod plants, and keep humidity high, around 65 to 70% RH. Avoid feeding nutrients at this stage. The seedling has everything it needs in its cotyledons and a small amount of starter soil. Overwatering is the number-one killer at this stage. Water gently around the base of the seedling, not the entire pot, and let the medium dry slightly between waterings.
Stage 3: Vegetative growth (Weeks 2 to 6 for autos, 3 to 8 for photoperiods)
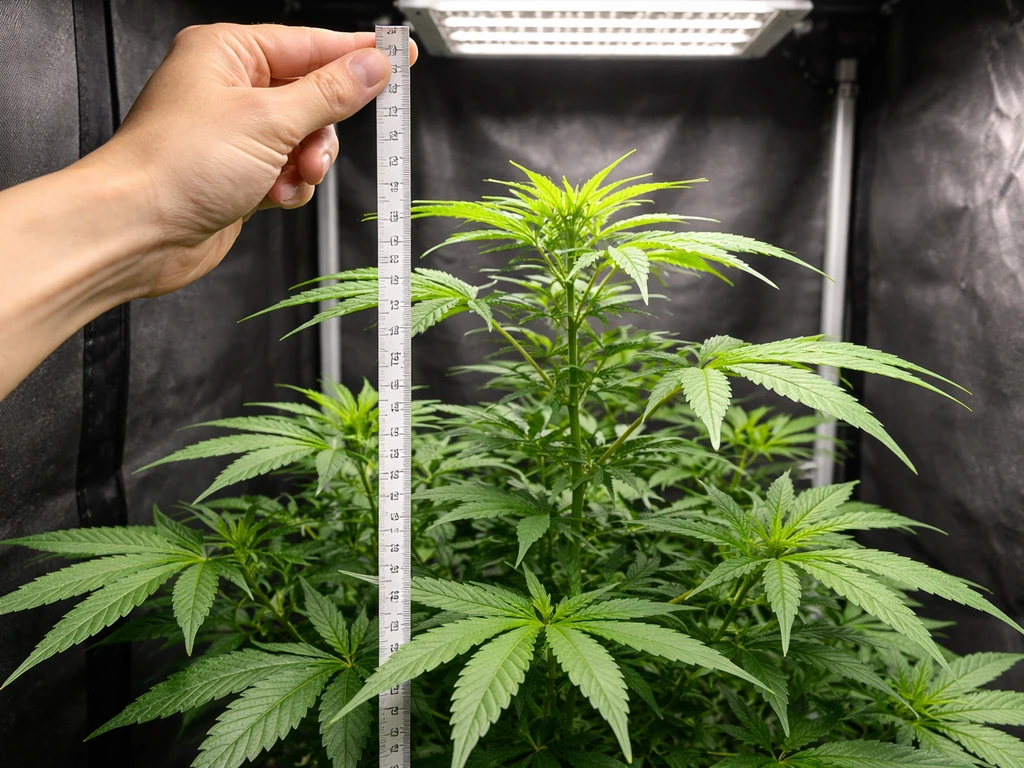
This is where your plant builds the structure that will eventually support buds. Nodes, branches, and root mass all develop during veg. Your plant is hungry for nitrogen here, so this is when you start feeding. For photoperiod plants, you control how long veg lasts by keeping lights at 18/6. Flip to 12/12 when your plant is roughly half the final height you want, because it will typically double in size during the stretch at the beginning of flower. For autos, the plant transitions on its own timeline regardless of light hours. Training techniques like low-stress training (LST) or topping can be applied during veg to increase canopy coverage and eventual yield, and these are well-demonstrated in most intermediate YouTube tutorials.
Stage 4: Flowering (Weeks 6 to 16 depending on strain)
Once you flip the light to 12/12 (or your auto begins flowering on its own), white pistils will appear at the nodes. Over the next 8 to 11 weeks, buds develop, swell, and mature. This is the most critical stage for environmental control and feeding transitions. Nitrogen drops off and phosphorus and potassium take over. You'll also need to start managing humidity more actively, especially in the final 3 to 4 weeks when dense buds are most vulnerable to mold. More on those targets in the environment section.
Stage 5: Harvest, dry, and cure
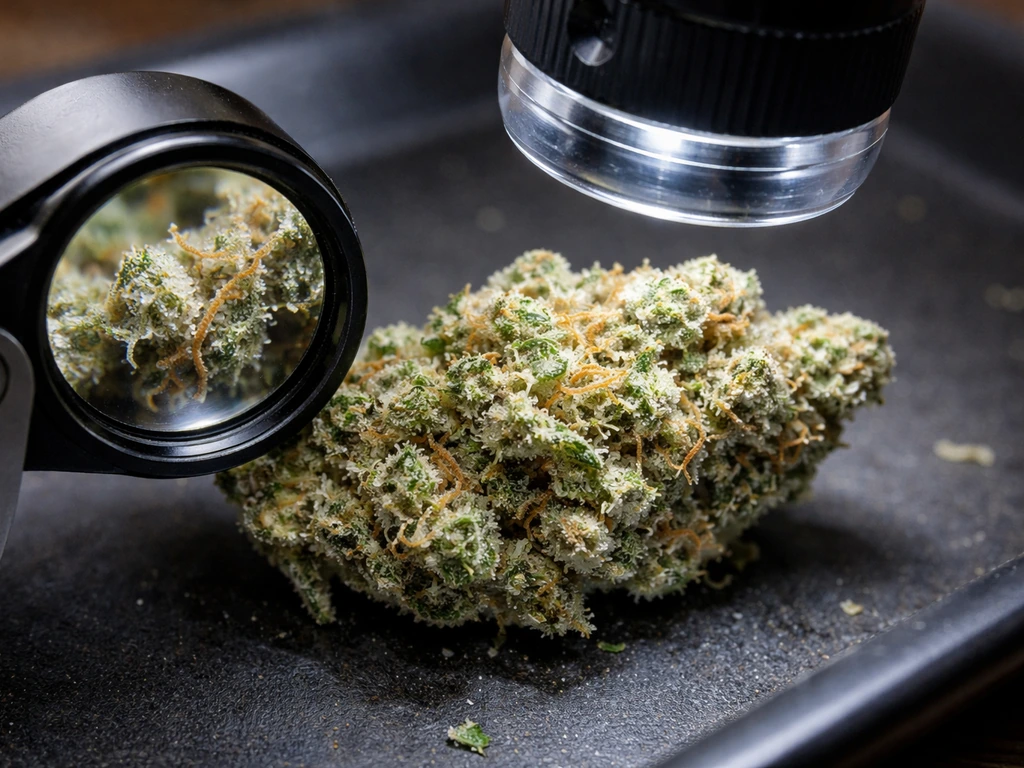
Harvest timing is one of the things videos actually show well: check trichomes with a jeweler's loupe or digital microscope. Milky white trichomes mean peak THC. Amber trichomes indicate THC is converting to CBN, giving a more sedative effect. Most growers aim for mostly milky with around 10 to 20% amber for a balanced result. After harvest, hang branches upside down in a dark room at 60 to 65°F (15 to 18°C) and 55 to 60% RH for 7 to 14 days. Then jar-cure for a minimum of 2 to 4 weeks, burping jars daily for the first week to release moisture and CO2. The cure is what transforms good weed into great weed and it's the most skipped step in beginner videos.
Environmental control: light, temperature, humidity, and airflow
Your environment is your grow. I learned this the hard way by chasing nutrient solutions for problems that were actually caused by bad temperature or RH. Get your environment dialed in first, and feeding becomes much more forgiving.
Light
For indoor grows, LED full-spectrum lights are the current standard. A quality quantum board LED rated for your tent size (generally 200 to 300W true draw for a 4x4 tent) will outperform cheaper blurple panels. During veg, you want high light intensity with adequate coverage. During seedling, back off intensity to avoid light stress. Most LED manufacturers now include a DLI (daily light integral) target chart: aim for around 20 to 40 mol/m²/d in veg and 40 to 55 mol/m²/d in flower. If your light doesn't include DLI guidance, a PPFD meter app can give you rough readings to work with.
Temperature
Cannabis grows well between 70 and 85°F (21 to 29°C) during lights-on. Keep nighttime temps within 10°F of daytime temps to avoid stress. In late flowering, a slight temperature drop at night (around 65 to 68°F / 18 to 20°C) can actually encourage resin production and color development in some strains. Above 86°F, growth slows, terpenes start to degrade, and spider mites thrive. Below 60°F, the plant goes into stress. Keep a thermometer/hygrometer in the canopy zone, not just at floor level.
Humidity (RH) by stage
This is where a lot of beginner videos are dangerously vague. Using one RH number for the entire grow is a mistake. Here's what to actually target at each stage:
| Stage | Target RH | Why it matters |
|---|---|---|
| Seedling | 65 to 70% | High humidity supports root development before the plant can uptake much water |
| Vegetative | 50 to 70% | Wide range is fine; plant transpires well and grows fast |
| Early flowering (weeks 1 to 5) | 45 to 55% | Balances transpiration and begins mold risk reduction |
| Late flowering (weeks 6 to harvest) | 40 to 50% | Lower RH protects dense buds from mold and bud rot |
| Drying | 55 to 60% | Slow, even dry preserves terpenes and prevents mold |
Aim for 45 to 50% RH in flowering for the best overall results, and push toward the low end of that range in the final 2 to 3 weeks when buds are thickest and most susceptible. Aim for 45 to 50% RH in flowering, and keep humidity from getting too high on dense buds to reduce mold risk. VPD (vapor pressure deficit) is a more precise way to manage plant transpiration by combining temperature and humidity into one target number. Most beginner grows don't need to go that deep, but if you're seeing persistent stress symptoms in an otherwise healthy environment, VPD charts are worth looking into.
Airflow
Good airflow does three things: it strengthens stems through gentle oscillation, it replenishes CO2 at the leaf surface, and it prevents the stagnant humid pockets that cause mold. For a typical tent grow, you need at least one oscillating fan inside the tent and an inline exhaust fan pulling air through a carbon filter. A good rule of thumb is to exchange the air in your tent every 1 to 3 minutes. For a 4x4x6.5 tent (roughly 100 cubic feet), an exhaust fan rated at 100 to 200 CFM is adequate. Always keep air moving, even at night.
Nutrients and feeding schedules by medium
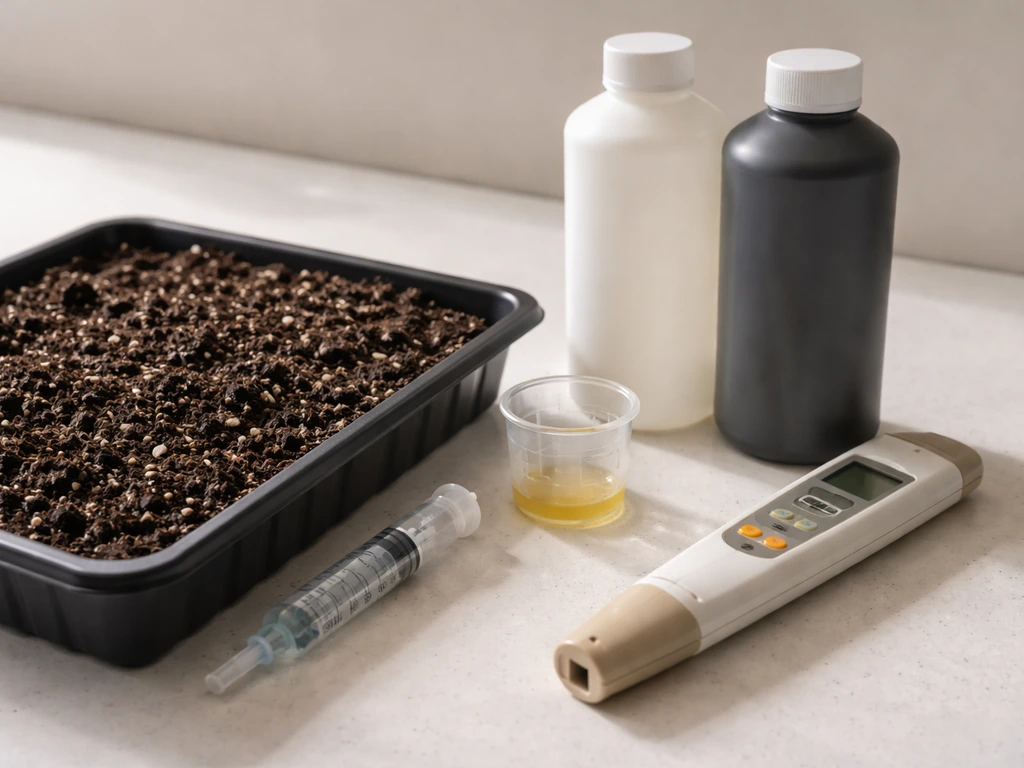
Feeding is where beginners either overthink or underthink. The medium you chose determines your entire feeding approach, so get clear on which system you're running before you buy a nutrient line.
Soil
A quality pre-amended cannabis soil (like a well-buffered organic mix) already contains enough nutrients for the first 3 to 5 weeks. Start feeding only when you see the first signs of yellowing on lower leaves or when the pre-charge period listed by the soil manufacturer is up. Use a cannabis-specific nutrient line or a simple 3-part base (grow, bloom, micro). Target pH of 6.0 to 7.0 in your runoff, aiming for around 6.2 to 6.8 as the ideal range. Start at half the recommended dose on the label and increase only if the plant shows signs of deficiency. Overfeeding is far more common and more damaging than underfeeding in soil.
Coco coir
Coco is an inert medium, which means it holds zero nutrients on its own. You feed every watering from week 1, starting at low doses (25 to 50% of recommended strength for seedlings). Target pH of 5.8 to 6.2 in your feed solution. Coco is calcium-magnesium hungry, so most growers supplement cal-mag from the start. The advantage is faster growth than soil and more control over nutrient delivery. The disadvantage is that any pH or cal-mag slip shows up fast in the leaves. Water to 10 to 20% runoff every feeding to prevent salt buildup.
Hydroponic (DWC and similar)
In DWC, roots sit directly in an oxygenated nutrient solution. Growth is faster than any soil or coco method, but you need to check and adjust your reservoir pH (target 5.5 to 6.1) and EC/PPM daily. Water temperature should stay between 65 and 68°F (18 to 20°C) to prevent root rot. Change your reservoir completely every 7 to 10 days. Hydro is unforgiving: a pH drift or reservoir temp spike can cause visible problems within 24 to 48 hours. If you want to go this route, start after you have at least one soil or coco grow under your belt. There's also a dedicated guide on growing organic weed that pairs well with soil methods if you want to skip synthetic nutrients entirely. If you are aiming for organic inputs, check the full guide on growing organic weed to match your soil and nutrient strategy to the medium and stage.
Common feeding mistakes to avoid
- Feeding at full label dose from the start. Always begin at 25 to 50% and scale up based on plant response.
- Ignoring pH. Wrong pH locks out nutrients even when they're present. Get a reliable pH meter and calibrate it monthly.
- Skipping cal-mag in coco or RO water systems. Calcium and magnesium deficiencies are extremely common and easy to prevent.
- Continuing high-nitrogen feeding into flower. Reduce N when pistils appear and shift to bloom-focused nutrients.
- Not flushing before harvest. Flush with pH-corrected plain water for the final 1 to 2 weeks in synthetic nutrient grows to improve taste.
Troubleshooting: what to look for (and what it actually means)
YouTube videos are actually great for visual troubleshooting because you can pause and compare your plant to what's on screen. Here are the most common problems beginners encounter and how to read the signs.
Nutrient deficiencies
Yellowing that starts on older, lower leaves and moves upward is almost always nitrogen deficiency, especially in late veg or early flower. Yellow leaves with green veins indicate a magnesium or iron deficiency (check pH first, because both are commonly caused by pH being out of range rather than a true lack of nutrients). Brown leaf edges or tips usually signal nutrient burn from overfeeding, not a deficiency. Before adding more nutrients, check your pH and EC. Most 'deficiencies' beginners see are actually pH lockout.
Pests
Spider mites leave tiny pale dots on the tops of leaves and fine webbing underneath, and they thrive in hot, dry conditions above 80°F. Fungus gnats lay eggs in wet topsoil and their larvae damage roots in seedlings. Aphids cluster on new growth and produce sticky honeydew. For most pest problems, start with neem oil or insecticidal soap sprays during lights-off. For fungus gnats specifically, let your soil dry out more between waterings and add a layer of sand or perlite on top of the soil. Sticky yellow traps are useful for monitoring levels. Never spray anything on buds in late flowering.
Stretching
If your seedling or early-veg plant looks tall and spindly with long internodal spacing, it's stretching toward inadequate light. Move your light closer (within your light's safe distance), increase intensity if adjustable, or run a longer photoperiod. Some stretch during the first 2 weeks of flower is normal and expected, but excessive stretch means your light isn't keeping up. LST (low-stress training) can help manage stretch by bending and tying stems horizontally to spread canopy.
Mold and bud rot
Bud rot (Botrytis) is the most devastating late-flowering problem and it's entirely preventable with proper humidity control. It starts from the inside of a dense bud and you won't see it until it's already spread. Outer signs include brown or gray mushy tissue inside the bud and gray fuzzy spores. If you find it, remove the entire affected bud immediately, bag it, and remove it from your grow space. Increase airflow and drop humidity below 45% for the remainder of flower. Prevention is everything here: don't let your late-flower RH creep above 50%.
Stunted growth
If your plant simply isn't growing and looks healthy otherwise, the usual culprits are overwatering (the most common beginner mistake), root-bound conditions in too-small a pot, pH being far out of range, or temperatures being too low. Check your pot size (most plants in soil want to finish in at least a 3 to 5 gallon container), ensure your medium dries enough between waterings that you see a slight resistance when you lift the pot, and confirm your pH meter is calibrated and accurate.
Legal, safety, and responsible growing basics
This part is non-negotiable. Before you buy a single seed or piece of equipment, you need to understand the legal landscape in your specific jurisdiction. Cannabis cultivation laws vary enormously, not just country to country but state to state, province to province, and even city to city. Some places allow a fixed number of plants per household for personal use. Others prohibit home cultivation entirely even where possession is legal. In some U.S. states, growing even one plant without a license is still a felony. Ignorance of local law is not a legal defense.
Before starting, research your local rules specifically: how many plants are permitted, whether a license or registration is required, how plants must be stored or secured (many jurisdictions require locked, enclosed spaces), and whether outdoor growing is allowed or must be done out of public view. In Canada, for example, the federal limit is 4 plants per household for personal use under the Cannabis Act, but some provinces have their own additional restrictions. In the U.S., each state's program differs and federal law still classifies cannabis as a Schedule I substance.
On the safety side: keep your grow space secure, especially if children or pets are in the home. Use proper electrical practices, don't overload circuits with lighting and HVAC equipment, and ensure your grow space has adequate ventilation to prevent heat buildup. Carbon filters significantly reduce odor and are a practical necessity in most home grows regardless of legality. Finally, be discreet. Even in legal jurisdictions, advertising your home grow openly can create unnecessary legal or social complications. Responsible growing means staying within your plant count, keeping your space safe, and being a respectful neighbor.
Once you've confirmed you're operating legally and safely, the rest is just execution. Follow the seed-to-harvest stages above, hit your environmental targets, start conservative with nutrients, and troubleshoot systematically when something looks off. The best YouTube tutorials teach the workflow visually, and this guide gives you the specific numbers and decisions to back it up. If you want to take things further, exploring organic soil methods or veganic approaches are both excellent directions once your first grow is done and you understand the fundamentals.
FAQ
How do I choose between autoflower and photoperiod when my goal is to follow “how to grow weed videos” step-by-step?
Pick autoflower if you want a predictable single timeline, because the light schedule cannot “accidentally” change flowering timing. Pick photoperiod only if you can commit to strict 18/6 veg and 12/12 flower and you are comfortable managing plant size before the flip, since the stretch can double height quickly.
What video mistakes should I watch out for when tutorials skip the numbers (temperature, RH, feeding transitions)?
Treat any video that gives only one humidity number for the whole grow as incomplete. Also be cautious of feeding charts that do not specify the medium and week-by-week intent (seedling vs early veg vs late veg vs flower), because nutrient demands change most when nitrogen is reduced after the first white pistils appear.
Should I use the paper towel method or a starter plug if I’m following germination clips from YouTube?
Use starter cubes or rapid rooter style plugs if you want to reduce the risk of damaging the taproot during transfer. Paper towel methods often look clean on camera, but the taproot can be injured or deformed when you move it, which can delay or stunt the seedling.
How do I know when it is actually time to start feeding in soil?
Do not start feeding on a calendar alone. Wait until the soil’s built-in charge is finished, or you see early symptoms like lower leaves yellowing, then begin at a reduced dose. If you start early and the medium is still charged, overfeeding is more likely than true nutrient deficiency.
What runoff and pH checks matter most in coco, especially if my plants react fast?
Run pH and use runoff to confirm salts are not building up, aim for measurable runoff and maintain the feed pH range. Coco usually shows problems quickly if pH drifts or if calcium-mag is insufficient, so rely on feed measurements and runoff behavior, not just plant appearance.
In DWC, what’s the fastest way to prevent problems that show up within 24 to 48 hours?
Stabilize reservoir temperature and measure pH and EC daily. Also avoid long gaps between checks, since hydro issues escalate quickly when pH drifts or the reservoir overheats. If your room swings temperature, insulate the reservoir or adjust the grow space climate.
How should I interpret yellowing leaves from videos that label it as “deficiency” without context?
Look at where the yellowing starts. Older lower leaves yellowing and moving upward often points to nitrogen-related issues, while yellowing with green veins can be pH-related lockout or magnesium/iron related. In almost all cases, check pH and EC first before adding nutrients.
What’s the practical difference between nutrient burn and nutrient deficiency when I’m pausing videos to compare plants?
Burn commonly shows as browning tips or edges and tends to be associated with overfeeding or EC too high. Deficiency more often presents as gradual changes across leaves, but because pH lockout can mimic deficiency, you should verify pH before increasing nutrients.
How do I prevent bud rot if I’m only using a single RH target shown in many grow videos?
Use a tighter humidity strategy late in flower. Keep RH from creeping up when buds are densest, and prioritize airflow into the canopy. If any bud rot is found, remove affected material immediately, because internal rot can spread before outer signs become obvious.
What airflow setup should I copy if my tent size matches a common YouTube example like a 4x4?
Use both circulation inside the tent and active exhaust through a carbon filter, since exhaust manages humidity and odor and internal fans prevent stagnant pockets. Follow an exchange-rate mindset (air refresh every 1 to 3 minutes), but adjust fan sizing if your ducting has high restriction or if your room is very hot.
How do I handle “not growing” moments without guessing, when videos don’t show root-zone checks?
Check overwatering first by testing whether the pot feels lighter and shows slight resistance when lifted. Also confirm pot size is appropriate (many soil grows need a larger finish container), ensure temperatures are not too low, and verify your pH meter is calibrated so you are not feeding into a false reading.
Do I need a PPFD meter app, or can I rely on the light brands’ guidance in videos?
If your light provides a DLI chart, follow that because it is already translated to plant-relevant exposure. If it does not, a PPFD meter app can help you approximate, but the method is less reliable, so use it to set a direction (not a perfect number) and then confirm with plant response and tight symptom monitoring.
Is trimming or pruning safe to do based on training videos, and when should I avoid it?
Use training during veg when the plant is rebuilding structure. Be more conservative during late flower because stress and handling can worsen humidity pockets. If you notice the canopy is already dense, prioritize airflow and humidity control over additional heavy pruning.
How do I choose harvest timing if videos disagree (trichome color vs calendar days)?
Use trichomes as your primary signal, then match them to how your specific flower time is unfolding. Aiming for mostly milky with some amber is a common target, but if your RH management is imperfect, prioritize preventing overmature issues and mold by following your drying and humidity plan closely.
What’s the most common cure mistake that videos either skip or get wrong?
Do not rush curing if you want maximum flavor and smoothness. After the initial jar fill, burp consistently (especially in the first week) to manage moisture and CO2. If jars stay too humid too long, you can lose quality even if harvest and drying were correct.
Can I follow “how to grow weed videos” if my legal setup allows plants but requires storage or security?
Yes, but plan your grow tent placement around security and enclosure requirements before buying equipment. If your jurisdiction requires locked, enclosed spaces, choose location and ventilation paths accordingly, because relocating later can disrupt airflow balance and increase the chance of odor or heat issues.
How to Grow Organic Weed From Seed to Harvest
Step-by-step guide to grow organic weed from seed to harvest with legal tips, organic feeding, IPM, and drying curing.