Autoflower cannabis seeds are genuinely the most forgiving way to grow at home. If you want the step-by-step basics of how to grow auto flower seed from germination to harvest, follow the rest of this guide closely grow at home. Unlike photoperiod strains, they flower automatically based on age rather than light schedule changes, going from seed to harvest in roughly 9 to 11 weeks. You can run them under 18 or even 24 hours of light throughout the entire grow, indoors or out. The catch is that their short life cycle leaves almost no room to recover from big mistakes, so getting the basics right from day one matters more than it does with photoperiod plants. This guide walks you through every stage, start to finish, with the specific numbers and decisions that make the difference between a scrappy little plant and a full, healthy harvest. If you want the full step-by-step details, follow this guide on how to grow autoflowering from seed to harvest.
How to Grow Autoflower Weed Seeds Step by Step Guide


Before we get into it: growing cannabis is legal in some places and restricted or prohibited in others. Check your local laws before starting. Everything here is written for legal home cultivation, and responsible growing means staying within whatever limits your jurisdiction sets.
Choosing autoflower seeds and planning your grow setup
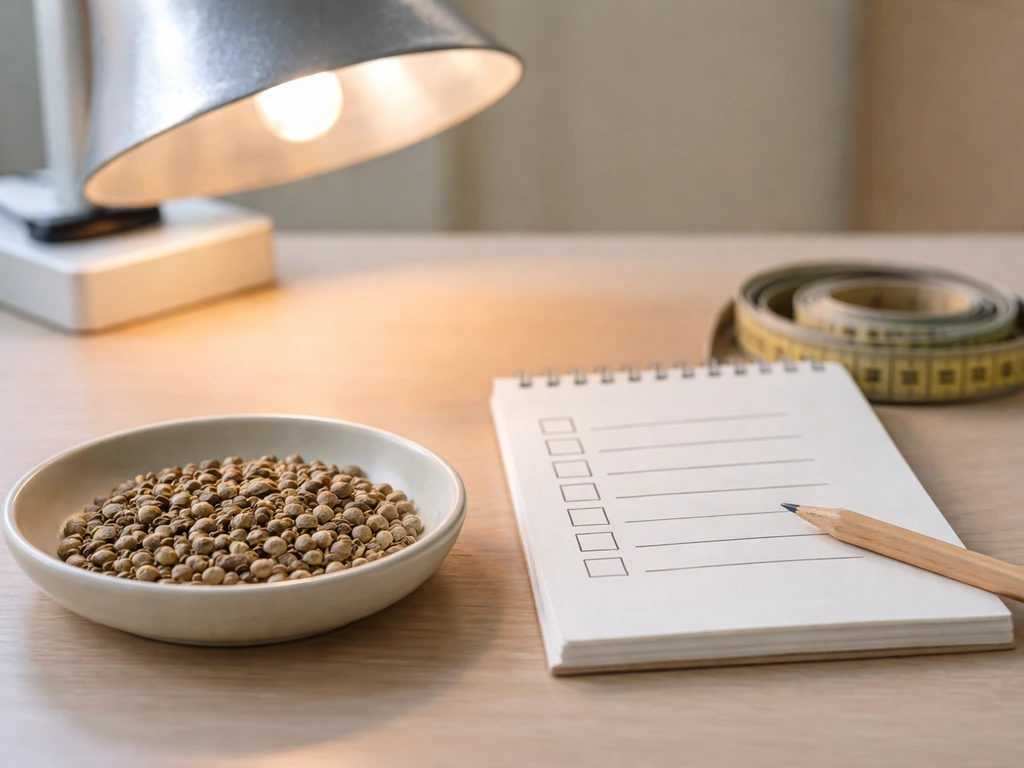
Start with a strain that matches your experience level. If you are new to growing, pick something with a reputation for being easygoing: Northern Light Automatic and Easy Bud Auto are both routinely recommended for beginners, with Easy Bud finishing around 8 to 10 weeks from germination and Northern Light Automatic flowering in roughly 45 to 55 days. These forgiving strains are compact, fast, and do not punish minor mistakes as harshly as higher-yielding or more demanding genetics. Once you have a few grows under your belt, you can chase bigger, more complex strains.
Before your seeds arrive, plan the full setup. The main questions are: indoor or outdoor? What medium? How much space? Autos stay compact, often under 60 to 80 cm indoors, so even a small tent (60x60 cm or 2x2 ft) works fine for two to four plants. Outdoors, they can be grown on a balcony or in a garden and will finish regardless of the season as long as temperatures stay reasonable. Pick your medium early because it affects container choice, watering style, nutrient approach, and pH targets. The three main paths are soil, coco coir, and hydro, and there are dedicated guides for each if you want to go deep on any of them. If you are using coco coir, you will want to dial in your pH and nutrients from the start since coco does not buffer like soil how to grow autoflower in coco coir. For gardeners wondering how to grow autos in soil, focusing on medium buffering, pH targets, and a careful nutrient and watering routine makes the biggest difference.
Buy seeds from a reputable source. Look for feminized autoflower seeds from established breeders. Feminized means almost all your plants will be female and flower-producing, which is what you want. Regular (non-feminized) autoflower seeds exist but add the complication of identifying and removing males.
Germination and starting seeds (common pitfalls to avoid)
The paper towel method is the most reliable way to germinate autoflower seeds at home. It lets you see exactly what is happening rather than guessing once seeds are buried. Here is how to do it step by step:
- Optional soak: For seeds with harder coats, soak in plain water or a very dilute hydrogen peroxide solution (1 to 2%) for 12 to 24 hours. This softens the shell and can speed things up. Most quality autoflower seeds do not need this.
- Wet two paper towels until damp but not dripping. Place one on a plate, lay your seeds an inch or two apart, then fold the second towel over the top.
- Slide the plate into a sealed ziplock bag or cover with a second plate to hold moisture in.
- Keep the setup somewhere dark and warm: 68 to 80°F (20 to 27°C) is the sweet spot. Below 70°F and germination can stall; above 85°F you risk drying out or encouraging mold.
- Check every 12 hours. Most seeds crack and show a small white taproot within 24 to 72 hours, though some take up to a week.
- Once the taproot is 3 to 5 mm long, transfer the seed directly into your final container with the taproot pointing down, about 1 to 1.5 cm deep.
A few pitfalls I see beginners make constantly: overwatering the towel so seeds sit in a puddle (roots need oxygen), exposing seeds to bright direct light during germination (keep them in the dark), and waiting too long before planting once the taproot appears. A taproot longer than 2 cm becomes fragile and easy to damage during transfer. Move promptly but gently, and handle seeds by the shell, never the taproot.
Medium, containers, and whether to transplant
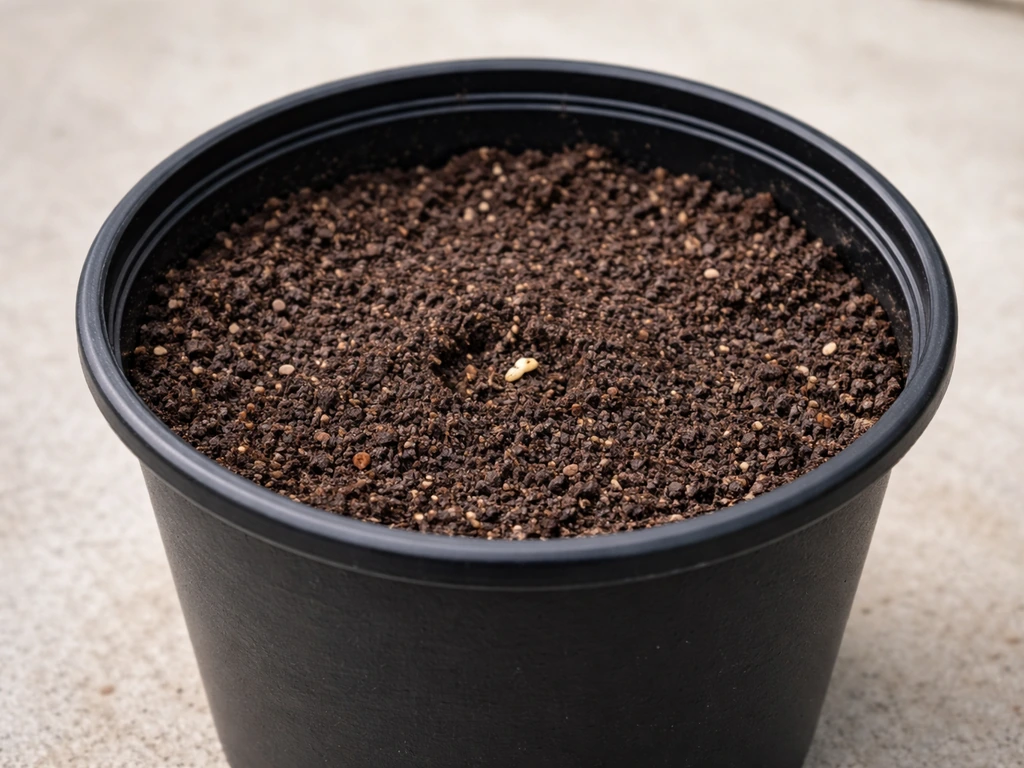
This is one of the most important decisions specific to autoflowers, and the answer is almost always the same: plant directly into your final container and do not transplant. Photoperiod plants can handle being moved because you can extend their vegetative stage while they recover. Autos cannot. They are on a fixed internal clock, so transplant stress burns days you can never get back and can measurably reduce your final yield. Germinate into your final pot.
For container size, 3 to 5 gallon (11 to 19 litre) containers are the standard sweet spot for most autoflower strains indoors. Too small and roots get cramped; too large and you end up with waterlogged medium around small roots, which invites problems. Fabric pots are worth the small extra cost: their breathable walls prevent roots from circling around the inside of the container, instead causing air-pruning at the surface where roots hit dry air, which triggers the growth of new, healthy feeder roots. This means a more efficient, oxygen-rich root zone compared to solid plastic.
For medium, all three main approaches work well with autos, but they behave differently:
| Medium | pH Target | Difficulty | Best For |
|---|---|---|---|
| Soil (quality potting mix) | 6.0 to 7.0 | Beginner-friendly | First-time growers who want some buffer |
| Coco coir | 5.5 to 6.5 | Intermediate | Faster growth, more control over nutrients |
| Hydro (DWC / recirculating) | 5.5 to 6.0 | Intermediate to advanced | Fastest growth, highest potential yield |
Soil provides natural buffering, which gives beginners more margin for error on pH and nutrients. Coco is technically inert, meaning it does not buffer the way soil does, so you need to manage pH and nutrients more carefully. The rewards are faster growth and more precise control. Hydroponics takes that further. If you are just starting out, a quality potting mix with good drainage is the place to begin. Guides going deeper into coco and hydro methods are worth reading once you know which direction suits your setup.
Light, environment, and watering for autoflowers
Light schedule and intensity
Because autos flower based on age rather than light cycle, you can run them on any schedule from 18/6 (18 hours light, 6 hours dark) all the way to 24/0 (lights always on). The honest truth is there is no definitive consensus on which is better: growers achieve great results with both approaches. An 18/6 schedule is the most common recommendation because it gives your plants a rest period and keeps electricity costs manageable. If your grow space gets warm, the 6-hour dark period also gives it a chance to cool down. Full-spectrum LED lights are the current standard for indoor autoflower growing: they run cooler than HPS, cover the full spectrum plants need across all growth stages, and have come down significantly in price.
Outdoor growers can put autos in the ground or in containers whenever daytime temperatures are consistently above 60°F (15°C). If you are wondering how to grow autoflower outdoors, timing and consistent sunlight matter most, so plan your start date around your local weather and temperature swings Outdoor growers can put autos in the ground or in containers. Because they do not need short days to flower, you can run multiple crops per season. Just make sure plants get at least 12 to 14 hours of direct sunlight daily for best results.
Temperature, humidity, and airflow
Autoflowers are not uniquely sensitive to temperature and humidity compared to photoperiod plants, but staying within the right ranges matters. For most of the grow, aim for 70 to 82°F (21 to 28°C) in the canopy zone. Seedlings and young plants prefer the higher end of that range. For humidity, follow the plant's stage: seedlings thrive around 65 to 70%, vegetative plants around 50 to 65%, and flowering plants want 40 to 50% to protect developing buds from mold. In late flower, pushing humidity below 45% significantly reduces the risk of bud rot. VPD (vapour pressure deficit) gives a more precise way to think about this: target roughly 0. SteerMind’s VPD calculator provides illustrative cannabis vapor pressure deficit target ranges by growth stage, such as about 0.4, 0.8 kPa for seedlings and up to roughly 1.2, 1.6 kPa in late flower VPD (vapour pressure deficit). 4 to 0.8 kPa in early stages and up to 1.2 to 1.6 kPa in late flower.
Airflow is non-negotiable. A small oscillating fan pointed at the canopy strengthens stems, keeps humidity from stratifying around the leaves, and makes pest and mold problems far less likely. In a tent, use an inline fan with carbon filter to exchange air and control smell. A complete air exchange every 1 to 3 minutes is the general target for a small indoor space.
Watering: the number one beginner mistake
Overwatering kills more autoflower plants than any other single mistake. The fix is simple in theory: water when the medium is close to dry, not on a strict schedule. Lift the container. If it feels light, water thoroughly until you get about 10 to 20% runoff from the drainage holes. Then wait. A seedling in a 3-gallon fabric pot might only need water every 2 to 3 days. As the plant grows and the root zone expands, that interval shortens. Coco is an exception: because it drains so freely and provides no moisture buffer, plants in coco typically need watering every day or even twice daily in late flower. Always use pH-adjusted water. In soil, target pH 6.0 to 7.0. In coco, keep it between 5.5 and 6.5.
Nutrient schedule and feeding strategy across the life cycle
Autoflowers are generally lighter feeders than photoperiod strains, particularly in the early weeks. Overfeeding is one of the most common mistakes growers make when they come from photoperiod experience. Start with less than you think you need and work up. The following is a stage-by-stage framework:
| Stage | Week Range | EC Target (coco/soil) | Notes |
|---|---|---|---|
| Seedling | Weeks 1 to 2 | 0.4 to 0.8 (200 to 400 PPM) | Plain or very lightly fed water only; medium nutrients are often enough in soil |
| Early veg | Weeks 2 to 3 | 0.8 to 1.2 | Introduce grow/nitrogen-focused nutrients at low doses |
| Late veg / pre-flower | Weeks 3 to 4 | 1.2 to 1.6 | Begin transitioning toward balanced or bloom formula |
| Early to mid flower | Weeks 4 to 8 | 1.4 to 2.0 | Full bloom feed; boost phosphorus and potassium; watch for deficiencies |
| Late flower / flush | Final 1 to 2 weeks | 0.0 to 0.3 | Flush with pH-adjusted plain water to clear residual salts before harvest |
In soil, a quality pre-amended potting mix often carries seedlings through the first 2 to 3 weeks without any added nutrients at all. In coco or hydro, you need to feed from the start because there are no buffered nutrients in the medium. Always check runoff EC in coco: if your runoff EC is 0.2 to 0.3 higher than your input solution, salts are accumulating. The fix is to increase volume of watering to achieve 15 to 20% runoff, not to increase nutrient concentration.
At the end of the grow, flushing with plain pH-adjusted water for the final week or two (targeting an EC of 0.0 to 0.3) helps clear residual salts from the root zone and medium, which many growers find improves the smoothness and cleanliness of the final product. This is more impactful in coco and hydro than in well-managed soil grows.
Training and handling: what works and what to avoid
Training can meaningfully increase your yield from autoflowers, but the approach needs to be gentler than with photoperiod plants. Because the vegetative window is short, high-stress training (HST) techniques like topping, fimming, or supercropping can stunt growth if timed wrong or done too aggressively. The plant simply does not have enough time to recover the way a photoperiod would.
If you want to top an auto, the safest window is when the plant has developed 3 to 4 nodes, typically around day 18 to 25. Do not top earlier: the plant needs enough established growth to handle the stress. If in doubt, skip it on your first grow and focus on learning the plant's rhythm first.
Low-stress training (LST) is the safest and most effective technique for autos. It involves gently bending and tying down branches so the canopy stays flat rather than forming a single dominant cola. This exposes more of the plant to light without cutting or damaging tissue. Start LST early, around week 2 to 3, using soft plant ties or pipe cleaners. Adjust ties every few days as the plant grows.
Light defoliation (removing large fan leaves that are blocking light to lower bud sites) is possible with autos but requires restraint. Only remove leaves that are clearly blocking lower canopy sites, do it early in flower (not mid or late), and never strip more than 10 to 15% of the canopy at one time. The short vegetative period means every leaf removed is a reduction in photosynthetic capacity the plant cannot easily replace.
Troubleshooting growth problems and pests/disease
Slow or stunted growth
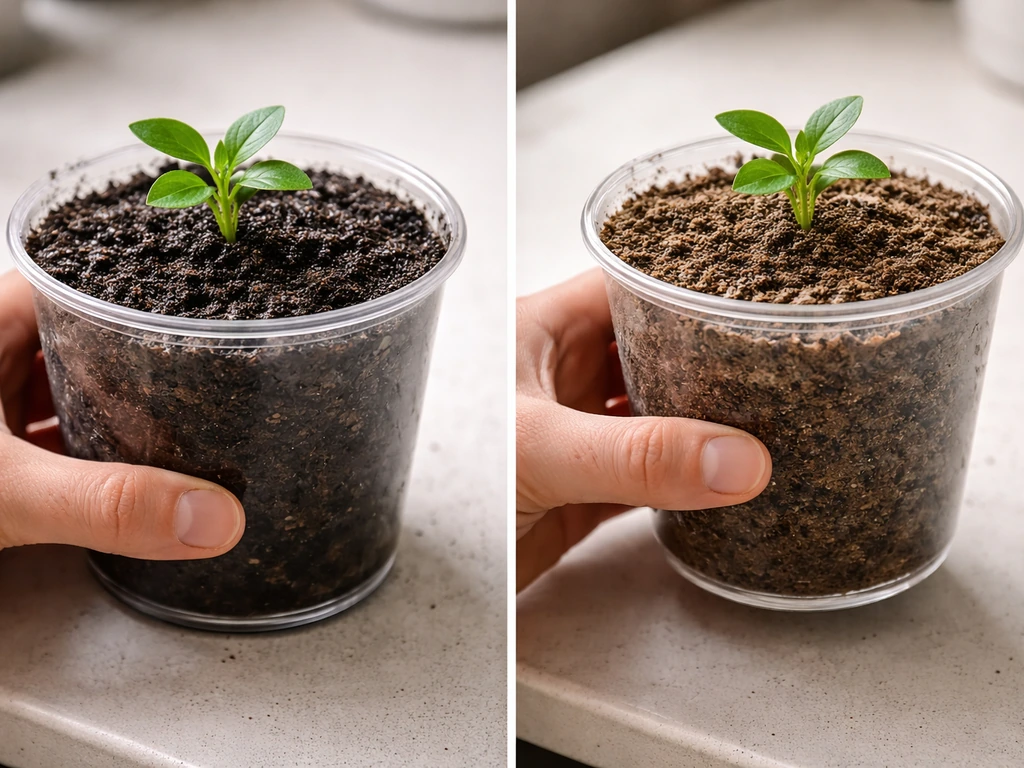
If your auto looks small and sluggish in the first two weeks, the usual culprits are overwatering, cold temperatures, or a pH problem in the root zone. Check all three. Feel the medium and lift the pot. If it still feels heavy and wet, give it more time before watering again. If temps are below 68°F (20°C), find a way to warm the grow space. Check your water pH: in soil it should be 6.0 to 7.0, in coco 5.5 to 6.5. A pH that is even slightly off can lock out nutrients and create deficiency symptoms that look dramatic but resolve once pH is corrected.
Nutrient deficiencies and toxicities
Yellowing lower leaves during early to mid veg can signal nitrogen deficiency; however, this is normal in late flower as the plant draws nutrients from older tissue. Yellowing that starts in the middle of the plant or shows unusual leaf patterns (spots, margins burning, interveinal chlorosis) is more likely a specific deficiency or pH-related lockout. Before adding more of any nutrient, always check pH first. Most apparent deficiencies in soil are actually pH lockout, and adding more nutrients on top of a pH problem makes things worse. If leaves are dark green and clawing downward, you likely have nitrogen toxicity: cut back on nutrients and flush lightly.
Damping off and seedling problems
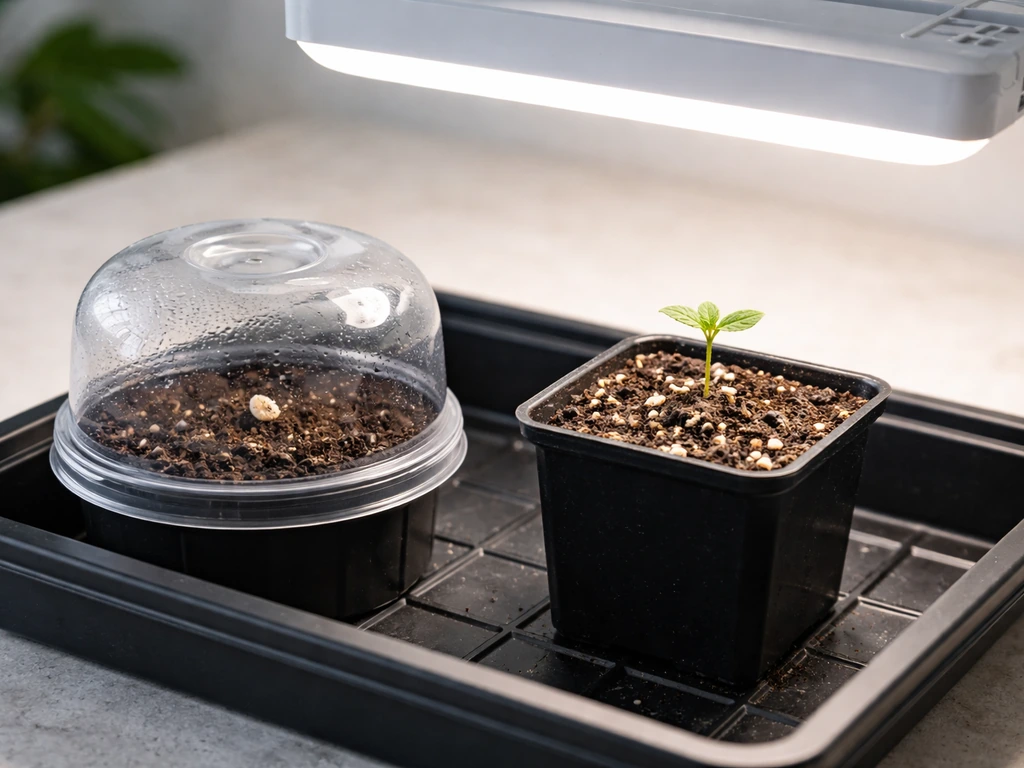
Damping off is a fungal condition that kills seedlings at the base, causing them to go limp and fall over with no apparent cause. It is almost always caused by overwatering combined with poor airflow around the base of the seedling, especially when temperatures are cool (below 68°F/20°C increases Pythium risk). Prevention is everything here: keep the medium moist but not wet, ensure some gentle airflow around seedlings, and do not cover seedlings in a humidity dome for longer than needed after the taproot has established.
Common pests and disease
The most common pests on indoor autoflower grows are fungus gnats (caused by consistently wet topsoil), spider mites (usually triggered by hot, dry, still air), and aphids. Prevention is the best strategy: good airflow, not overwatering, and regular visual inspection of leaves (both top and bottom). For fungus gnats, let the top inch of medium dry fully between waterings and use sticky yellow traps to monitor. For spider mites, a neem oil or insecticidal soap spray applied early can knock back small infestations. Check under leaves every few days and act at the first sign of pests rather than waiting.
Mold (botrytis/bud rot) is the biggest risk in late flower, especially in humid, poorly ventilated spaces. Once bud rot takes hold it spreads fast. Keep humidity below 45% during flowering, ensure airflow reaches into and through the canopy, and inspect buds closely every couple of days in the final weeks. If you find grey-brown mould inside a bud, cut it out immediately and improve airflow and humidity before it spreads.
Quick-reference troubleshooting checklist
- Slow seedling growth: check temp (above 68°F), check watering (lift pot), check pH
- Yellow lower leaves in veg: likely nitrogen deficiency or pH issue; check pH first
- Clawing, dark leaves: nitrogen toxicity; reduce nutrients and water through
- Brown leaf tips or margins: likely nutrient burn or high EC in medium; flush and reduce feed strength
- Soft, collapsing seedling: damping off from overwatering; improve drainage and airflow
- Webbing under leaves: spider mites; treat with insecticidal soap and increase airflow
- Tiny flies around soil surface: fungus gnats; let topsoil dry out, use sticky traps
- Grey-brown mould in buds: bud rot; cut affected areas immediately, reduce humidity, increase airflow
- Plant not flowering after 4 to 5 weeks: check seed source (is it actually an auto?); also check for extreme heat or severe stress that may be delaying expression
Harvest timing and drying/curing next steps
Knowing when to harvest
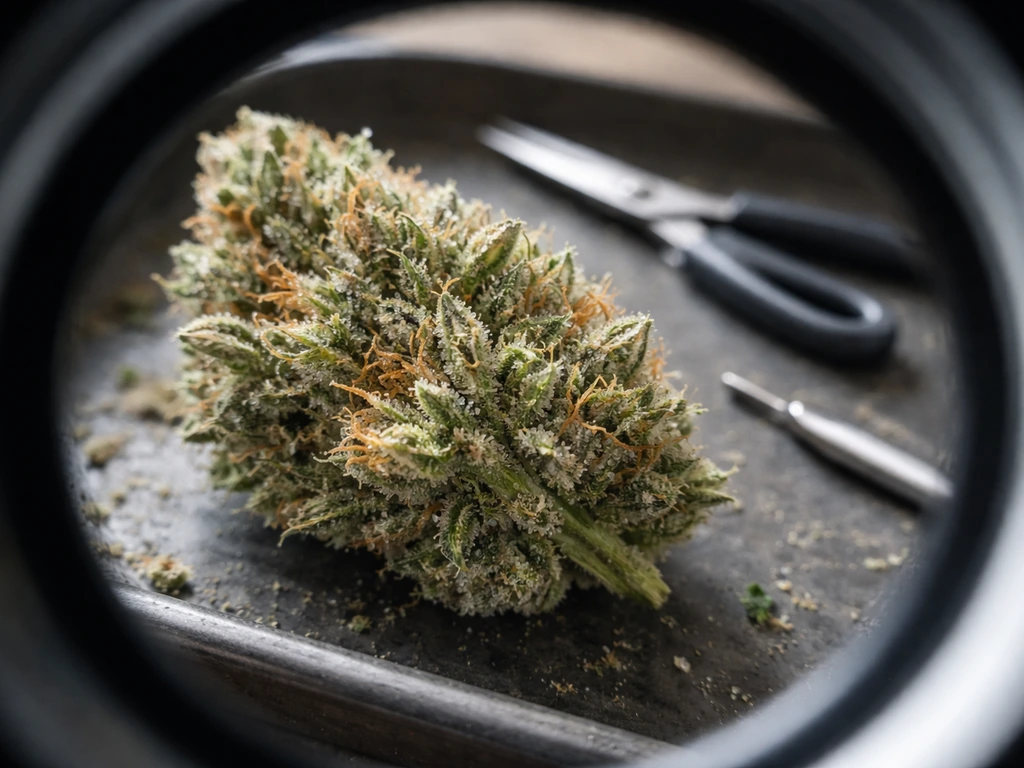
Most autoflowers are ready to harvest somewhere between 9 and 11 weeks from germination, but the only reliable way to confirm readiness is to look at the trichomes with a jeweller's loupe (30x to 60x) or a digital microscope. Trichomes are the tiny crystal-like resin glands covering the buds and sugar leaves. Early in flower they are clear. As the plant matures they turn milky white, then amber. The standard target for a balanced high is 80 to 90% milky trichomes with 5 to 10% amber. More amber means a heavier, more sedating effect; mostly clear means the plant is not yet at peak potency. Also watch the pistils (the small hairs on buds): when 70 to 90% have darkened and curled in, the plant is close to ready.
In the final week before harvest, stop feeding and water only with plain pH-adjusted water. This is the flush stage, and it helps clear nutrient salts from the medium and plant tissue.
Drying and curing properly
Harvest is not the end. The drying and curing process has an enormous impact on the final quality, smoothness, and aroma of your product, and rushing it is one of the most common ways experienced growers still end up disappointed. After cutting, hang whole branches or individual buds upside down in a dark room at 60 to 70°F (15 to 21°C) with 55 to 65% relative humidity. This should take 7 to 10 days. You will know buds are dry enough when the smallest stems snap clean rather than bending.
Once dry, trim if you have not already and move buds into glass mason jars. Fill jars about 75% full to allow air movement. For the first week, open (burp) jars for 5 to 10 minutes daily to let moisture and gases escape. In the second week, burp every 2 to 3 days. After 2 weeks of daily/regular burping, buds should be cured enough for good results. For the best quality, continue curing in sealed jars for 4 to 8 weeks total, maintaining internal humidity at 58 to 62% (Boveda packs are useful for this). Properly dried and cured autoflower cannabis will outperform hastily dried product from a far larger harvest.
Your post-harvest checklist
- Confirm trichomes are 80 to 90% milky with some amber using a loupe before cutting
- Flush with plain water for the final 7 to 14 days before harvest
- Hang branches in a dark, ventilated room at 60 to 70°F and 55 to 65% humidity
- Wait 7 to 10 days until small stems snap cleanly
- Trim and move to glass jars, filling 75% full
- Burp jars daily for the first week, every 2 to 3 days in week two
- Cure for a minimum of 4 weeks total for best quality, targeting 58 to 62% internal humidity
Growing autoflowers well comes down to respecting their timeline. They are fast, forgiving compared to many photoperiod strains, and genuinely great for home growers who want reliable results without a drawn-out veg phase. Get your pH right, do not overwater, feed lightly and build up, and give the final product the drying and curing time it deserves. A Cannabis Business Times PDF on nutrient matters cites a target cannabis pH range of about 5.8 to 6.2 and recommends choosing meters that measure both pH and EC get your pH right. Follow those basics and most autoflower grows run themselves from there.
FAQ
Can I germinate autoflower seeds and start the grow at night if I want to keep my light schedule flexible?
Yes, but keep the germination phase separate from the grow lights. Germinate in darkness (paper towel method) and plant as soon as the taproot is visible and still short. Once planted in the final container, choose your light schedule (for example 18/6) and keep it consistent, especially through the first 2 weeks when stress can shrink the final plant.
Is it actually safe to run autoflowers on 24 hours of light the entire grow?
It can work, but it is not automatically better. The tradeoff is heat and light intensity management, since 24/0 can raise canopy temperature and increase stress in small tents. If you do 24 hours, monitor canopy temperature closely, keep airflow strong, and avoid pushing the light too intense during seedlings.
What happens if I accidentally transplant an auto seedling after germination?
Autos typically cannot recover from transplant shock because the clock keeps running. If you must move it, do it immediately and with minimal root disturbance, then expect slower growth and a potentially smaller final yield. In practice, the best prevention is germinating directly into the final pot as your default plan.
How do I know if my container size is too big or too small for autos?
Too small often shows up as fast drying and root crowding, plants stay stunted, and fertilizer burn can happen because the medium dries too quickly. Too large often shows as heavy, soggy medium that stays wet too long and increases damping-off and fungus gnat risk. A 3 to 5 gallon container indoors is usually the sweet spot, and you can adjust based on how quickly the pot dries.
My seedling looks “leggy” and stretched, should I move it closer to the light right away?
Yes, but make the change gradually to avoid heat stress and light shock. Lower the light or increase intensity in small steps while also confirming that the room temperature and humidity are in range. Stretch in autos is often caused by low light intensity, not just spacing.
When I see pale leaves, how can I tell if it is a nutrient issue or a pH/lockout issue?
Check pH first before increasing feed. In soil, apparent deficiencies are often pH lockout, and adding more nutrients can worsen the problem. In coco, confirm runoff pH and EC if possible, then adjust. Also look at timing and leaf pattern, pH problems often appear more diffuse or in unusual spots rather than only a clean progression from older to newer leaves.
Is flushing at the end really necessary for autoflowers, especially in coco?
It is more impactful in coco and hydro than in well-managed soil. The goal is to reduce residual salt buildup in the root zone. If your runoff EC has been well controlled and you avoid overfeeding, the final week may be more about keeping the water clean than a dramatic “flush everything” approach. Still, follow the article guidance: stop feeding in the last week or two and water with correctly pH’d water.
What runoff numbers should I watch to prevent salt buildup in coco?
Use runoff EC behavior as your guide. If runoff EC runs about 0.2 to 0.3 higher than your input solution, salts are likely accumulating. The corrective step is usually to water with enough volume to reach the 15 to 20% runoff range, then reassess runoff the next cycle instead of spiking nutrient concentration.
Can I use a humidity dome or plastic cover after germination to speed up sprouting?
Use it only briefly and then remove it. Prolonged high humidity around seedlings can raise damping-off risk, especially if airflow is weak and temperatures are cooler. The article notes not to keep seedlings covered longer than needed after the taproot is established.
What should I do if my autoflower is not showing vigor by day 10 to 14?
Re-check the basics in this order: medium moisture (avoid overwatering), canopy temperature (warm enough, especially above about 68°F/20°C), and water pH (soil 6.0 to 7.0, coco 5.5 to 6.5). If the pot still feels heavy and wet, wait before watering. If pH is off, correcting it often resolves symptoms that look like deficiencies.
Do autoflowers need pruning or leaf removal to improve airflow?
Light defoliation can help, but it is not a routine requirement and it is risky on autos if done heavily. If you do remove leaves, only remove those clearly blocking lower sites, do it early in flower, and keep it to a small portion of the canopy at a time (the article suggests no more than about 10 to 15% at once). Prioritize airflow and careful watering first.
How can I tell when to harvest if the trichomes look mostly milky but some are still clear?
Use the balance target rather than waiting for perfect uniformity. The standard is about 80 to 90% milky trichomes with 5 to 10% amber. If you still have mostly clear trichomes, you may be early on potency, but if they are mainly milky with a small fraction clear, you are usually close and harvest timing can focus on avoiding over-ripening.
My buds got mold during late flower, is it safe to salvage the rest?
Sometimes, but it depends on how far it spread. If you spot grey-brown mold inside a bud, cut it out immediately and improve airflow and reduce humidity right away. If mold extends beyond a small localized area or you detect widespread smell and softening, it may be safer to discard the affected material to protect the rest of the crop.
Should I use organic inputs or synthetic nutrients for autoflowers?
Both can work, but the key is how predictable your feed becomes. Synthetic schedules often make pH and EC management more straightforward in coco and hydro. Organic methods can be forgiving in soil due to buffering, but you still need to avoid overwatering and understand that nutrient release is slower and sometimes harder to troubleshoot when something goes off.
How to Grow Auto Flower Seed From Germination to Harvest
Step-by-step guide to grow autoflower seeds from germination to harvest, including light, feeding, troubleshooting, and