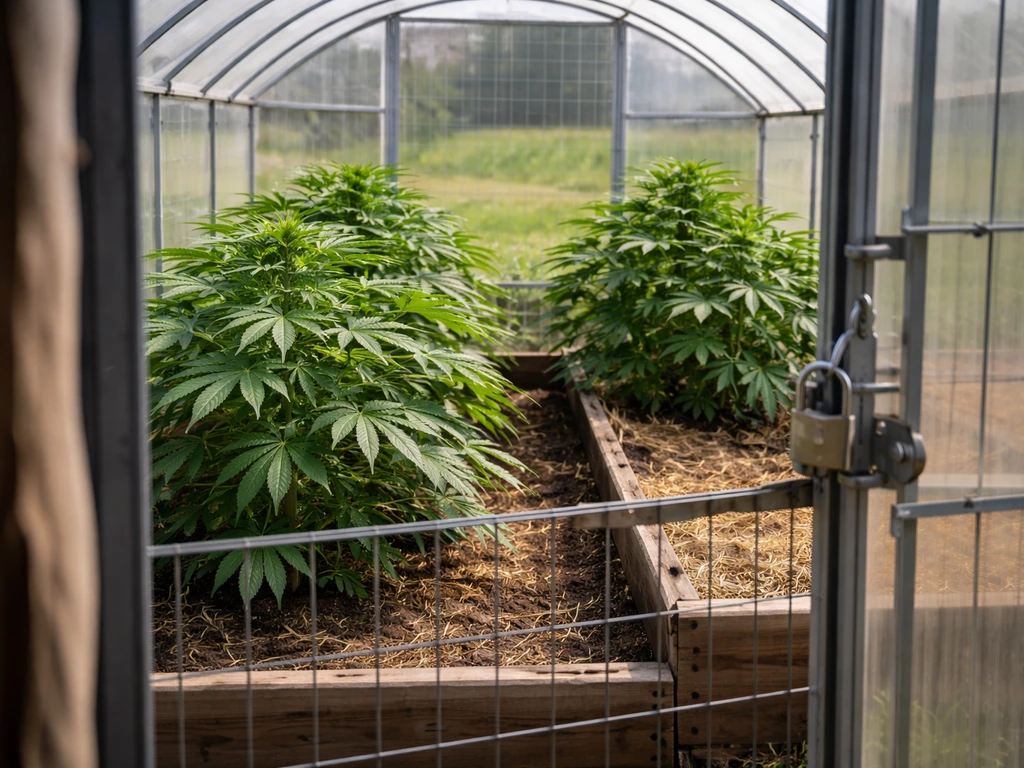
Growing industrial hemp legally and successfully comes down to three things: getting your paperwork right before a seed goes in the ground, choosing the right hemp type for your actual goal (fiber, CBD, or seed), and managing the plant so it stays under the federal 0.3% delta-9 THC threshold at harvest. Hemp is a fast, vigorous crop that rewards good fundamentals, but it will also punish you with compliance problems, mold, or a failed test if you cut corners on the basics. This guide walks you through every stage, from license to dry room, in a way that works for small outdoor plots, indoor grows, and greenhouse setups alike. If you want more detail on growing hemp effectively in Russia, use our full guide on how to grow hemp in rust.
How to Grow Industrial Hemp: Seed to Harvest Guide

Marcus Holbrook
10 Jul 2026
Legality and compliance: what you must do before planting
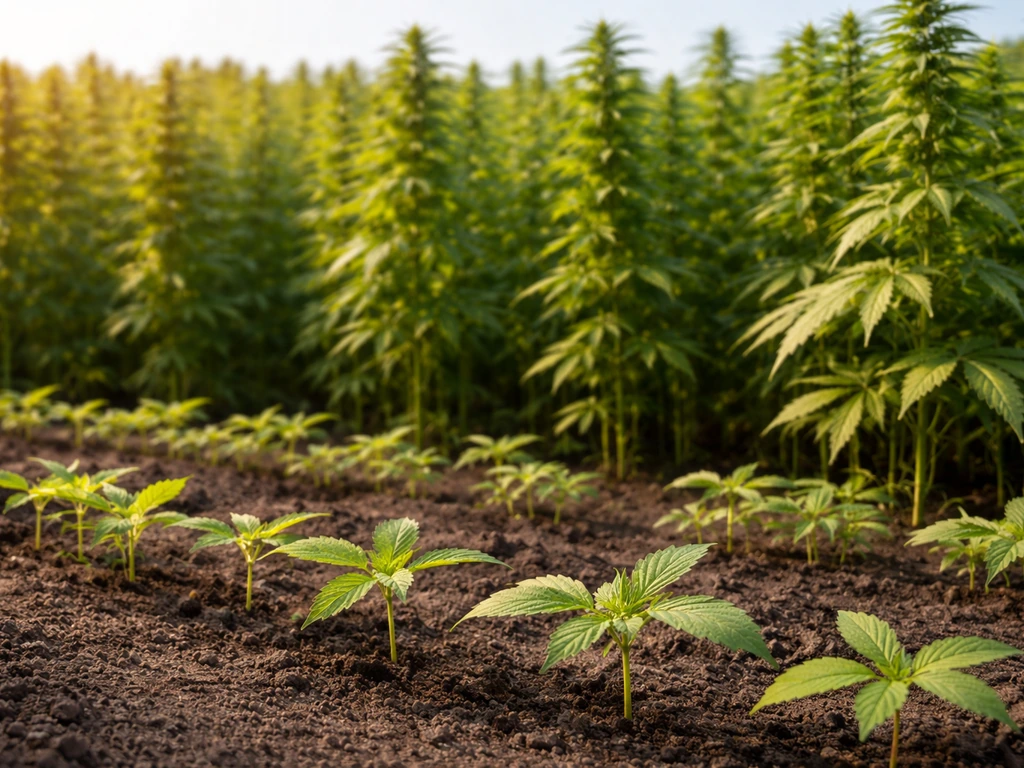
Federal law in the United States defines industrial hemp as Cannabis sativa L. Start by confirming your state and local permitting requirements, since the application process for growing hemp varies by location. with a delta-9 THC concentration of no more than 0.3% on a dry-weight basis. That definition comes from 7 U.S.C. § 5940, and it is the line everything else is built around. Cross it, and your crop is legally considered marijuana regardless of your intent. So compliance is not a box you check once; it is an ongoing part of your cultivation calendar.
Under the USDA Domestic Hemp Production Program (7 CFR Part 990), licensed producers must have a certified sampling agent collect plant samples for THC testing no more than 30 days before anticipated harvest. The results are submitted through USDA's Hemp eManagement Platform, known as HeMP. You can find the directory of certified sampling agents on the USDA AMS website. If you believe your initial test results are wrong, you can request additional testing under 7 CFR § 990.26. That safety valve exists, but your safest move is choosing certified low-THC genetics in the first place so you never need it.
State rules add another layer. Some states run their own USDA-approved hemp programs with their own inspection rights, variety restrictions, and reporting requirements. Washington state's rules, for example, blank" rel="noopener noreferrer">give the department the right to access your plants and records and explicitly prohibit planting varieties known to exceed the THC limit when tested. Your state may be stricter or more flexible than federal minimums, so check your state department of agriculture before doing anything else. If you are in Illinois, Oklahoma, or another state with specific licensing structures, those processes differ in timeline and fee structure. If you are specifically growing in Illinois, make sure you follow the state’s licensing, testing, and planting requirements for your crop type If you are in Illinois, Oklahoma, or another state.
Pre-plant compliance checklist
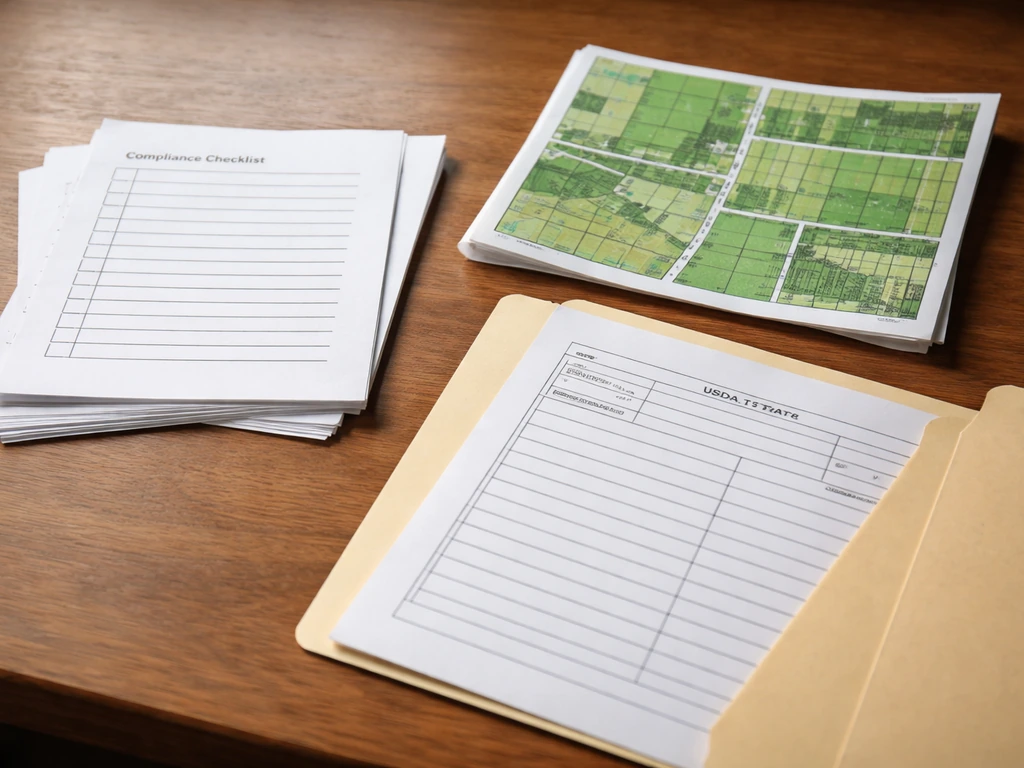
- Obtain your federal USDA hemp producer license or confirm your state runs an approved state program you can license under.
- Register your plot or growing space with the relevant authority (GPS coordinates of field boundaries are typically required).
- File your crop acreage report with your USDA Farm Service Agency (FSA) office, listing intended use (fiber, grain, or CBD).
- Source only certified compliant seed or starts (see next section) and keep all seed labels and chain-of-custody documentation.
- Identify and schedule a USDA-certified sampling agent at least 6 weeks before your anticipated harvest date.
- Set up your HeMP platform account so you can receive and review test results.
- Keep a cultivation log from day one: planting date, variety, lot numbers, inputs used, and any inspections.
Choosing your hemp type and sourcing compliant seed
The first real decision you make is what you are growing hemp for, because fiber, grain/seed, and CBD flower varieties are genuinely different plants in terms of height, architecture, density, and harvest timing. Getting this wrong at the sourcing stage means you cannot fix it mid-season.
| Type | Typical Height | Days to Maturity | Primary Goal | Best Setup |
|---|---|---|---|---|
| Fiber | Up to ~18 ft | 100–120 days | Long stalk/bast fiber | Outdoor field or large greenhouse |
| Grain/Seed | 4–7 ft (e.g., X59 variety) | 70–150 days depending on variety and conditions | Oilseed or food-grade grain | Outdoor plot or small-scale indoor |
| CBD/Flower | 3–6 ft, bushy | ~100–120 days from seed to harvest | Cannabinoid-rich flower | Indoor, greenhouse, or managed outdoor |
Fiber hemp grows tall and dense and is almost exclusively an outdoor or large-greenhouse crop. You will not get meaningful fiber production in a typical indoor tent setup. Grain/seed hemp is more moderate in height and can work in a well-planned outdoor space or a large greenhouse. CBD hemp is the type most familiar to home cannabis growers because the cultivation logic overlaps significantly with high-THC cannabis, except your entire goal is keeping THC low while maximizing CBD. This is the type most suited to indoor or small-scale greenhouse growing.
For seed sourcing, USDA guidelines allow you to purchase genetic material from any licensed producer, but they explicitly advise researching the company and the specific variety or strain before buying. This matters because variety selection is your first line of defense against a hot crop. Look for varieties with documented THC compliance data across multiple growing regions, not just one trial. Pennsylvania's seed labeling rules (and similar standards in other states) require compliant labeling including germination period labeling, so check that your seed label meets your state's requirements before accepting a lot. Buy from licensed sellers, keep every label, and document the lot number.
Planning your grow: indoor vs. outdoor and what you actually need
Hemp is not a fussy plant by nature, but it does have real environmental preferences. Before you spend money on equipment or prepare a bed, decide honestly which setup fits your climate, budget, and end goal.
Outdoor growing
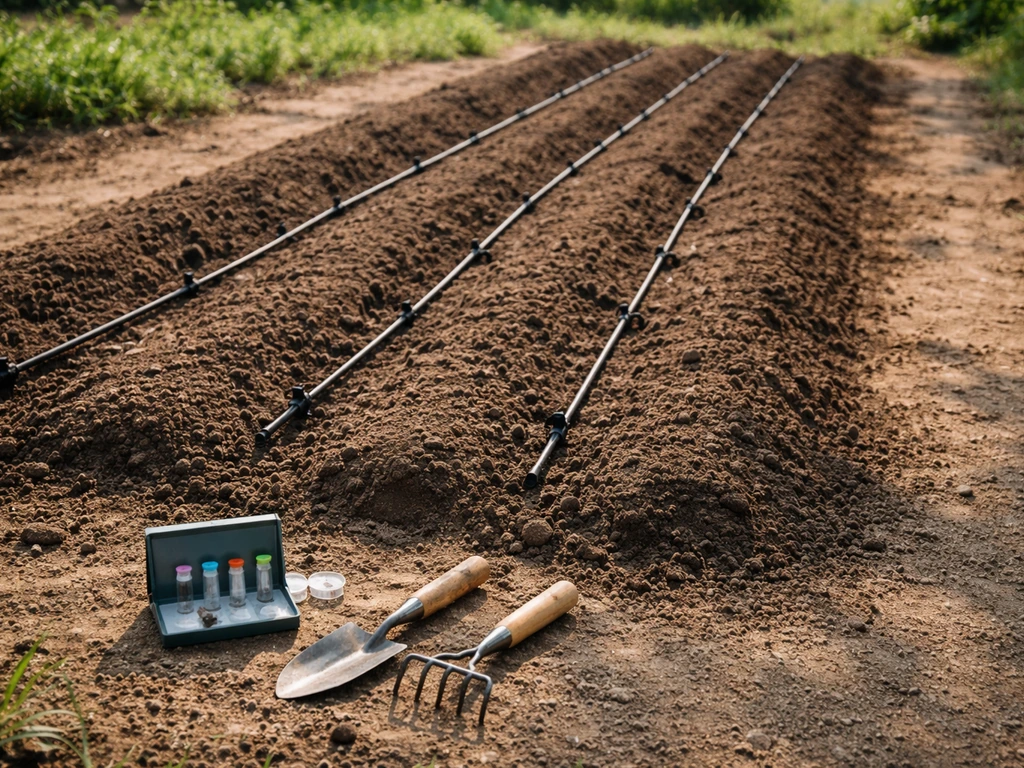
Outdoor is the most cost-efficient option and the standard approach for fiber and grain hemp. Hemp thrives in well-drained loam with a soil pH of 6.5 to 7.5. It is very sensitive to waterlogging: flooding that exceeds roughly 12 to 18 hours can substantially damage the root system and dramatically increase disease pressure. Choose a site with good natural drainage, avoid low-lying areas that pool after rain, and orient rows to maximize airflow. Full sun (at least 6 hours of direct light daily, and ideally much more) is non-negotiable outdoors.
Indoor growing
Indoor is most practical for CBD hemp and small-scale grain production where you want full environmental control. For a 4x4 ft tent you will need at minimum: a full-spectrum LED in the 600 to 800 true-watt range, an inline fan and carbon filter for odor and airflow, a temperature and humidity controller, and a pH meter and EC meter if you are going soilless. Vegetative temperature targets are 70 to 85°F (21 to 29°C) with 50 to 70% relative humidity. Flowering targets drop to 65 to 80°F with humidity at 40 to 50% to reduce mold risk significantly.
Greenhouse growing
A greenhouse is the best middle ground for CBD hemp. You get sun-driven photosynthesis (reducing energy costs) plus the ability to add supplemental light, control temperature, and manage humidity. For compliance reasons, a greenhouse also makes it easier to manage photoperiod, which is critical for hemp because it is a short-day plant that begins flowering as day length approaches 12 hours or less.
Germination and early vegetative growth
Hemp germinates quickly under good conditions, usually within 3 to 7 days, but early-stage mistakes are where most beginners lose plants. The biggest killer at this stage is damping-off, a group of soil-borne pathogens including Pythium, Rhizoctonia, and Fusarium that rot seedlings at the soil line. Overwatering and poor drainage are the primary causes. Using garden soil directly is also a mistake because it introduces pathogens into a vulnerable environment.
Germination setup
- Use a sterile seed-starting mix or rockwool cubes, not garden soil.
- Sow seeds 0.5 to 1 inch deep; planting too deep slows emergence and extends the vulnerable damping-off window.
- Keep germination temperature between 65 and 75°F. Higher temperatures can promote the pathogens responsible for damping-off.
- Water gently to moisten the medium, then let it approach dryness before watering again. Consistent moisture is the enemy.
- Use trays with drainage holes. Standing water beneath cells is a fast track to root rot.
- Avoid overcrowding seedlings. Poor airflow around young plants dramatically increases damping-off and early mold risk.
Early vegetative stage
Once seedlings are established (usually by day 10 to 14), they enter a fast vegetative phase. For CBD hemp indoors, run an 18/6 light schedule (18 hours of light, 6 hours of dark) during veg to keep plants in a non-flowering state. Outdoors, plants started after the summer solstice in the northern hemisphere will begin shifting toward flowering naturally as days shorten, so time your outdoor planting to give plants enough vegetative time before the photoperiod triggers budding. If you are using clones rather than seed, maintain high humidity (around 70 to 80%) in the rooting environment, but once roots establish, reduce humidity and move them into standard veg conditions. Rooting is a photosynthesis-limited phase, so do not push the lights hard during this window.
Nutrition and watering strategy
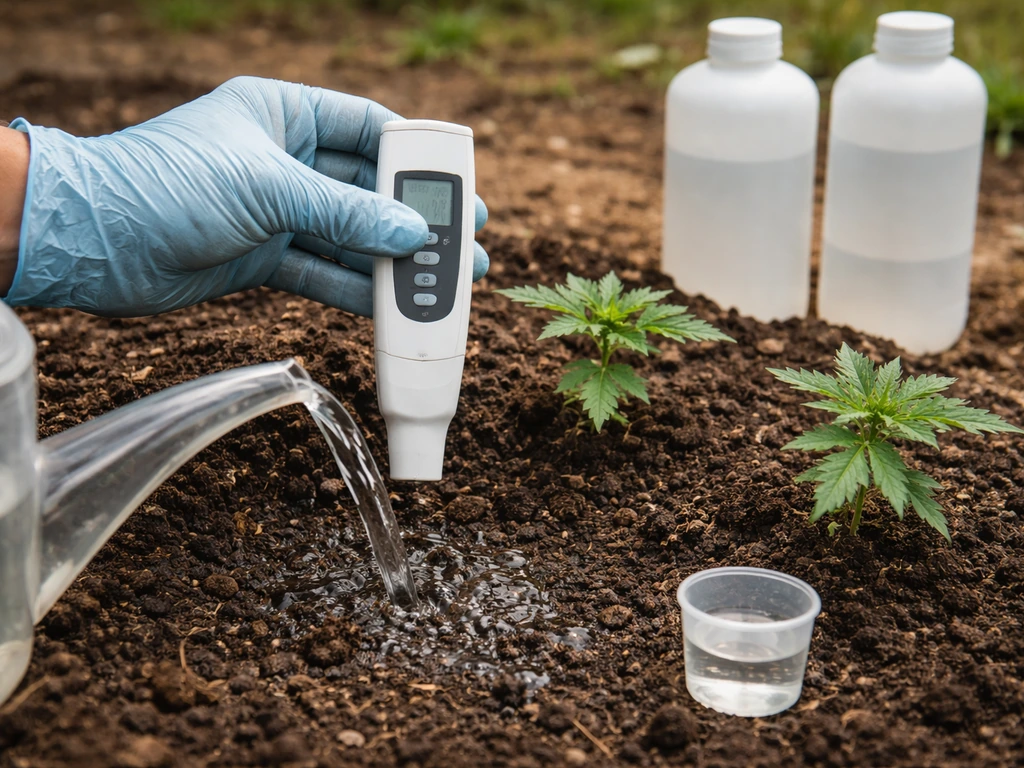
Hemp is a nutrient-hungry crop but it does not need exotic inputs. A soil pH of 6.5 to 7.5 is the target range, as recommended by UF/IFAS nutrient management guidelines for hemp (fiber, seed, and flower categories). Outside this range, nutrient lockout becomes a real problem regardless of how much fertilizer you apply, so buying a decent pH meter and using it consistently is genuinely the highest-ROI thing a beginner can do.
Soil grows
Start with a soil test before planting outdoors. Amend based on the results rather than guessing. In the absence of a test, a balanced organic slow-release fertilizer (something in the 3-1-2 or 4-2-4 NPK ratio range) at the time of bed preparation gives a decent baseline. Hemp uses a lot of nitrogen in veg: expect to supplement with nitrogen-heavy feeds every 2 to 3 weeks during rapid growth. As plants shift toward flowering, drop nitrogen and increase phosphorus and potassium. For outdoor soil grows, monitor moisture 4 to 6 inches down and water when that zone is dry, not on a fixed timer.
Soilless and hydroponic grows
In coco coir or hydro setups, you have full control over nutrients but also full responsibility. Target an EC (electrical conductivity) of around 0.8 to 1.2 mS/cm in early veg, building to 1.5 to 2.0 mS/cm at peak veg, and then tapering back toward 1.0 to 1.5 mS/cm in late flower to avoid salt buildup. Keep pH in nutrient solution at 5.8 to 6.2 for most soilless media. Water more frequently in smaller volumes rather than saturating and leaving plants to sit, especially in early stages.
Practical feeding schedule (soil, CBD hemp example)
| Growth Stage | Duration | N-P-K Emphasis | Notes |
|---|---|---|---|
| Seedling | Weeks 1–2 | Very light; minimal feeding | Rely on starter mix; overfeeding burns seedlings |
| Early veg | Weeks 3–5 | High N, moderate P and K | Begin regular feeding at half strength; monitor for deficiency |
| Peak veg | Weeks 6–9 | High N, moderate P and K | Full-strength feeds every 5–7 days; check pH every watering |
| Transition to flower | Weeks 10–11 | Decreasing N, increasing P and K | Hemp will begin responding to shortening days or flip to 12/12 indoors |
| Flower | Weeks 12–16 | Low N, high P and K | Watch EC carefully; reduce feeding frequency slightly |
| Pre-harvest flush | Final 1–2 weeks | Water only or very light | Reduces nutrient residue in final product |
Managing flowering and keeping THC in check
Hemp is a short-day plant. It begins to flower as day length drops to around 12 hours or less of direct sunlight. Outdoors in the northern hemisphere, this typically means hemp starts flowering in late July through August depending on your latitude. Indoors, you trigger flowering by switching your light timer to a 12/12 schedule. This is the stage where compliance risk is highest, because THC can rise as the plant matures, and stress during flowering is a known driver of higher THC accumulation and hermaphroditism.
Hermaphroditism is a real concern: plants that experience significant stress (light interruptions, physical damage, extreme temperature swings, or exposure to certain plant growth regulators like gibberellins or silver compounds) can develop male pollen sacs alongside female flowers. A hermaphroditic plant can pollinate your entire crop, reducing CBD yield and potentially pushing THC levels up in the resulting seeds. The fix is prevention: stable environment, no light leaks indoors, gentle handling, and sourcing feminized seed from reputable licensed breeders.
Keep a close eye on trichome development in the final 4 to 6 weeks. For CBD hemp, harvest timing is similar to high-THC cannabis in terms of visual cues: you want milky to amber trichomes on the flower, but you need to be aware that letting plants go too long significantly increases total THC content. This is why the 30-day pre-harvest sampling window mandated by USDA is so important: schedule your certified sampling agent when you are about 3 to 4 weeks out from your anticipated harvest, not the day before.
Pest, disease, and deficiency troubleshooting
Prevention is always cheaper and less stressful than treatment. Hemp has fewer pest and disease issues than many crops when grown in good conditions, but a few problems come up consistently across growers.
The big three to watch
- Botrytis (gray mold): This is the number-one mold problem in hemp, especially at flower. It thrives at 50 to 80°F (optimal around 68°F) with high humidity and free moisture on plant surfaces. Prevention is airflow, airflow, airflow. Keep humidity below 50% during flowering, avoid overhead watering, and remove damaged or dead plant material promptly. Outdoors, dense planting is your enemy for Botrytis.
- Damping-off (Pythium, Rhizoctonia, Fusarium): Kills seedlings at the soil line. Caused by overwatering, poor drainage, garden soil, and overcrowding. Use sterile media, water carefully, and ensure drainage at every stage.
- Spider mites, aphids, and cannabis-specific pests: Hemp hosts many of the same pests as high-THC cannabis. Integrated pest management starts with inspecting plants weekly, introducing beneficial insects in enclosed growing spaces, and avoiding systemic pesticides that can affect cannabinoid profiles or leave residues in flower.
Nutrient deficiencies and toxicity
The most common deficiencies in hemp are nitrogen (yellowing from the bottom leaves up), iron and magnesium (interveinal chlorosis in younger or older leaves respectively), and calcium (brown spots and curled leaf margins). In almost every case, the first thing to check is pH, because even if your nutrient supply is adequate, a pH outside the 6.5 to 7.5 range in soil (or 5.8 to 6.2 in soilless) locks out specific nutrients chemically. Fix the pH before adding more fertilizer, or you will compound the problem.
Common problems and their most likely causes
| Problem | Most Likely Cause | First Response |
|---|---|---|
| Slow/low-vigor seedlings | Overwatering, cold medium, planted too deep, poor drainage | Let medium dry out; raise temperature to 68–75°F; check sow depth |
| Yellowing leaves (older leaves first) | Nitrogen deficiency or pH lockout | Test pH first; supplement nitrogen if pH is correct |
| Interveinal chlorosis (younger leaves) | Iron or zinc deficiency, pH too high | Lower pH slightly; consider chelated iron foliar |
| Brown spots / necrotic leaf margins | Calcium or potassium deficiency; also possible nutrient burn | Check pH and EC; reduce feeding if EC is high |
| Mold on buds (gray/brown fuzz) | Botrytis; high humidity + poor airflow | Increase airflow; reduce humidity; remove affected material immediately |
| Hermaphroditism (pollen sacs on female plant) | Stress: light leaks, temperature swings, mechanical damage | Identify and remove affected plants; stabilize environment |
| Hot crop risk (THC rising) | Late harvest timing, certain genetics under stress | Harvest earlier; schedule pre-harvest test within 30-day window |
| Outdoor weather stress (cold, excess rain) | Low-drainage site; early frost; unseasonable wet | Improve drainage pre-season; select earlier-maturing varieties for short-season climates |
Harvest timing by crop type
Harvest timing differs significantly depending on what you are growing hemp for, and getting it wrong in either direction costs you yield or compliance.
For fiber hemp, the harvest window is between bloom and early seed set. University of Missouri Extension and Rutgers NJAES both note that this is the least standardized step in hemp production. Too early and the fibers are underdeveloped; too late and fiber quality drops. If you are retting the stalks for fiber processing, Canadian experience suggests retting time outdoors runs roughly 21 to 28 days after cutting in late summer.
For grain and seed hemp, Missouri Extension guidelines place typical harvest at roughly 70 to 100 days after planting, usually late August to early September in Midwest growing regions. Oklahoma State Extension notes that seed hemp can range from 110 to 150 days depending on variety and management. Harvest when seeds are hard and dark brown, before significant shattering occurs.
For CBD flower hemp, maturity typically runs 100 to 120 days from seed, but your compliance test timing is the operational anchor. Schedule your sampling agent, watch trichomes closely in the final weeks, and plan to harvest within a narrow window once trichomes are predominantly milky with some amber. Do not wait for full amber on CBD hemp; the longer it sits, the more risk of THC creep.
Drying, curing, and post-harvest storage
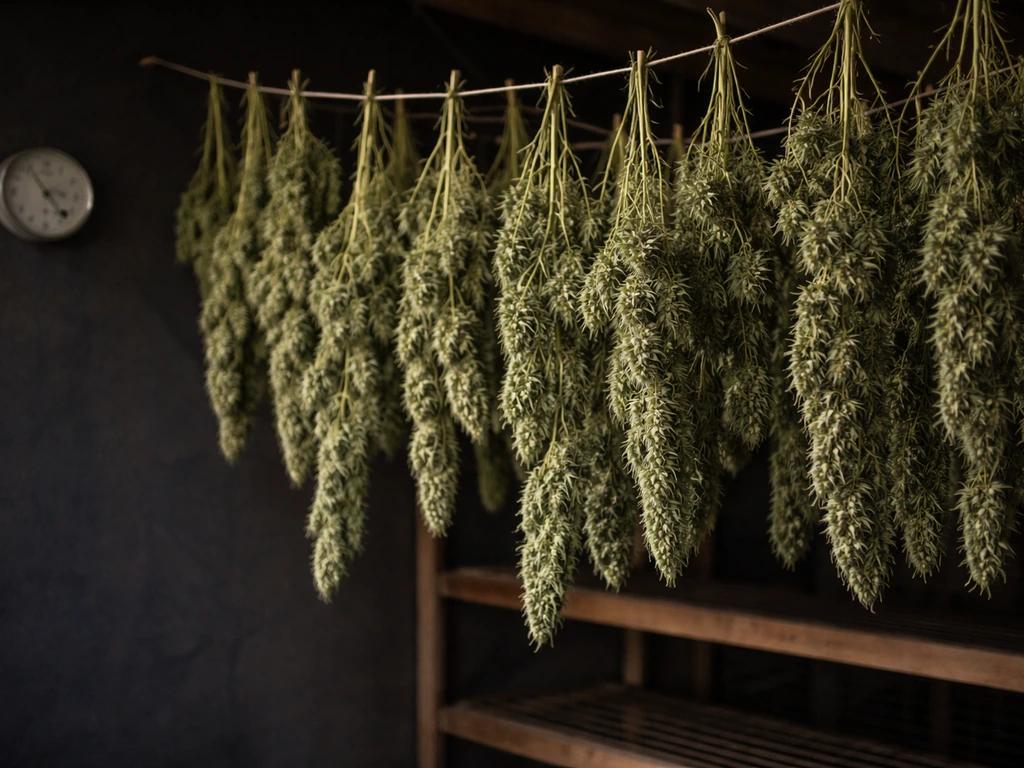
Post-harvest is where a lot of otherwise well-grown hemp gets ruined. Mold does not stop being a threat just because the plant is cut; in fact, wet, warm piles of fresh hemp are an ideal environment for Botrytis and Aspergillus to take hold fast.
Drying CBD hemp flower
Hang whole branches or spread trimmed flower in a dark space with good airflow and temperatures around 60 to 70°F (15 to 21°C) and relative humidity at 45 to 55%. Oregon State University Extension guidance on Aspergillus mitigation in hemp recommends dry trimming after harvest (trimming after the plant has dried) rather than wet trimming (trimming immediately after cutting) to reduce mold and pathogen risk. Monitor temperature and humidity actively during the drying phase. Flower should feel dry on the outside but stems should snap rather than bend after 7 to 14 days under these conditions. A hygrometer in the drying space is not optional; it is essential.
Curing
Once dry, move flower into sealed glass jars or food-grade sealed containers and burp them (open briefly for fresh air exchange) once or twice daily for the first 1 to 2 weeks, then every few days for another 2 to 4 weeks. Target 58 to 62% relative humidity inside storage containers using two-way humidity packs. This curing process improves aroma, smoothness, and overall quality in CBD flower.
Fiber and grain post-harvest
Fiber hemp is typically left in the field to ret (partially decompose to separate the bast fiber) for 21 to 28 days before baling. Weather dependent; aim for consistent moisture exposure without soaking. Grain hemp harvested by combine should be dried to below 10% moisture content before storage to prevent mold and spoilage. Airtight grain bins or food-grade sealed bags work well for small-scale storage. Inspect stored grain monthly.
Your season checklist and next steps
Whether you are starting this season or planning for next year, the following checklist covers the highest-impact steps in the right order. This is not a complete substitute for reading your state's specific rules, but it is a solid practical foundation. If you are trying to grow hemp in Oklahoma, you will need to apply through the state’s hemp licensing process before you plant.
- Determine your state's hemp program requirements and apply for your license before doing anything else. Processing times vary from weeks to months.
- Decide your crop type (fiber, grain, or CBD) and select a certified compliant variety with documented low-THC performance data across multiple regions.
- Source seed or starts from a licensed seller. Keep all labels, lot numbers, and certificates of analysis on file.
- File your crop acreage report with your local FSA office and register your growing site with the appropriate state authority.
- Prepare your growing environment: for soil outdoors, test and amend to reach pH 6.5 to 7.5 and ensure excellent drainage. For indoor or soilless setups, calibrate your pH and EC meters before planting.
- Germinate in sterile media, sow at 0.5 to 1 inch depth, keep temperatures at 65 to 75°F, and do not overwater.
- Run 18/6 light schedule for indoor CBD hemp during veg; plan outdoor timing to allow 6 to 9 weeks of vegetative growth before natural photoperiod triggers flowering.
- Follow a progressive feeding schedule: high nitrogen in veg, then transition to higher phosphorus and potassium in flower. Check pH every watering cycle.
- During flowering, keep humidity below 50%, maximize airflow, minimize plant stress, and check for hermaphroditism weekly.
- Schedule your USDA-certified sampling agent 4 to 6 weeks before anticipated harvest so samples are collected within the required 30-day pre-harvest window.
- Harvest at the correct stage for your crop type: bloom to early seed set for fiber, hard dark seeds for grain, milky-to-amber trichomes for CBD flower.
- Dry at 60 to 70°F with 45 to 55% relative humidity, use dry-trim technique for CBD flower, and store in sealed containers at stable humidity.
If you are in a specific state with its own licensing structure, the permitting process and timelines will differ from the federal baseline covered here. The cultivation science applies everywhere, but always layer your local rules on top. If you are specifically growing in Illinois, make sure you follow the Illinois-specific licensing, sampling, and harvest compliance steps that apply to your site and crop type how to grow industrial hemp in illinois. Getting the compliance side right first gives you the freedom to focus on growing a great crop.
FAQ
Can I switch my hemp goal mid-season (fiber to CBD, or seed to flower)?
Yes, but only if you do it in a way that stays within your permitted crop category and THC testing requirements. For example, you can sometimes keep biomass for internal processing or research, but you still need your sampling, harvest timing, and documentation to match what your license covers. If your planned end use is different from what you declared (fiber vs CBD flower vs seed), check with your state first because many programs tie inspections and sampling to the stated intended product.
What causes THC creep during flowering even if I started with compliant genetics?
No. Even when the genetics are low-THC, stress can increase the chance of off-spec results. Common triggers include light leaks during flowering, inconsistent irrigation causing cycles of drought and waterlogging, late nitrogen feeding into flowering, and temperature or RH swings that promote disease. If you notice foxtailing, unusual leaf loss, or obvious hermaphroditic traits, treat it as a compliance risk, not just a yield issue.
If bad weather forces me to harvest earlier than planned, do I still follow the same sampling timeline?
It can, depending on timing and how you handle the plant material. The compliance sampling window is based on anticipated harvest, not on when you physically cut plants. If you harvest earlier than planned, you may still need a THC sample that reflects the lot you intended to test, or you may end up with a mismatch between production records and tested material. Plan any early harvest due to weather or pests as a documentation and resampling event.
Can I judge legal readiness by trichomes without getting additional THC tests?
You should not rely on visually judging “milky” trichomes alone for legal compliance. Trichome appearance correlates imperfectly with delta-9 THC on a dry-weight basis. Use a consistent harvest decision window tied to sampling (for example, scheduling the agent 3 to 4 weeks out like your plan), and if you have any doubt about drying and moisture, recognize that moisture loss changes weight and can shift test outcomes.
My hemp seedlings are dying at the soil line. Is it always damping-off, and what should I change first?
Yes, but you need to isolate the cause. If your seedlings collapse, first check drainage and water frequency because damping-off is usually tied to saturated media and poor airflow. Avoid pulling and replanting without disinfecting tools and trays, and do not reuse soil that was used for prior susceptible plants. Also, starting with garden soil is a common contamination route, even if it seems to “work” initially.
How do I reduce the odds of failing the THC test, not just passing it once?
For most compliance-focused grows, the simplest way is to measure and manage environment first, then choose the cultivar. If you are near the 0.3% threshold, prioritize genetics with multi-region compliance data and avoid pushing growth stress. During flowering, keep light timing strict (no interruptions), maintain RH targets to prevent mold, and avoid late-stage nutrient changes that can increase stress.
How can I tell whether a deficiency is truly nutrient related or actually caused by pH or salts?
Sometimes, because soil pH swings can mimic nutrient problems. If you see deficiencies, check pH readings before adding more amendments, and confirm your measurement method (calibration and how you sample). In soilless media, salt buildup from frequent wetting can also cause nutrient lockout and lock-trigger deficiency symptoms. A practical approach is to correct pH, then use smaller, targeted feed adjustments over several days.
Why do growers with good fields still end up with moldy or off-smelling hemp after harvest?
Yes. Many failures happen during drying and curing, even when plants looked great on the branch. Keep drying dark, ventilated, and in your target temperature and RH range, and measure RH in the drying space with a hygrometer. Also, handle timing, because wet trimming often increases mold risk by trapping moisture in dense buds.
If I’m growing seed/grain hemp, how do I prevent harvest and storage issues from creating compliance or quality problems?
For seed, harvest can be compliance-relevant only if it affects what you intend to test and store as the sampled lot. The key is record alignment and preventing shattering and mixing. Use clean harvest practices, keep variety and lot separation, and ensure grain or seed drying targets are met before storage so you do not end up with spoilage that later complicates testing.
Can I combine multiple hemp varieties or planting dates into one drying and storage batch?
You generally can, but you must keep documentation and ensure your state program accepts the same sampling and record workflow. The main operational risk is losing lot traceability, for example mixing plants from different varieties or planting dates in a single drying or storage batch. Keep separate labeling, store lots separately, and make sure your sampling agent is aligned with the exact lot you expect to harvest.
If my crop had a few herm-like plants, can I save seeds for next season?
If you have any seeds that look abnormal (mixed morphology, male pollen presence, or unexpected herm traits), treat them as a possible source of increased THC risk when grown out later. Don’t assume “seeds are compliant because the field passed once.” For replanting, keep the seed lot traceable and, if required by your program, use tested or documented sources, since the mother plant’s stress history can influence trait stability.
How should greenhouse cultivation differ from outdoor growing for photoperiod and mold control?
It depends on whether you can keep environmental conditions stable and prevent flowering triggers or fungal outbreaks. In greenhouses, photoperiod management matters because natural day length near 12 hours or less can start flowering, even if temperatures are comfortable. Also, greenhouse humidity swings can be worse than expected, so plan for active dehumidification and airflow, especially during late bloom.
Next Article
How to Grow Weed in Illinois Outdoors Step by Step
Step-by-step outdoor cannabis growing in Illinois: legal setup, strain choice, planting, care, nutrients, harvest and cu