You can grow hemp for profit, but only if you match your cultivar, grow method, and market to each other before you plant a single seed. The growers who lose money usually pick a strain first and figure out the rest later. The ones who make money start with the end market, work backwards to the cultivar and grow setup that hits that market's specs, and treat compliance and testing as non-negotiable parts of the budget from day one.
How to Grow Hemp for Profit: Seed to Harvest Guide

Marcus Holbrook
27 Jun 2026
Legality first: hemp rules, THC limits, permits, and testing
In the United States, federal law defines hemp as Cannabis sativa and all its parts and derivatives with a delta-9 THC concentration at or below 0.3% on a dry-weight basis (7 U.S.C. 1639o). That number is the single most important figure in your whole operation. Exceed it and your crop is legally classified as marijuana, which triggers serious federal enforcement consequences regardless of your intent.
Here is where most first-timers get tripped up: federal law sets the floor, but states layer their own licensing and registration requirements on top. You need approval at the state level before you ever touch a seed. Some states run their own USDA-approved hemp production plans; others operate under the USDA's own program. Either way, you will need a grower license or registration, and you will need to submit your production acreage or square footage.
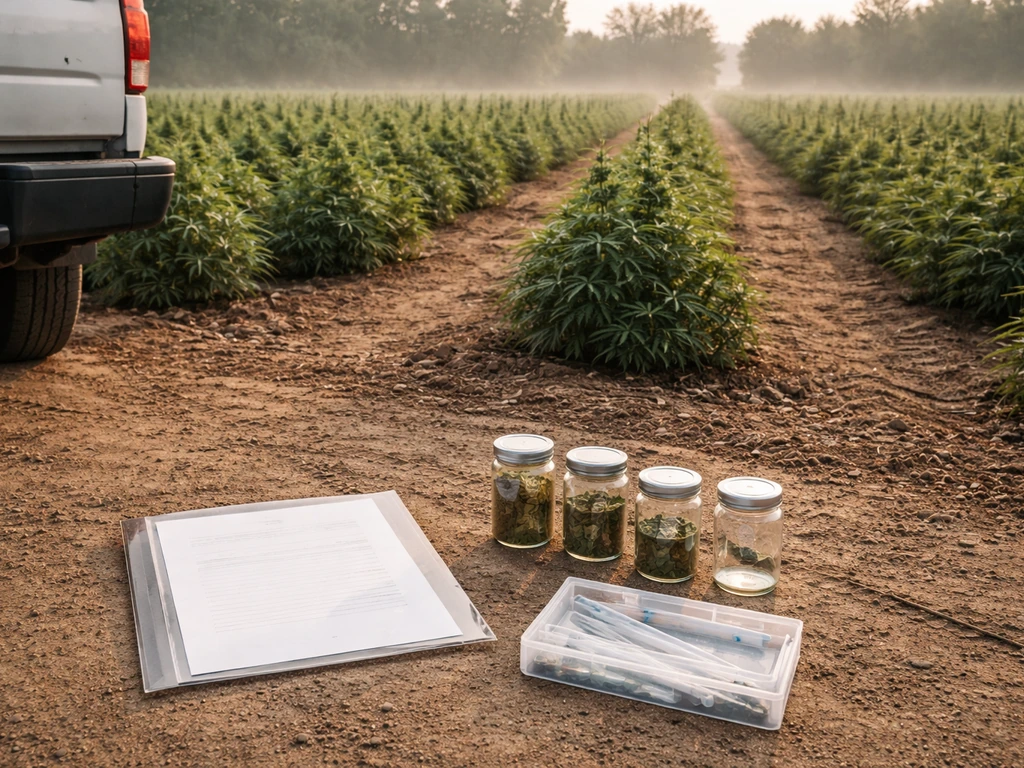
Testing is mandatory and it is not something you can do yourself. Under USDA regulations, samples must be collected within 30 days prior to your anticipated harvest date, and the sampling must be done at 95% confidence that no more than 1% of plants in the lot exceed the acceptable THC level. If you are in Massachusetts, for example, you must contact the Department no later than 21 days before your anticipated harvest start to schedule regulatory sampling, and you cannot collect your own regulatory samples. Kansas charges around $225 per test plus additional costs. Budget for at least one pre-harvest compliance test per lot, and possibly more if you are running multiple harvest windows.
The lab you use matters legally too. Labs must be DEA-registered and ideally ISO/IEC 17025:2017 accredited. A test result showing THC above the acceptable hemp level is conclusive evidence of non-compliance under the federal program, meaning there is no arguing the result. If you fail to complete harvest within 15 days of sample collection, you will need a secondary pre-harvest sample and another round of testing. Build both the timeline and the cost into your plan.
If you are growing outside the US, the framework is different. In India, for instance, cultivation authorization flows through the NDPS Act, specifically Section 14, which allows the government to authorize cannabis cultivation for industrial purposes like fiber and seed. Uttarakhand has implemented guidelines setting a 0.3% THC limit for licensed industrial hemp crops, but implementation details and licensing pathways vary significantly by state. Uttarakhand has issued guidelines under the NDPS Act (Section 14) that set a 0.3% THC limit for licensed industrial hemp crops Uttarakhand’s 0.3% THC limit for licensed industrial hemp crops. Check with your state's relevant agriculture or excise authority directly.
The bottom line on legality: do not plant until you have your license in hand, you know your state's sampling schedule, and you have identified a DEA-registered lab you will use for compliance testing. Everything else in this guide only matters if you have those boxes checked.
Pick a profitable end goal: fiber, seed, biomass, or cannabinoids
Hemp is not a single crop with a single market. It is four or five very different businesses that happen to use the same plant. Which one you pursue changes almost everything: your strain choice, your plant density, your irrigation approach, your harvest timing, and who you sell to. Trying to hit multiple markets at once on your first grow almost always results in hitting none of them well.
| End Market | Target Part of Plant | Typical Price Point | Scale Needed | Compliance Complexity |
|---|---|---|---|---|
| Fiber/Bast | Stalks | Low per lb, high volume | Large outdoor acreage | Low (THC rarely an issue) |
| Grain/Seed | Seeds | Moderate per lb | Mid-scale outdoor | Low to moderate |
| CBD/CBG Biomass | Whole flower + leaf | Moderate to high per lb | Small to mid-scale | High (THC limit critical) |
| CBD/CBG Crude Oil/Extract | Extracted from flower | High per kg | Small scale viable | Very high (testing at every step) |
| Minor Cannabinoids (CBN, CBC) | Extracted from specialty strains | Very high per kg | Very small scale | Very high |
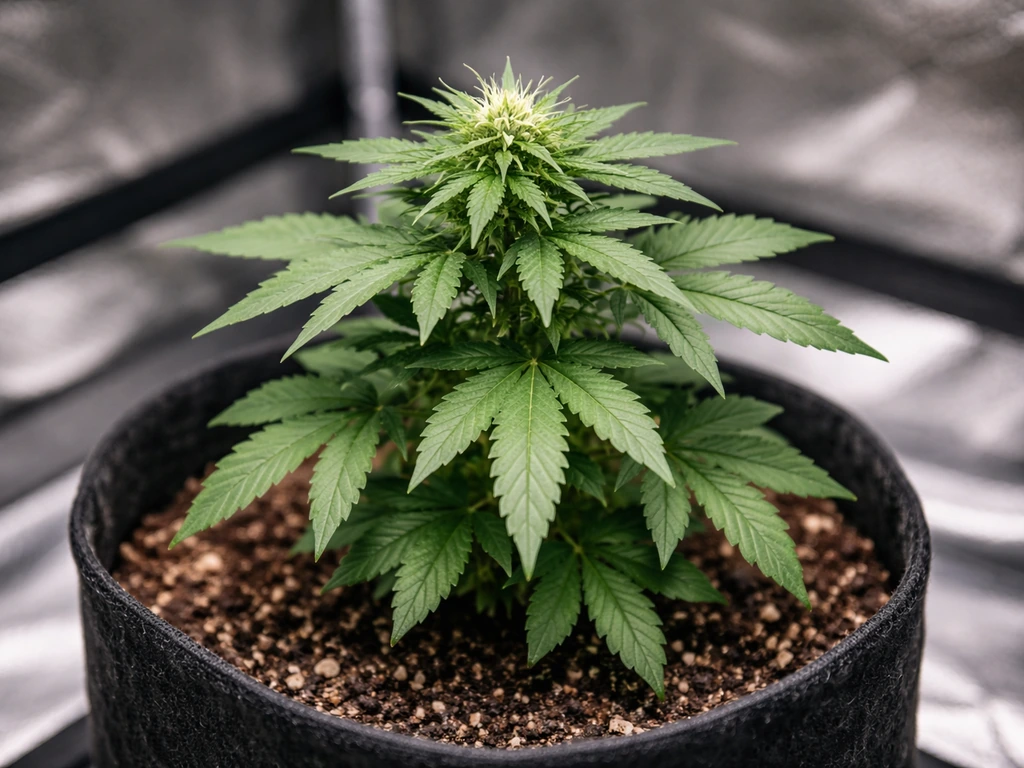
For home-scale growers, cannabinoid production, specifically CBD or CBG biomass and extract, is almost always the most realistic path to profit per square foot. Fiber and grain require significant acreage and processing infrastructure to make the numbers work. A single well-managed 10x10 indoor space growing high-CBD hemp can generate meaningful returns; the same space growing for fiber barely covers costs.
That said, biomass markets have compressed significantly over the past several years. The price per pound of CBD biomass has dropped from peaks above $40/lb to under $5/lb in many markets. If you are entering the cannabinoid space, you need to either have a processor or buyer relationship locked in before you harvest, or you need to have the extraction and finishing capability yourself to move up the value chain.
Selecting strains and planning your cannabinoid targets
Strain selection is probably the highest-leverage decision you make, and it is where I have seen the most expensive mistakes. Picking a cultivar based on a seed company's marketing rather than independently verified cannabinoid data is a real risk. You want to know the cultivar's typical total CBD or CBG percentage at harvest, its THC ceiling under your grow conditions, its finish time, and whether it has proven stability across multiple grow cycles.
The critical number to watch is the THC-to-CBD ratio. High-CBD hemp strains typically run a roughly 1:25 or 1:30 THC-to-CBD ratio. That means a plant testing 15% CBD will have total THC somewhere around 0.5% to 0.6%, which puts you over the federal 0.3% limit. This is called going hot, and it costs you the entire lot. You need to either harvest slightly early to stay compliant, or choose a cultivar specifically bred to stay under 0.3% total THC even at peak CBD expression. Ask the seed supplier for third-party COAs from multiple grow environments, not just their own facility data.
For CBG production, you have a bit more breathing room on the THC compliance issue because CBG strains are typically bred to produce negligible THC alongside high CBG. CBG biomass also commands a premium in the current market because supply is still relatively limited compared to CBD. If you are considering CBG, check current buyer demand in your region before committing.
A few practical strain selection criteria worth building into your decision:
- Verified COA data from independent DEA-registered labs showing THC and CBD levels at harvest
- Autoflowering vs. photoperiod: autos finish faster and are more forgiving for beginners, but photoperiod strains give you more control over timing and often higher yields
- Finish time matching your climate window if growing outdoors (most CBD strains finish between late September and mid-October in the US)
- Disease resistance profile, especially powdery mildew and botrytis resistance, which become critical in humid climates
- Seed source with a certificate of analysis, documented lineage, and ideally USDA-approved cultivar status
Grow method setup: indoor vs outdoor vs greenhouse vs hydro
There is no universally superior grow method. Each one has a real profile of costs, yields, and control tradeoffs. Your choice should come down to your budget, your climate, your available space, and honestly your risk tolerance for weather and compliance timing issues.
| Method | Startup Cost | Operating Cost | Yield Potential | Environmental Control | Best For |
|---|---|---|---|---|---|
| Outdoor | Low | Low | High per plant, variable quality | Minimal | Fiber, seed, or large-scale biomass |
| Greenhouse | Medium | Medium | High with better quality control | Moderate to high | Cannabinoid biomass with weather protection |
| Indoor | High | High | Lower total weight but highest quality/cannabinoid % | Full | Premium flower, extracts, small-scale high-value production |
| Hydroponic (indoor) | High | High | Faster cycles, strong cannabinoid expression | Full | High-potency CBD/CBG production, multiple harvests per year |
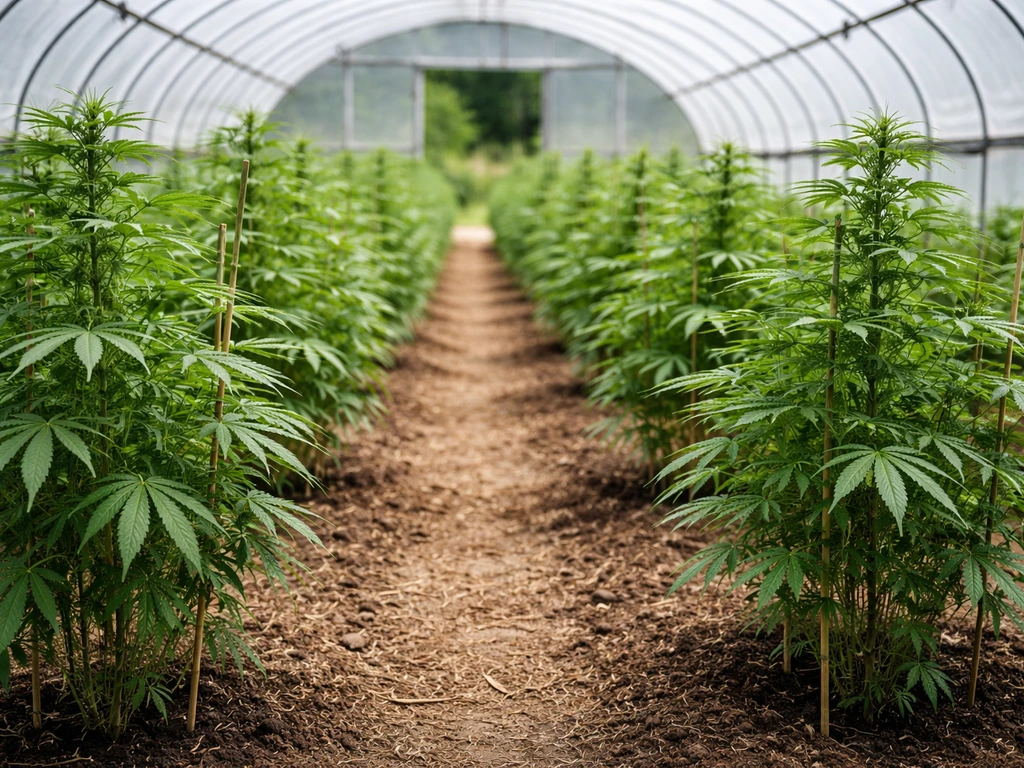
Outdoor growing is the only method that scales to fiber and grain production economically. For cannabinoid production at home scale, greenhouse growing is often the sweet spot: you get climate protection to extend your season and reduce mold pressure, at a fraction of the electrical cost of full indoor. A properly managed greenhouse can deliver indoor-quality cannabinoid profiles if you manage humidity and airflow carefully.
Full indoor and hydroponic setups give you the most control and allow year-round production with multiple harvests, which dramatically changes your annual revenue math. The tradeoff is that electrical costs are real and significant. A 1000-watt HID or equivalent LED setup running 18 hours during veg and 12 hours during flower will add meaningful costs to your monthly utility bill. Factor that into your per-gram production cost before you scale up. If you are interested in a dedicated deep-dive on hydroponic hemp specifically, that topic is worth its own focused exploration.
Greenhouse growing for hemp deserves special attention if you are in a climate with unpredictable late-season humidity, since botrytis during the final weeks of flower is one of the top crop-loss causes. A greenhouse gives you the ability to manage airflow and humidity actively without the full cost of indoor climate control. It is a method I would push most home growers toward as a starting point.
Environment, timing, and cultivation workflow from seed to harvest
Environmental targets
- Germination: 70-80°F (21-27°C), humidity 70-80%, no direct light needed
- Seedling/early veg: 72-78°F (22-26°C), humidity 60-70%, 18 hours of light for photoperiod strains
- Mid to late veg: 70-80°F (21-27°C), humidity 50-60%, maintain 18/6 light cycle
- Flower: 65-80°F (18-27°C), humidity 40-50% (push toward 40% in final weeks), 12/12 light cycle for photoperiod
- Late flower/pre-harvest: humidity below 45%, strong airflow to prevent bud rot, temperature swings between day and night of 10-15°F can enhance terpene and cannabinoid expression
- CO2 supplementation (indoor): 1000-1500 ppm during lights-on periods in veg and flower can increase growth rate by 20-30%
Timing and workflow
For photoperiod CBD hemp grown outdoors in the US, target transplant after your last frost date. In most of the continental US that means late April through early June. Hemp is photoperiod-sensitive and will begin flowering naturally once days shorten below roughly 14 hours of light, typically around the summer solstice in northern latitudes. Most CBD cultivars finish in 8-10 weeks of flower, putting harvest in late September through mid-October.
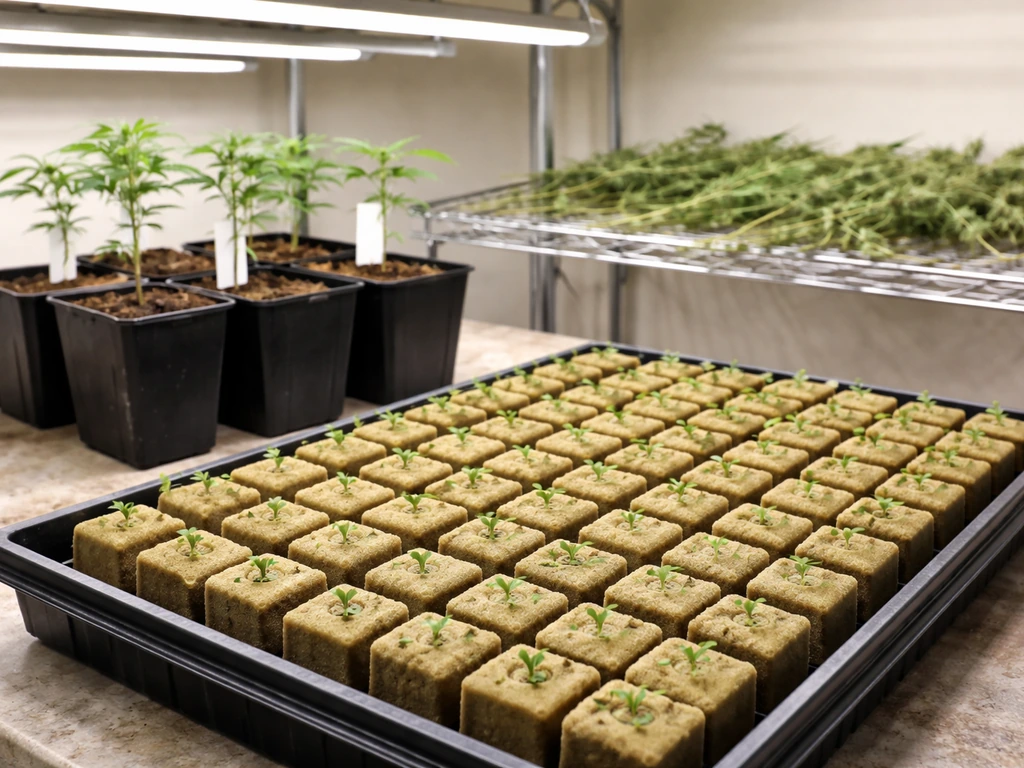
- Week 1-2: Germinate seeds in rockwool cubes or a seedling mix; maintain 75-80°F and high humidity
- Week 2-4: Transplant to 1-gallon containers once roots emerge; begin light feeding
- Week 4-8 (veg): Transplant to final containers or beds; apply low-stress training (LST) and top once or twice for canopy development; target 18+ hours of light for indoor/greenhouse
- Week 8 (outdoor) or flip to 12/12 (indoor): Plants transition to flower; stop topping, begin trellis support if needed
- Weeks 9-16 (flower): Monitor trichome development, watch humidity, maintain airflow, reduce nitrogen in feeding
- Week 14-18 pre-harvest: Schedule your mandatory pre-harvest THC compliance sample; do not harvest until results confirm compliance
- Harvest window: Trichomes mostly cloudy with some amber; stigmas 70-80% darkened; cut, hang, or rack dry immediately
- Drying: 60-70°F, 55-60% humidity, 7-14 days until stems snap cleanly
- Curing (if selling premium flower or extract input): 60-65°F, 58-62% RH in sealed containers, burp daily for 2 weeks minimum
One timing point that catches people off guard: remember the 15-day harvest completion rule. Once your compliance sample is collected, you have 15 days to complete harvest. If you miss that window you need a second sample. Build your harvest crew, drying space, and equipment access into your plan before that clock starts.
Nutrition and soil or medium management
Hemp is a moderately heavy feeder, but one of the most common mistakes beginners make is overfeeding, especially with nitrogen during flower. That kills your cannabinoid percentage and makes your plants more susceptible to mold. The goal is feeding for the plant's actual stage, not for maximum vegetative growth.
Soil grows
A well-amended living soil can take you most of the way through a grow with minimal additional inputs. A good starting mix is 30% high-quality compost, 30% aerated top soil, 30% perlite or pumice for drainage, and 10% worm castings. Add a dry organic amendment blend with kelp meal, alfalfa meal, and rock dust at planting. Target soil pH of 6.0-7.0 for hemp in soil, with 6.2-6.8 being the sweet spot for optimal nutrient availability. Test your soil pH before you plant and again mid-season. A $20 digital pH meter pays for itself in avoided problems.
Nutrient schedule by stage
| Growth Stage | N-P-K Focus | Key Inputs | pH Target (soil) | EC Target (hydro/coco) |
|---|---|---|---|---|
| Seedling (weeks 1-3) | Low all | Plain water or very light veg feed | 6.2-6.5 | 0.4-0.8 mS/cm |
| Veg (weeks 4-8) | High N, moderate P, moderate K | Balanced veg formula, cal-mag | 6.2-6.8 | 1.2-2.0 mS/cm |
| Early flower (weeks 9-12) | Lower N, higher P and K | Bloom formula, reduce cal-mag | 6.0-6.8 | 1.8-2.4 mS/cm |
| Late flower (weeks 13-harvest) | Minimal N, moderate P and K | Flush or low-dose bloom, no nitrogen | 6.0-6.5 | 1.4-1.8 mS/cm (flush down) |
Hydroponic and soilless grows
If you are running a hydroponic system, whether deep water culture, NFT, or coco coir, pH control becomes your single most critical daily task. If you are specifically looking for how to grow hydroponic hemp, your pH control and nutrient targets are where you should start. Hemp in hydro or coco wants a pH of 5.8-6.2. Even a brief drift above 6.5 in a recirculating system will lock out iron and manganese, and you will see interveinal chlorosis within a few days. Check pH daily in active systems, twice daily if you are seeing instability. EC (electrical conductivity) tells you the nutrient concentration in your solution; the targets in the table above are solid starting points, but always adjust based on the plant's response rather than just hitting a number.
Calcium and magnesium deficiencies are the most common issues in coco and hydro hemp grows because coco is naturally calcium-hungry. Use a dedicated cal-mag supplement at 1-2 ml/L throughout veg and into early flower. I have started every hydro hemp grow assuming I will need cal-mag and I have never regretted it.
Pest, disease, and quality-control troubleshooting
Prevention beats treatment almost every time with hemp. The dense bud structure of high-CBD cultivars means that by the time you see botrytis (gray mold) inside a bud, it is already too late to save that section. Your pest and disease management plan needs to be built before your plants go into the ground or the grow room.
Most common threats and solutions
| Problem | Symptoms | Prevention | Treatment |
|---|---|---|---|
| Botrytis (gray mold) | Gray fuzzy growth inside dense buds, especially in final 2-3 weeks of flower | Keep RH below 45% in flower, strong airflow, avoid leaf crowding | Remove affected material immediately, increase airflow, lower humidity; potassium bicarbonate spray on surrounding tissue |
| Powdery mildew | White powdery coating on fan leaves and sugar leaves | Good airflow, UV-C exposure, avoid humidity above 55% in veg | Potassium bicarbonate, diluted hydrogen peroxide, or neem oil early in veg only (not in flower) |
| Aphids | Clustered small insects on new growth, sticky honeydew residue | Inspect plants weekly, introduce beneficial insects, avoid over-fertilizing nitrogen | Insecticidal soap, neem oil spray, lacewing larvae as biocontrol |
| Spider mites | Fine webbing on leaves, stippled yellowing | Maintain humidity above 40% in veg, inspect undersides of leaves | Predatory mites (Phytoseiulus persimilis), neem oil in veg only |
| Hemp russet mites | Leaves curling upward, bleaching at top of plant | Source clean clones, quarantine new genetics | Sulfur-based products in early veg only; difficult to eradicate once established in flower |
| Root rot (hydro) | Brown slimy roots, wilting despite adequate water, foul odor | Maintain reservoir temps below 68°F, use beneficial bacteria | Hydrogen peroxide flush, add Bacillus subtilis products, lower reservoir temp immediately |
On quality control more broadly: anything you spray on your plants within 30 days of harvest can show up in your end product and potentially in your compliance test or a buyer's quality test. Many hemp biomass buyers now require a full pesticide panel COA in addition to the cannabinoid profile. Keep a spray log from day one, use only products labeled for hemp or cannabis, and stop all foliar applications at minimum 30 days before harvest, ideally earlier.
One more quality note: how you dry your hemp has a direct impact on its cannabinoid retention and market value. To get usable hemp bedding, you also need to dial in drying and handling so the fiber stays intact and doesn’t mold. Drying too fast at high temperatures degrades CBD and terpenes. Aim for a slow dry at 60-70°F with 55-60% humidity over 10-14 days. Whole-plant hanging gives the best results for premium flower. Rack drying works for high-volume biomass but requires excellent airflow between racks to prevent mold pockets.
Profit plan: costs, yield expectations, and how to sell what you grow
Realistic cost inputs
Before you calculate profit, calculate cost honestly. Here is a practical breakdown for a small-scale CBD biomass grow, using indoor as the baseline since costs are highest there. Scale down for greenhouse or outdoor.
| Cost Category | Typical Range (small indoor, 100 sq ft) | Notes |
|---|---|---|
| Seeds or clones | $5-25 per plant | Feminized photoperiod seeds from reputable breeders; budget for 10-20% germination loss |
| Containers and growing medium | $50-150 total | 3-7 gallon fabric pots, quality soil or coco |
| Lighting | $300-800 (amortized over 3+ grows) | Full-spectrum LED; 30-50w per sq ft of canopy |
| Nutrients and amendments | $50-200 per grow | Organic dry amendments or liquid nutrients, cal-mag, pH adjusters |
| Climate control (fans, dehumidifier, AC) | $200-600 (amortized) | Dehumidifier is non-negotiable in flower |
| Electricity (per grow cycle) | $150-400 | Varies by location; a 500w total draw for 90 days averages around $100-250 |
| Licensing and registration | $100-500 per year | Varies widely by state |
| Compliance THC testing | $200-500 per lot | DEA-registered lab; may need multiple tests |
| Post-harvest cannabinoid COA | $100-300 per lot | Full-panel test for buyers |
| Drying and processing equipment | $100-300 (amortized) | Racks, trimming supplies, sealed containers for cure |
| Labor | Your time, or $15-25/hr for harvest help | Do not forget to value your own time honestly |
Realistic yield expectations
Yield numbers in hemp marketing materials are almost always the best-case scenario from an optimized grow. Here is what a realistic first-time to intermediate grower should expect from cannabinoid hemp production by method:
- Outdoor: 0.5-2 lbs of dried biomass per plant with 8-15% CBD; with high plant density (1,500-2,000 plants/acre) total yields of 1,500-2,500 lbs/acre of dry biomass are achievable
- Greenhouse: 1-3 lbs per plant at moderate density; better quality consistency than outdoor, lower yield per plant than unconstrained outdoor
- Indoor: 0.5-1.5 lbs per 4x4 canopy area per cycle; typically 2-4 cycles per year possible, which multiplies annual output significantly
- Hydroponic indoor: 1-2 lbs per 4x4 per cycle with optimized systems; faster veg means potentially 4-5 cycles per year for autoflowering strains
Market pathways and what buyers want
Hemp biomass buyers, processors, and extract companies are buying on three criteria: cannabinoid percentage, moisture content (most want 10-12% or below), and pesticide/heavy metal cleanliness. Show up with a full-panel COA from a DEA-registered, ISO-accredited lab and you are already ahead of most small growers in the market. Show up without one and most serious buyers will turn you away.
The sales channels available to you in rough order of price per pound:
- Direct to consumer (CBD flower or pre-rolls): Highest margin but requires direct-to-consumer compliance, packaging, and either a website or farmers market presence. Check your state's rules on hemp retail carefully.
- Direct to processor or extractor: Most accessible channel for new growers; processors buy biomass and extract CBD oil or isolate. Lock in a contract before you plant if possible.
- Hemp biomass brokers: Useful for moving volume but take a significant cut and the price per pound is lowest.
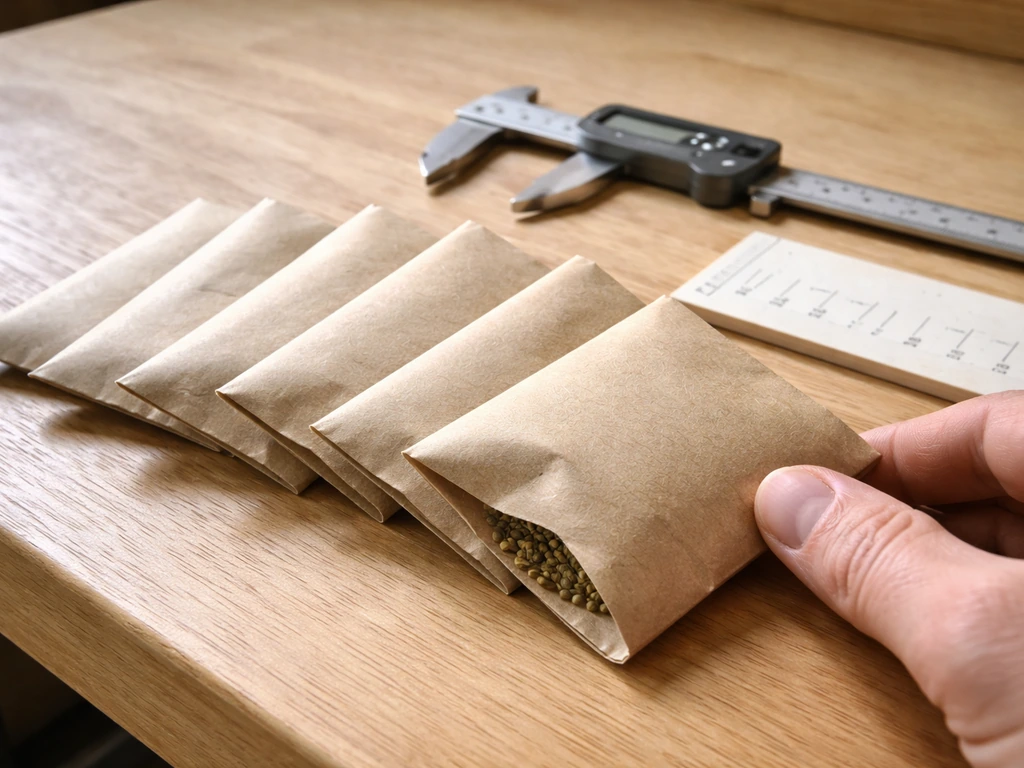
- Seed production (if licensed for it): Selling feminized hemp seed is a high-value niche if you have the genetics and the license to produce and sell seed; requires isolation from pollen sources.
- Fiber and stalk: Only viable at scale with a retting and processing facility relationship; not realistic for home-scale growers without specific infrastructure connections.
A simple profit sanity check
Run the math before you grow, not after. Here is a simple model for a 100-square-foot indoor CBD hemp grow: assume 8 plants in 5-gallon pots under 400 watts of LED, one 14-week cycle. At a realistic yield of 1 lb per plant (8 lbs total dry biomass at 12% CBD), and a current biomass price of $3-5 per pound, gross revenue is $24-40. That does not cover costs. This is exactly why the indoor biomass-only model is broken for most growers at small scale. The math only works if you move up the value chain: extract your own oil and sell it at $1,000-3,000 per kg, or sell premium compliant flower direct to consumer at $150-400 per pound. Scale, value-add, or direct sales are the three levers that make home-scale hemp profitable. Pick at least one of them deliberately.
Your next steps this week
- Research your state's hemp licensing requirements and application process; identify the state agency that handles hemp registration and download the application
- Identify two or three DEA-registered, ISO-accredited labs in your state or region and get their pricing and turnaround times
- Decide on your end market (biomass to processor, direct flower, extract) and contact at least one potential buyer or processor to understand their current pricing and COA requirements before you pick a strain
- Select a cultivar from a reputable seed supplier with verified third-party COA data showing THC and CBD at harvest; request multiple grow-environment data points
- Sketch out your grow space and method: square footage, lighting plan, humidity control, and airflow; calculate your expected electrical cost per month
- Build a simple cost spreadsheet with all inputs from the table above and calculate your break-even price per pound at realistic yield; if it does not work at current market prices, adjust scale, method, or market channel before spending a dollar on equipment
- Start a compliance calendar: note your state's license renewal dates, the 30-day pre-harvest sampling window, and the 15-day harvest completion deadline
Growing hemp for profit is absolutely doable, but it rewards people who treat it like a business from the very first decision rather than a passion project with a monetization plan bolted on later. Get the compliance side locked down, match your cultivar and grow method to a real market, and run the numbers honestly before you invest in equipment. Everything after that is just good cultivation, and the practical growing side of it is genuinely enjoyable once the business foundation is solid. If you want a step-by-step overview from planning through harvest, a how to grow hemp book can help you map the whole process.
FAQ
How do I estimate whether a strain will stay under the 0.3% THC limit on my farm?
Use the THC-to-CBD relationship as a guardrail, then verify with third-party COAs from multiple environments. Ask for “total THC” results, not just delta-9, and plan a compliance margin (for example, target peak harvest days when the lab data suggests you are comfortably below 0.3%). Also account for differences in light intensity, transplant timing, and nitrogen level, since those can shift cannabinoid profiles even in the same cultivar.
Do I need to test in multiple rounds if my first lab sample is close to the limit?
Often yes, depending on timing and how the lab schedule interacts with your harvest window. If your first result comes back near the legal ceiling and you still have material that has not been harvested or finished testing, you may need additional pre-harvest sampling per your regulatory program. The key is to plan harvest completion and lab lead times so you do not end up with forced re-sampling due to missed deadlines.
What’s the practical difference between “buyer testing” and “regulatory compliance testing”?
Regulatory sampling is what determines whether you meet legal THC requirements, while buyer testing is what determines whether your batch meets commercial quality specs like moisture, cannabinoid potency, and pesticide or heavy metal cleanliness. A batch can pass regulatory THC and still get rejected if moisture is too high (or if pesticide panels fail), so you should budget for both types of testing and align your drying, storage, and input choices to the stricter standard in your target market.
Can I start small and expand later if the first run does well?
Yes, but expansion changes compliance risk and logistics. Your sampling costs, lab scheduling, drying capacity, and buyer contracts often do not scale linearly, and larger batches increase the chance that one section runs hot. Before scaling, confirm you can complete harvest within the required completion window for your lot size, and verify your buyer will still accept your scale, moisture range, and pesticide documentation.
What moisture level should I plan for before I ship biomass or flower to a buyer?
Plan on drying to the buyer’s target, often in the 10% to 12% range for biomass, because many buyers reject shipments that are too wet due to mold and stability risk. Build a moisture-check step into your process using a calibrated moisture meter or lab spot checks, and remember that moisture changes during bagging and transport, so re-check near shipment time.
How should I think about pesticides, especially if I’m dealing with pests late in flowering?
Create a late-flower plan before you see the problem, because many inputs become disallowed close to harvest, and residues can show up in buyer panels or interfere with compliance. Keep a spray log from day one, only use products that are labeled for hemp or cannabis, and if you must intervene late, confirm the product’s pre-harvest interval matches your sampling timeline.
If I want profit per square foot indoors, is extraction the only viable path?
Not the only path, but it is the clearest way to fix the indoor biomass math. If you do not have extraction capability, you can still aim for higher-value compliant flower or direct sales, but that typically requires better post-harvest quality control, buyer relationships, and tighter cannabinoid and moisture targets. The decision hinges on whether your buyer pays for your product type at your expected yield and quality level.
How do I avoid the most common profit-killers during the compliance sampling window?
Treat the clock like an operations constraint, not a lab step. After sampling, you must finish harvest within the permitted completion window, which means you should line up labor, drying space, and transport access before sampling occurs. Also pre-arrange your drying plan so you do not slow down and push material into storage conditions that increase mold risk or make moisture targets harder to hit.
What’s the biggest mistake people make when switching from soil to hydro or coco for hemp?
They treat pH like a “set it once” task. In recirculating hydro or coco systems, pH drift can cause nutrient lockout quickly, especially around iron and manganese, leading to interveinal chlorosis and yield loss. The practical fix is daily pH checks, and twice-daily checks if the system is unstable, plus having cal-mag on hand because coco often drives calcium demand.
How should I store harvested biomass or dried product to protect cannabinoid value?
Store in sealed, food-grade or lab-appropriate containers with moisture controlled, keep it away from heat and strong light, and manage headspace to reduce degradation. Because cannabinoid retention and mold risk are both time-sensitive, you should align storage conditions with your buyer’s stability expectations and your test schedule, so you do not dry today, then wait weeks before shipping or testing.
Next Article
How Much Weed Can One Seed Grow and How to Maximize It
Realistic yield from one cannabis seed, what limits it, and steps to maximize flower at home from seed to harvest.