Northern Lights is one of the most forgiving strains you can grow at home. It stays compact indoors (usually under 1.2 metres), finishes flowering in 55–65 days, produces dense resinous buds, and doesn't kick out much odour compared to other heavy-hitting indicas. Whether you're setting up a small tent or growing in a backyard garden, the fundamentals are the same: keep the environment stable, feed consistently, watch your pH, and harvest at the right moment. This guide walks you through every step, from seed to cured jar, for both indoor and outdoor grows. If you are specifically interested in Liberty Haze, the same seed-to-jar approach applies, with small tweaks to light and training based on its growth habits This guide walks you through every step, from seed to cured jar, for both indoor and outdoor grows..
How to Grow Northern Lights Strain: Indoor vs Outdoor

Is Northern Lights a good strain for beginners?
Yes, genuinely. Northern Lights has been described as a template for modern indoor growing because it was essentially bred for exactly that environment: fast, compact, resilient, and low-maintenance. It doesn't stretch wildly during flower, which means you won't suddenly have plants hitting your grow lights two weeks into the flip. It tolerates minor temperature swings and slight feeding errors better than more finicky sativa-dominant strains like Amnesia Haze or Super Silver Haze. If you want a similar beginner-friendly walkthrough for Super Silver Haze, use the same fundamentals but watch more closely for stretching and tighter feeding balance. If you're also curious about Amnesia Haze, the key differences usually come down to managing its stretch and dialing in temperature and humidity for late-flower bud health. That said, 'forgiving' doesn't mean 'indestructible.' You still need to dial in your pH, keep pests out, and not overwater, but Northern Lights gives you more margin for error while you're learning those lessons.
- Compact height: stays under 1.2 m indoors, making it tent and closet friendly
- Fast flower: 55–65 days from flip to harvest
- Low stretch during flowering: minimal height explosion after the 12/12 switch
- Moderate odour: manageable with basic carbon filter setups
- Good yields: 450–500 g/m² indoors under a 600W light is realistic
- Resilient genetics: handles minor grow mistakes without catastrophic results
Before you start, make sure you understand the cannabis laws in your jurisdiction. Home cultivation is legal in some states, provinces, and countries but strictly prohibited in others, and rules around plant counts, possession limits, and where you can grow vary enormously. Always check local regulations before purchasing seeds or setting up any grow space.
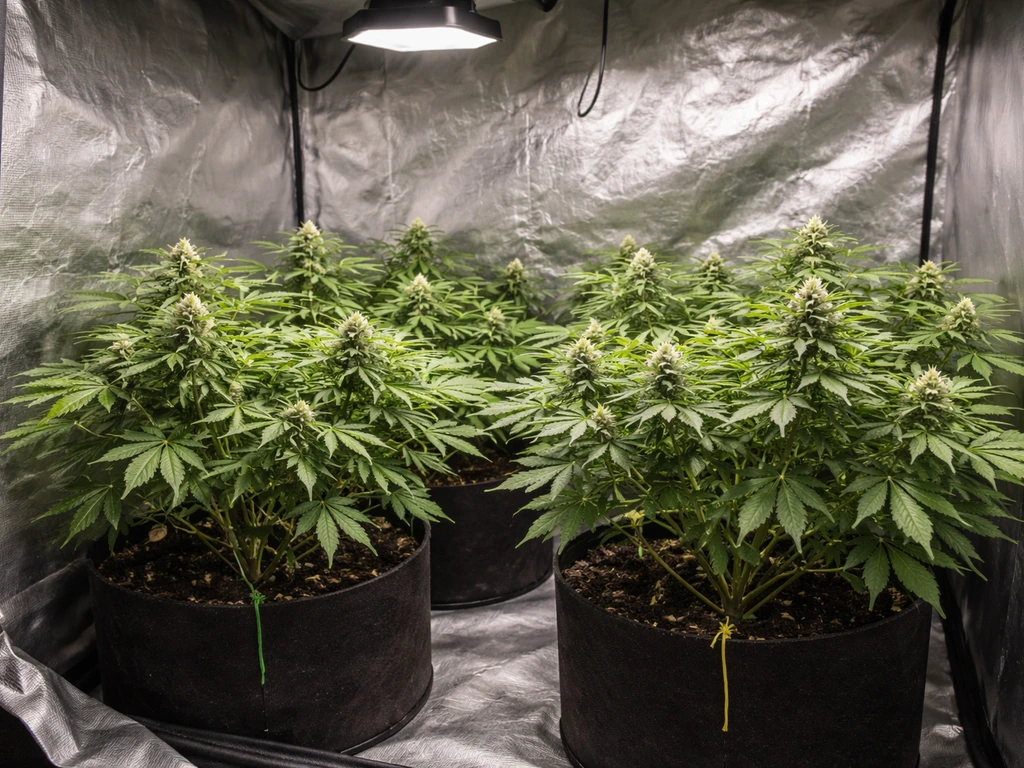
Setting up indoors: environment, light, and airflow
Indoor growing gives you total control over every variable, which is both the appeal and the responsibility. Northern Lights does exceptionally well in a 2x4 or 4x4 tent. Here's how to set that environment up correctly from day one.
Temperature and humidity targets
During veg, aim for 70–80°F (21–27°C) with relative humidity (RH) around 50–70%. Once you flip to flower, bring temps down slightly to 65–78°F (18–25°C) and drop humidity to 40–50% to reduce the risk of bud rot. In the last two weeks of flower, dropping humidity to 35–45% and lowering temps a few degrees at night will help push resin production and terpene development.
Light schedule and intensity
For photoperiod Northern Lights, run 18 hours of light and 6 hours of dark during vegetative growth. If you want a smooth start with how to grow Purple Haze indoors, match your light schedule to the flowering trigger and keep an eye on temperature and humidity as the plants transition grow 18 hours of light and 6 hours of dark. When your plants are roughly half their target final height, switch to 12/12 to trigger flowering. Because Northern Lights doesn't stretch dramatically, you can usually flip when plants are around 40–50 cm tall and expect them to finish around 100–120 cm. Under a 600W HPS or equivalent LED, you can realistically pull around 500 g/m² with a well-managed canopy. If you're using LEDs, follow the manufacturer's PPFD recommendations and keep lights at the correct hanging distance; most modern grow LEDs want to sit 18–24 inches above the canopy during veg and can come down slightly in flower.
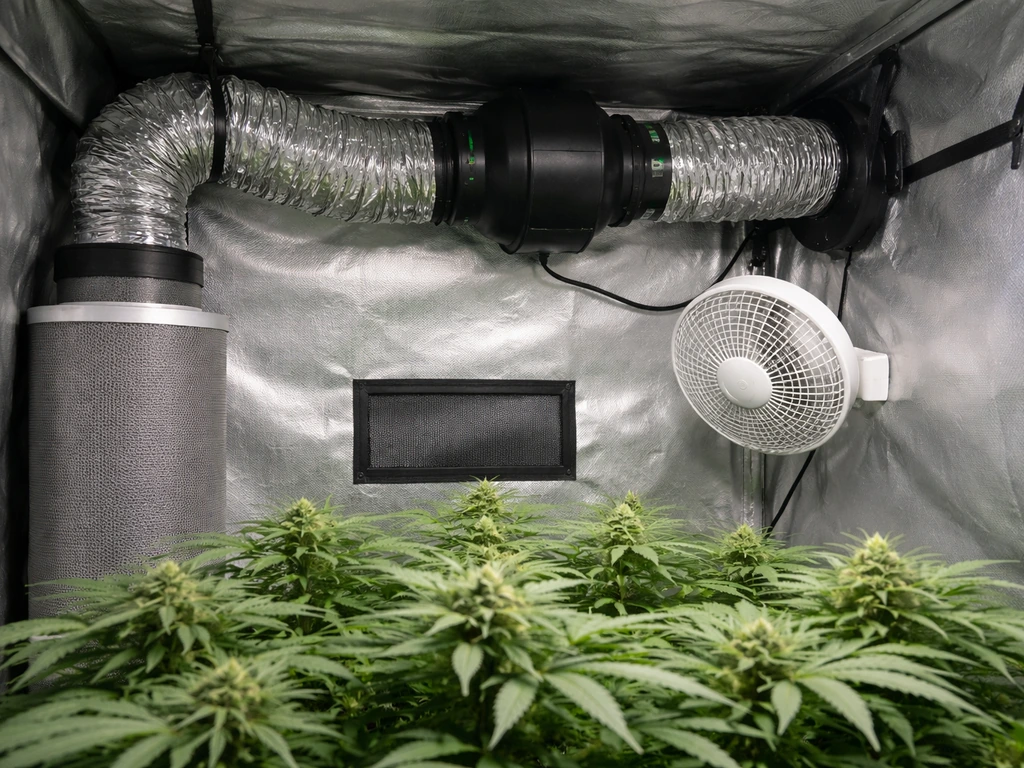
Airflow and ventilation
Good airflow does two things: it strengthens stems (oscillating fans blowing gently across the canopy) and it removes hot, humid stagnant air (inline fan with a carbon filter exhausting air out of the tent). A basic rule: your inline fan should exchange the total air volume of your tent every 1–3 minutes. For a 4x4x6.5 tent, that's roughly 100 cubic feet, so a 4-inch inline fan rated at 200 CFM is a comfortable starting point. Keep one oscillating fan at canopy level and another near the floor to prevent dead air pockets where mould can develop.
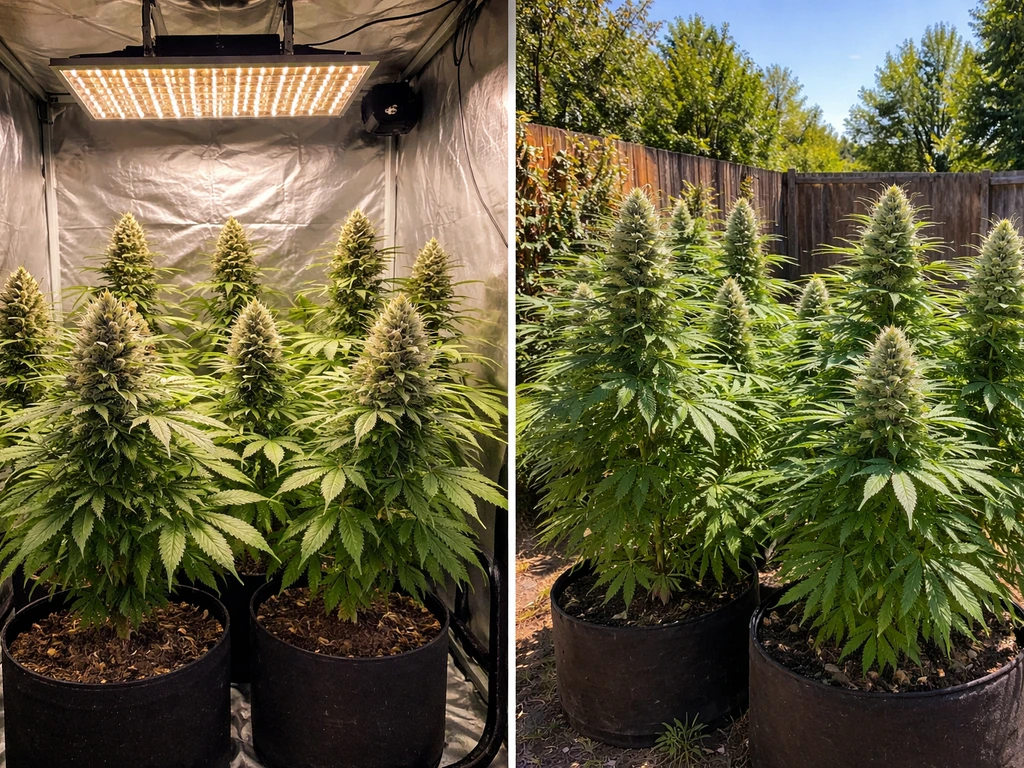
Growing Northern Lights outdoors: site, timing, and climate

Outdoors, Northern Lights can stretch to over 2 metres tall and produce significantly larger yields per plant than you'd get in a tent. The trade-off is that you're at the mercy of your local climate and pest pressure. Here's how to set yourself up for success.
When to plant
Plant after your last frost date in early spring. If you started seeds indoors under lights, harden off your seedlings by gradually introducing them to outdoor conditions over 7–10 days before transplanting. Northern Lights will veg naturally through spring and early summer, then begin flowering on its own once days shorten past the 12-hour mark, typically after mid-summer in most Northern Hemisphere locations. Expect harvest somewhere in late September to mid-October depending on your latitude.
Site selection
Choose a spot that gets at least 6–8 hours of direct sunlight daily, ideally south-facing if you're in the Northern Hemisphere. Good drainage is critical: cannabis roots hate sitting in waterlogged soil. Raised beds or large fabric pots (25–50 litres) give you control over the growing medium even when planting outdoors. Privacy and security matter too: tall fences, natural hedgerows, or companion planting with tall plants can screen your grow from view.
Managing climate variability
Northern Lights handles cooler nights better than most strains, which is part of why it's a go-to for northern climates. That said, sustained cold below 50°F (10°C) will slow growth significantly, and extended rain during late flowering is your biggest enemy because it invites bud rot. If your region gets wet autumns, keep a weather eye and harvest slightly early if a long rain event is forecast rather than risking losing your whole crop to mould. A simple polytunnel or greenhouse covering in the final weeks is worth the investment in wet climates.
Indoor vs outdoor at a glance
| Factor | Indoor | Outdoor |
|---|---|---|
| Plant height | Up to 1.2 m | Up to 2+ m |
| Flowering trigger | Manual 12/12 light flip | Natural day-length reduction (mid-summer) |
| Typical harvest window | 55–65 days after flip | Late September to mid-October |
| Yield per plant | ~450–500 g/m² under 600W | Higher per plant with full sun |
| Odour control | Carbon filter essential | Wind dispersal helps; neighbours still matter |
| Climate control | Full control | Subject to weather; rain risk in late flower |
| Pest pressure | Lower (controlled space) | Higher (aphids, caterpillars, powdery mildew) |
| Cost to start | Higher (equipment) | Lower (natural light) |
| Best for | Year-round grows, privacy needs | Larger yields, natural growing conditions |
Seed to harvest: the full grow cycle
Germination (Days 1–7)
The paper towel method works reliably: place seeds between two damp (not soaking wet) paper towels on a plate, cover with another plate, and keep somewhere warm (around 75–80°F / 24–27°C). Most Northern Lights seeds will pop a taproot within 24–72 hours. Once you see a taproot of 0.5–1 cm, transplant into your starter medium with the taproot pointing down, about 0.5 cm deep. You can also germinate directly in your growing medium if you prefer to skip handling the seedling.
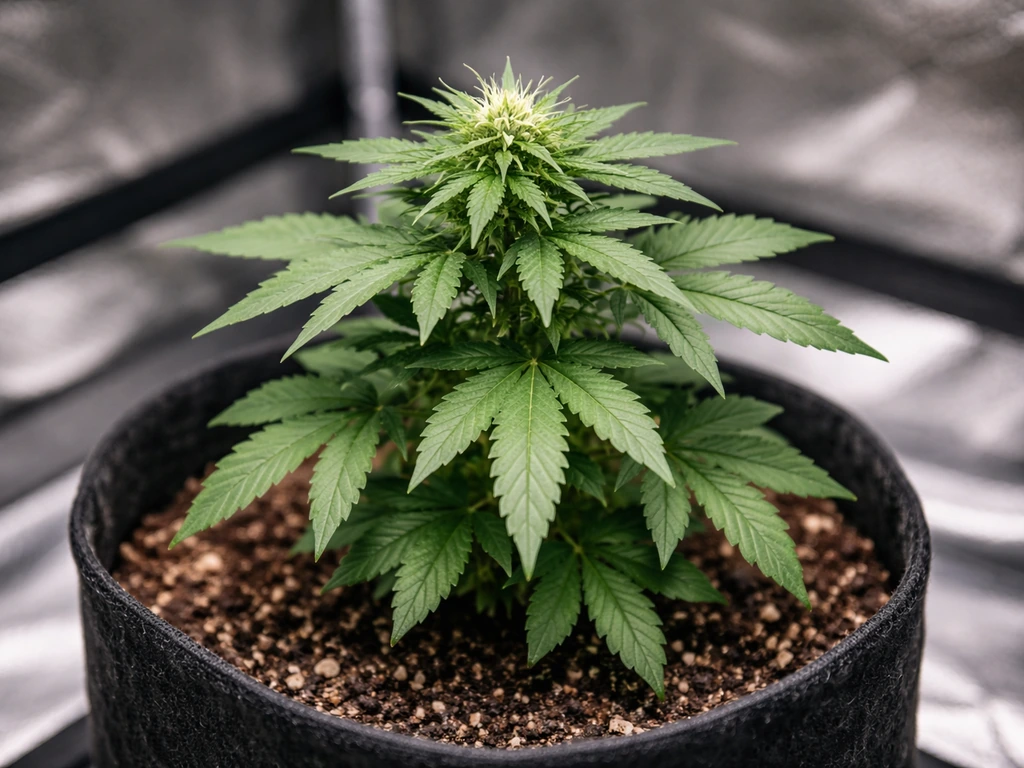
Seedling stage (Weeks 1–2)
Keep seedlings under 18 hours of light, ideally from an LED or T5 fluorescent. Keep humidity high (60–70% RH) and avoid overwatering: water in a small ring around the seedling rather than flooding the entire container, and let the medium partially dry out between waterings. This encourages roots to spread outward searching for moisture. Avoid feeding at this stage if you're using a pre-amended soil; seedlings have all the nutrients they need for the first couple of weeks.
Vegetative stage (Weeks 2–5 indoors; spring through early summer outdoors)
This is where you build your plant's structure. Northern Lights responds well to low-stress training (LST): gently bending and tying down stems to create a more even canopy and expose lower bud sites to light. You can also top the plant (cut the main stem above a node) once it has 4–5 nodes to encourage two main colas instead of one. Avoid heavy defoliation with Northern Lights; it doesn't need aggressive leaf stripping, and over-defoliating a compact indica can actually slow it down. Keep the environment stable and watch for root-bound signs (leaves yellowing faster than expected, water draining immediately) which signal it's time to transplant to a larger container.
Flowering stage (Weeks 5–14 indoors; mid-summer through autumn outdoors)
Indoor: flip to 12/12 when plants are at roughly half their target height. Northern Lights doesn't double in size like some sativa-heavy strains, but expect 20–40% additional height after the flip. You'll see white pistils forming at bud sites within the first 1–2 weeks after the flip. Indoors, flowering runs 55–65 days. Outdoors, your plants will shift to flowering naturally once days shorten, and you're looking at harvest in late September to October. During late flowering, back off nitrogen and lean into phosphorus and potassium to support bud development. In the final 1–2 weeks, many growers do a plain water flush to clear residual nutrients from the medium.
Nutrients, feeding schedule, and pH/EC basics
Nutrition is where a lot of beginners either overthink or underthink things. Northern Lights doesn't need a complicated feeding program, but it does need the basics done right. Here's a straightforward framework.
Getting pH right for your medium
pH is the single most impactful thing you can control in your feeding routine. Get it wrong and plants can't absorb nutrients no matter how much you feed them, which shows up as deficiency symptoms that new growers often misread as a sign to feed more. Target pH ranges differ by medium, so match your targets to what you're growing in:
| Growing Medium | Target pH Range |
|---|---|
| Soil | 6.2–6.8 |
| Living/super soil (water only) | 6.3–6.8 |
| Coco coir | 5.8–6.2 |
| Hydroponics / rockwool | 5.5–6.0 |
Always pH your water and nutrient solution before it goes into the pot or reservoir. Test runoff pH periodically to catch drift early. If runoff pH is drifting significantly from your target range, flush with pH-corrected water to reset the medium. For coco specifically, always water to 10–20% runoff and remove that runoff; letting it sit in a tray allows salt buildup that will cause lockout problems.
EC and feeding intensity by stage
EC (electrical conductivity) measures total dissolved nutrients in your solution. Starting too high is a common beginner mistake. For seedlings and early veg, keep EC low: start around 0.4–0.8 for young plants. In established veg, work up to 1.2–1.8. During flower, Northern Lights can handle 1.8–2.4 at peak. Dial back to 1.0–1.4 in the final two weeks. Always start at the lower end of any nutrient brand's recommendations and increase only if plants show signs of deficiency. Overfeeding shows up as nutrient burn (brown-tipped leaves) and is harder to fix than underfeeding.
Simple feeding schedule overview
| Growth Stage | NPK Focus | Target EC | Notes |
|---|---|---|---|
| Seedling (weeks 1–2) | Balanced, low dose | 0.4–0.8 | Often no feeding needed in pre-amended soil |
| Early veg (weeks 2–4) | Higher N | 0.8–1.4 | Increase nitrogen for leaf and stem growth |
| Late veg (weeks 4–5) | Balanced N-P-K | 1.4–1.8 | Start introducing phosphorus |
| Early flower (weeks 1–4 of flower) | Reduce N, increase P/K | 1.8–2.2 | Watch for nitrogen toxicity signs |
| Mid-late flower (weeks 4–8 of flower) | Low N, high P/K | 1.8–2.4 | Maximize bud development |
| Final 1–2 weeks | Plain water or light flush | 0.5–1.0 | Clear medium before harvest |
Troubleshooting: stretch, pests, and deficiencies
Managing stretch
Northern Lights is one of the least stretchy strains you'll grow, which is a big part of its indoor appeal. That said, if your lights are too far away during early flower or your plants are hungry for light, they'll stretch upward looking for it. Keep your light at the correct distance for your fixture type and intensity, and make sure your 12/12 flip isn't happening when plants are already too tall for your space. If you flipped at the right height and are still seeing more stretch than expected, it's almost always a light intensity or distance issue rather than a genetics problem.
Common pests: spider mites, aphids, fungus gnats, and caterpillars
Prevention beats treatment every time. Keep your grow space clean, inspect plants weekly (flip leaves over and look at the undersides), and don't bring outdoor soil or clones from unknown sources into your indoor space. Spider mites thrive in hot, dry conditions, so maintaining correct humidity is your first line of defence. If you spot them early, neem oil spray or insecticidal soap applied in the lights-off period works well. Fungus gnats come from overwatered soil: let the top layer of medium dry out more between waterings and use yellow sticky traps to monitor populations. Outdoors, caterpillars are your biggest threat in late flower because they burrow into buds and cause rot from the inside. Check buds carefully every few days in late flowering and remove any caterpillars manually.
Nutrient deficiencies and lockout
The most common deficiencies you'll see with Northern Lights are nitrogen deficiency (yellowing starting from lower, older leaves and working upward), calcium deficiency (brown spots on newer growth, especially in coco or soft water grows), and magnesium deficiency (interveinal yellowing on mid-canopy leaves). Before adding more nutrients, always check your pH first: most apparent deficiencies are actually lockout caused by pH being out of range. Cal-Mag supplements are useful for coco and RO water grows. If you've been feeding heavily for weeks and EC in runoff is significantly higher than what you're putting in, flush and start lighter.
Powdery mildew and bud rot
Powdery mildew shows up as white dusty patches on leaves and thrives in humid, stagnant air. Keep airflow strong, keep humidity below 50% in flower, and remove any affected leaves immediately. Potassium bicarbonate sprays can help in early stages. Bud rot (Botrytis) is more serious: it starts inside dense buds and by the time you see grey-brown mush on the outside, the damage is already done. Cut out any affected sections with clean scissors, disinfect between cuts, and harvest earlier if it's spreading. Outdoors, this is your end-of-season enemy in wet climates.
Harvest, drying, curing, and what to expect
Knowing when to harvest
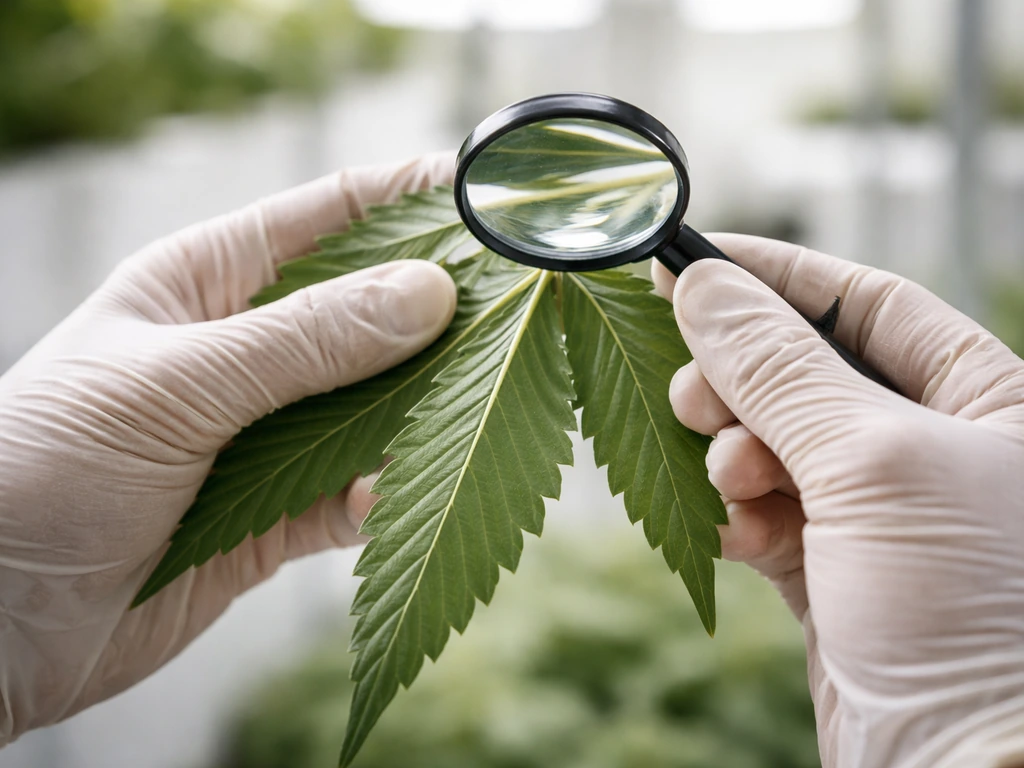
The most reliable harvest indicator is trichome colour, checked with a jeweller's loupe (30–60x) or a digital microscope. Trichomes go from clear (not ready) to milky white (peak THC) to amber (THC degrading to CBN, more sedative effect). For Northern Lights, harvest when trichomes are predominantly milky white with around 10–20% amber for a balanced effect. If you prefer a more relaxing, heavy body effect, let it go until 20–30% amber. Pistil colour is a secondary cue: once 70–90% of white hairs have darkened and curled in, you're getting close. Don't rely on pistils alone.
Harvesting and trimming
Cut plants at the base or harvest branch by branch if you want to stagger drying. Remove large fan leaves before hanging, but leave sugar leaves on buds during the dry: they protect the trichomes and slow the dry time, which is what you want. Hang branches upside down or use drying racks. Wet trim (removing all leaves right at harvest) vs dry trim (trimming after drying) is a personal preference: dry trimming is gentler on trichomes and generally produces better quality at the cost of a messier job.
Drying
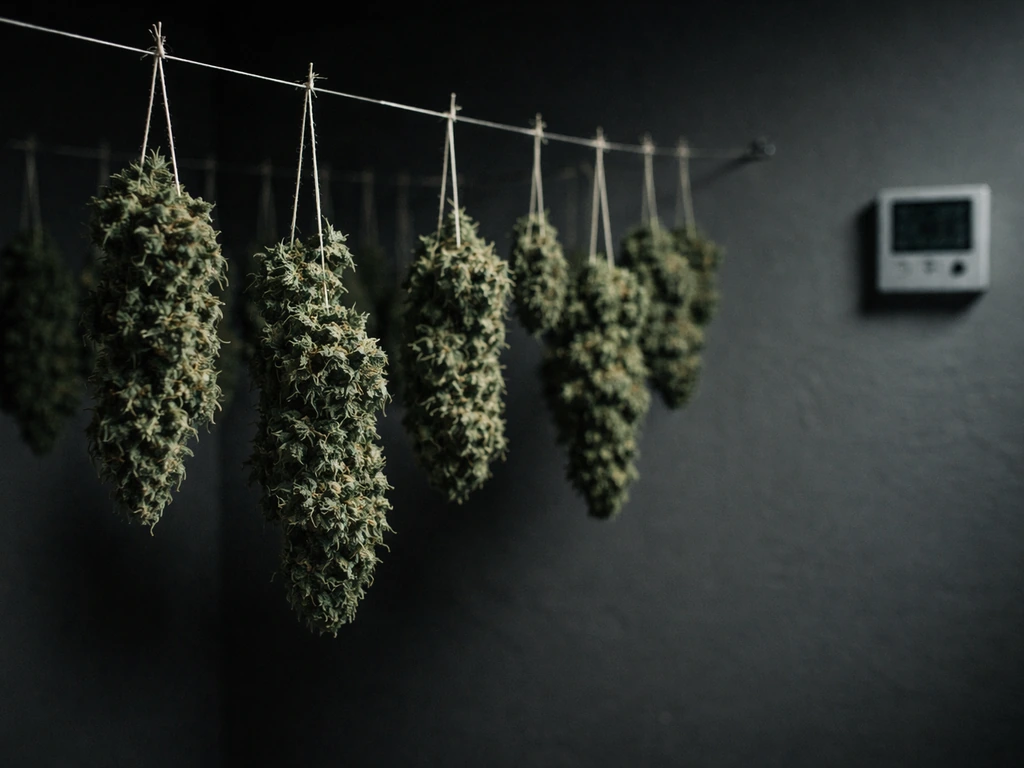
Dry in a dark room at 60–68°F (15–20°C) with 55–65% RH. The slow dry approach produces better-tasting, smoother cannabis than fast drying in hot or low-humidity conditions, which locks chlorophyll and harsh compounds into the bud. Target a 7–14 day drying window. Buds are ready to move to jars when small stems snap cleanly rather than bending, and the outside of buds feels dry to the touch but not crunchy. If your environment is too dry and buds are drying in 3–4 days, add a small humidifier to the room. Too fast is worse than too slow.
Curing
Place dried buds loosely in wide-mouth glass mason jars, filling them about 75% full. Store in a cool, dark place. For the first week, open jars once or twice daily for 10–15 minutes to allow moisture to escape and fresh air to enter, which is known as burping. MMJ also recommends drying cannabis at around 60, 70°F with about 55, 60% humidity for roughly 7, 10 days until stems snap, then curing in jars with blank" rel="noopener noreferrer">daily burping in the first week. You're aiming for a stable 60–62% RH inside the jars during curing. Hygrometers sized for mason jars (Boveda or similar small digital sensors) make this easy to monitor. If RH inside the jar climbs above 65%, leave the lid off for longer periods. If it drops below 55%, add a Boveda 62% pack. A minimum cure of 4 weeks will noticeably improve the smoothness and flavour of Northern Lights. At 6–8 weeks, the true depth of its earthy, sweet terpene profile really starts to come through. I've rushed cures before and always regretted it.
What to expect from your harvest
A well-grown indoor Northern Lights in a 4x4 tent under a 600W equivalent light, using a 3–4 plant setup with basic LST, should yield 400–500 g/m² dried and cured. Outdoors in a full season with good sun, large containers, and healthy soil, individual plants can produce significantly more. The buds will be dense, resinous, and deeply aromatic once fully cured. Expect a heavy, relaxing body effect with notes of earth, pine, and subtle sweetness. It's a strain that rewards patience in the cure as much as skill in the grow.
FAQ
Can I grow Northern Lights from seed outdoors if my climate is very wet in late summer?
Yes, but plan for bud rot prevention early. Use raised beds or the largest containers you can manage for fast drainage, and schedule a protective cover (polytunnel, greenhouse top vents, or clear rain cover) starting when flowering is clearly underway, not at harvest time. If temperatures drop below about 10°C (50°F) for long stretches, expect slow growth and consider harvesting a bit earlier if a multi-day rain system is forecast.
What’s the safest way to decide when to flip to 12/12 if my plants are already tall for the tent?
If height is tight, flip slightly earlier rather than after they exceed your ceiling, because Northern Lights typically adds only about 20 to 40 percent after switching. Measure from the soil line to the top of the canopy you can fit, then set your flip height to leave at least 20 percent extra headroom for light distance and future training. If you already see plants brushing lights, reduce light intensity only by distance changes, not by delaying the flip too long.
How do I tell whether “yellowing” is nitrogen deficiency or pH/lockout?
Check pH and runoff behavior first. Nitrogen deficiency usually starts on older, lower leaves and progresses upward, while lockout often appears as patchy deficiencies even when your feeding strength seems correct. If runoff pH is drifting outside the target range, stop changing nutrients and instead correct pH, then recheck runoff after a full wet-dry cycle. If you’re in coco, make sure you’re managing runoff consistently, because missed runoff can mimic nutrient problems.
Should I flush Northern Lights in the last two weeks, and when should I avoid flushing?
A plain-water slowdown in the final 10 to 14 days can help reduce residual salts for smoother smoke, especially if you’ve been feeding near the top of an EC range. Avoid aggressive or long flushes if your medium is very low in buffering (some coco setups) and your plants look hungry, since you can trigger deficiencies. A better option for many growers is a reduced-feeding taper and only switch to plain water if runoff EC is consistently higher than your input.
Why are my buds still compact even though I hit the humidity and temperature targets?
Bud size is usually more about canopy light than genetics. Confirm your light intensity and distance (PPFD for LEDs, or effective output for HPS), and ensure you have minimal shading by using LST to open the canopy before and during early flower. Also confirm you’re not overusing nitrogen late in flower, high temps during lights-off, or letting RH spike above about 50 percent in mid to late flower, since these can reduce flower development and increase stress.
Do Northern Lights plants need cal-mag, especially if I use RO water?
Often yes, but only if you’re seeing symptoms or you know your water is low in calcium and magnesium. If you use RO or very soft water and your medium is coco, cal-mag supplementation is commonly beneficial because coco can pull nutrients differently than soil. The practical approach is to start modestly, monitor new growth, and avoid guessing, since calcium-related issues can also be related to pH being out of range.
What’s the best way to prevent fungus gnats indoors without constantly changing your watering habits?
Use a two-part strategy: keep the top layer of your medium drying between waterings, and monitor with yellow sticky traps. If you’re using a small pot size, also consider watering more precisely (water around the root zone, not a flood), and avoid keeping trays filled with runoff. For persistent outbreaks, apply biological control products that target larvae, but start them early because once adults are widespread, they keep reappearing quickly.
How can I reduce stretch further if I’m still seeing more height than expected after the flip?
First verify light distance and intensity, because most unexpected stretch is tied to “searching” for stronger light. Then confirm the timing of your flip, and avoid overfeeding nitrogen during early flower. If you still need to manage height, use gentle LST during the first 2 to 3 weeks of flower rather than heavy topping or defoliation, since Northern Lights can respond slower to major structure changes once flowering is underway.
What dry-and-cure issue is most common, and how do I fix it quickly?
The most common problem is curing too fast or too dry, which leads to harsh smoke. If stems are snapping within 3 to 4 days, slow the process by increasing room RH slightly (a humidifier) and keep drying in a controlled, dark space. If jars end up above 65 percent RH, burp longer and check for overly wet buds, but don’t leave lids fully off permanently because that can overdry the surface.
How Much Weed Can One Seed Grow and How to Maximize It
Realistic yield from one cannabis seed, what limits it, and steps to maximize flower at home from seed to harvest.